When you get that bow out to 30" I dare bet it’ll shoot a 10 grain arrow into the 215 fps range???
It’ll shoot like a lazer out to 40 yards.Quite the energy for penetration yet.
You’ve also eliminated the need for any string bridges.
Yes. I still may add some black leather pads where the string makes contact at the curve. It makes it look more authentic to the Korean bow. I’ll do some red leather tip wraps on string grooves I think too.
Lots of really essential detail.
The sinew work looks so nice that you wont have any problem with that!
Original korean bows were much more highly reflexed, but they were also so much shorter. I guess you have a good balance with the added length.
With hornbows i have only been looking at core reflex, not sinew reflex. Because sinew reflex tends to pull out after using the bow.
It might be that you can hold the sinew reflex better with these long bows, i don’t know.
Yes. Good point. We shall see if it holds more then what was reflexed prior to sinew. The sinew went on well I feel. I like the wraps method although it may not be necessary. Thanks. Last layer to go on next week. Then we wait a bit. I’m hoping to end up with 14-15” reflex which is a lot less then traditional made Korean bows but my goal with this one is strike a balance of some performance and more ease of use and draw length.
Having longer working sections in the limbs will lead to more reflex retained.
The same outcome in horn bows just as well as self bows.
The goal here is finding the happy medium to please it’s owner.
With proper tillering you should retain around 12"+ of reflex.
I still find laying sinew 3 to 4 strands at a time straight in line with a short amount of time between layering using hide glue overlapping well into a staggered joint brick layer type look to work well for myself.Staying away from any chance of air in between layers.
Although I do see the time saving lag between layering broad bands to work well too.
The only broad layered joints are done on the stiff sections of the outer limbs or handle and those are staggered also not on top of each other especially into the outer fades on the limbs.
If the tapered overlapping is done properly I feel most all danger is avoided anyway.
Air under the layers can be a concern with broad band type layers. I’ve had to repair once in such a case. Still worked out fine in the end. Lesson learned to be extra deliberate on massaging down the wetted band while under heat lamp in smoothing it out throughout its length. I do this till I no longer hear any air pops if that makes sense. I find that the small piece staggered brick type pattern of laying sinew works well too and I find that it’s a bit of an art form to get a sense of amount of sinew and glue matched for each limb to be the same. It may just be me but I got to the point where I could do it ok with decent results but always wondered about excess glue and possible imbalance of sinew with each limb. I never wondered that with the pre measured strips and measured by weight glue for each limb. I found that this method took my sinew to another level and worked well for me and my OCD brain. lol. I presume that same results can be had with both methods either way with careful measuring still. The last bow I did with the staggered small strips I wrapped after it gelled up a bit and it looked indistinguishable from my other sinew jobs.
Yes at least with me careful measuring of amount on each limb is a priority on the grain scale from the start.Then keeping that straight throughout the process.
It’s always quite a prep set up to be sure dividing bundles in weight for each limb.
Then measuring along it’s length after curing for 4 to 5 days.Balancing that well for the next session.Making sure there is no humps from overlapping etc.
Then ending up with the thickness desired after last session.
Nothing more than what any other conscientious sinew applier does.
The problem I see with a few strands at a time laying next to each other in a brick laying set up is the furrows that can occur with it not being combed finely in line.
Good gelling occurs around 1/2 hour or so after applying so there really is plenty of time while applying strips.
I have wrapped after gelling before in the past also but most times nowadays I find it unneccessary.If it looks good immediately after applying the sinew it looks great after drying down.
With these style of bows I find it beneficial even if the bow has 7 to 8 inches of reflex yet as far as performance goes.
It’s a matter of shortening the working sections of the limbs/decreasing the mass on the stiffish outer limbs with enough recurve on the tips to reduce string angle for the longer draw.
I find every modification I do has a slight cost to the benefits and sometimes it may be like splitting hairs,but that’s part of the fun making them.
Yes there is a sweet spot or a balance of things when it comes to having a good shooter yet have the performance benefit of the extra reflex. You seem to have found that balance on your bow Ed!
At least enough to satisfy myself anyway.Others might have more ambitions…ha ha.
Ok so I got my final layer on today. This makes about 100 grams. I wrapped it a little so I’ll have some scraping to do later but all good. I’d rather that then not have enough.
Excellent…You can sinew my bows any time Dave…ha ha.Look forward to the finalization of this bow.
The over the edge onto the belly is insurance that the horn will not pull way from the core?Even if the horn is concave and compression pressure is mostly down the center of the limb.
Thanks Ed! Ya it’s wrapped a little
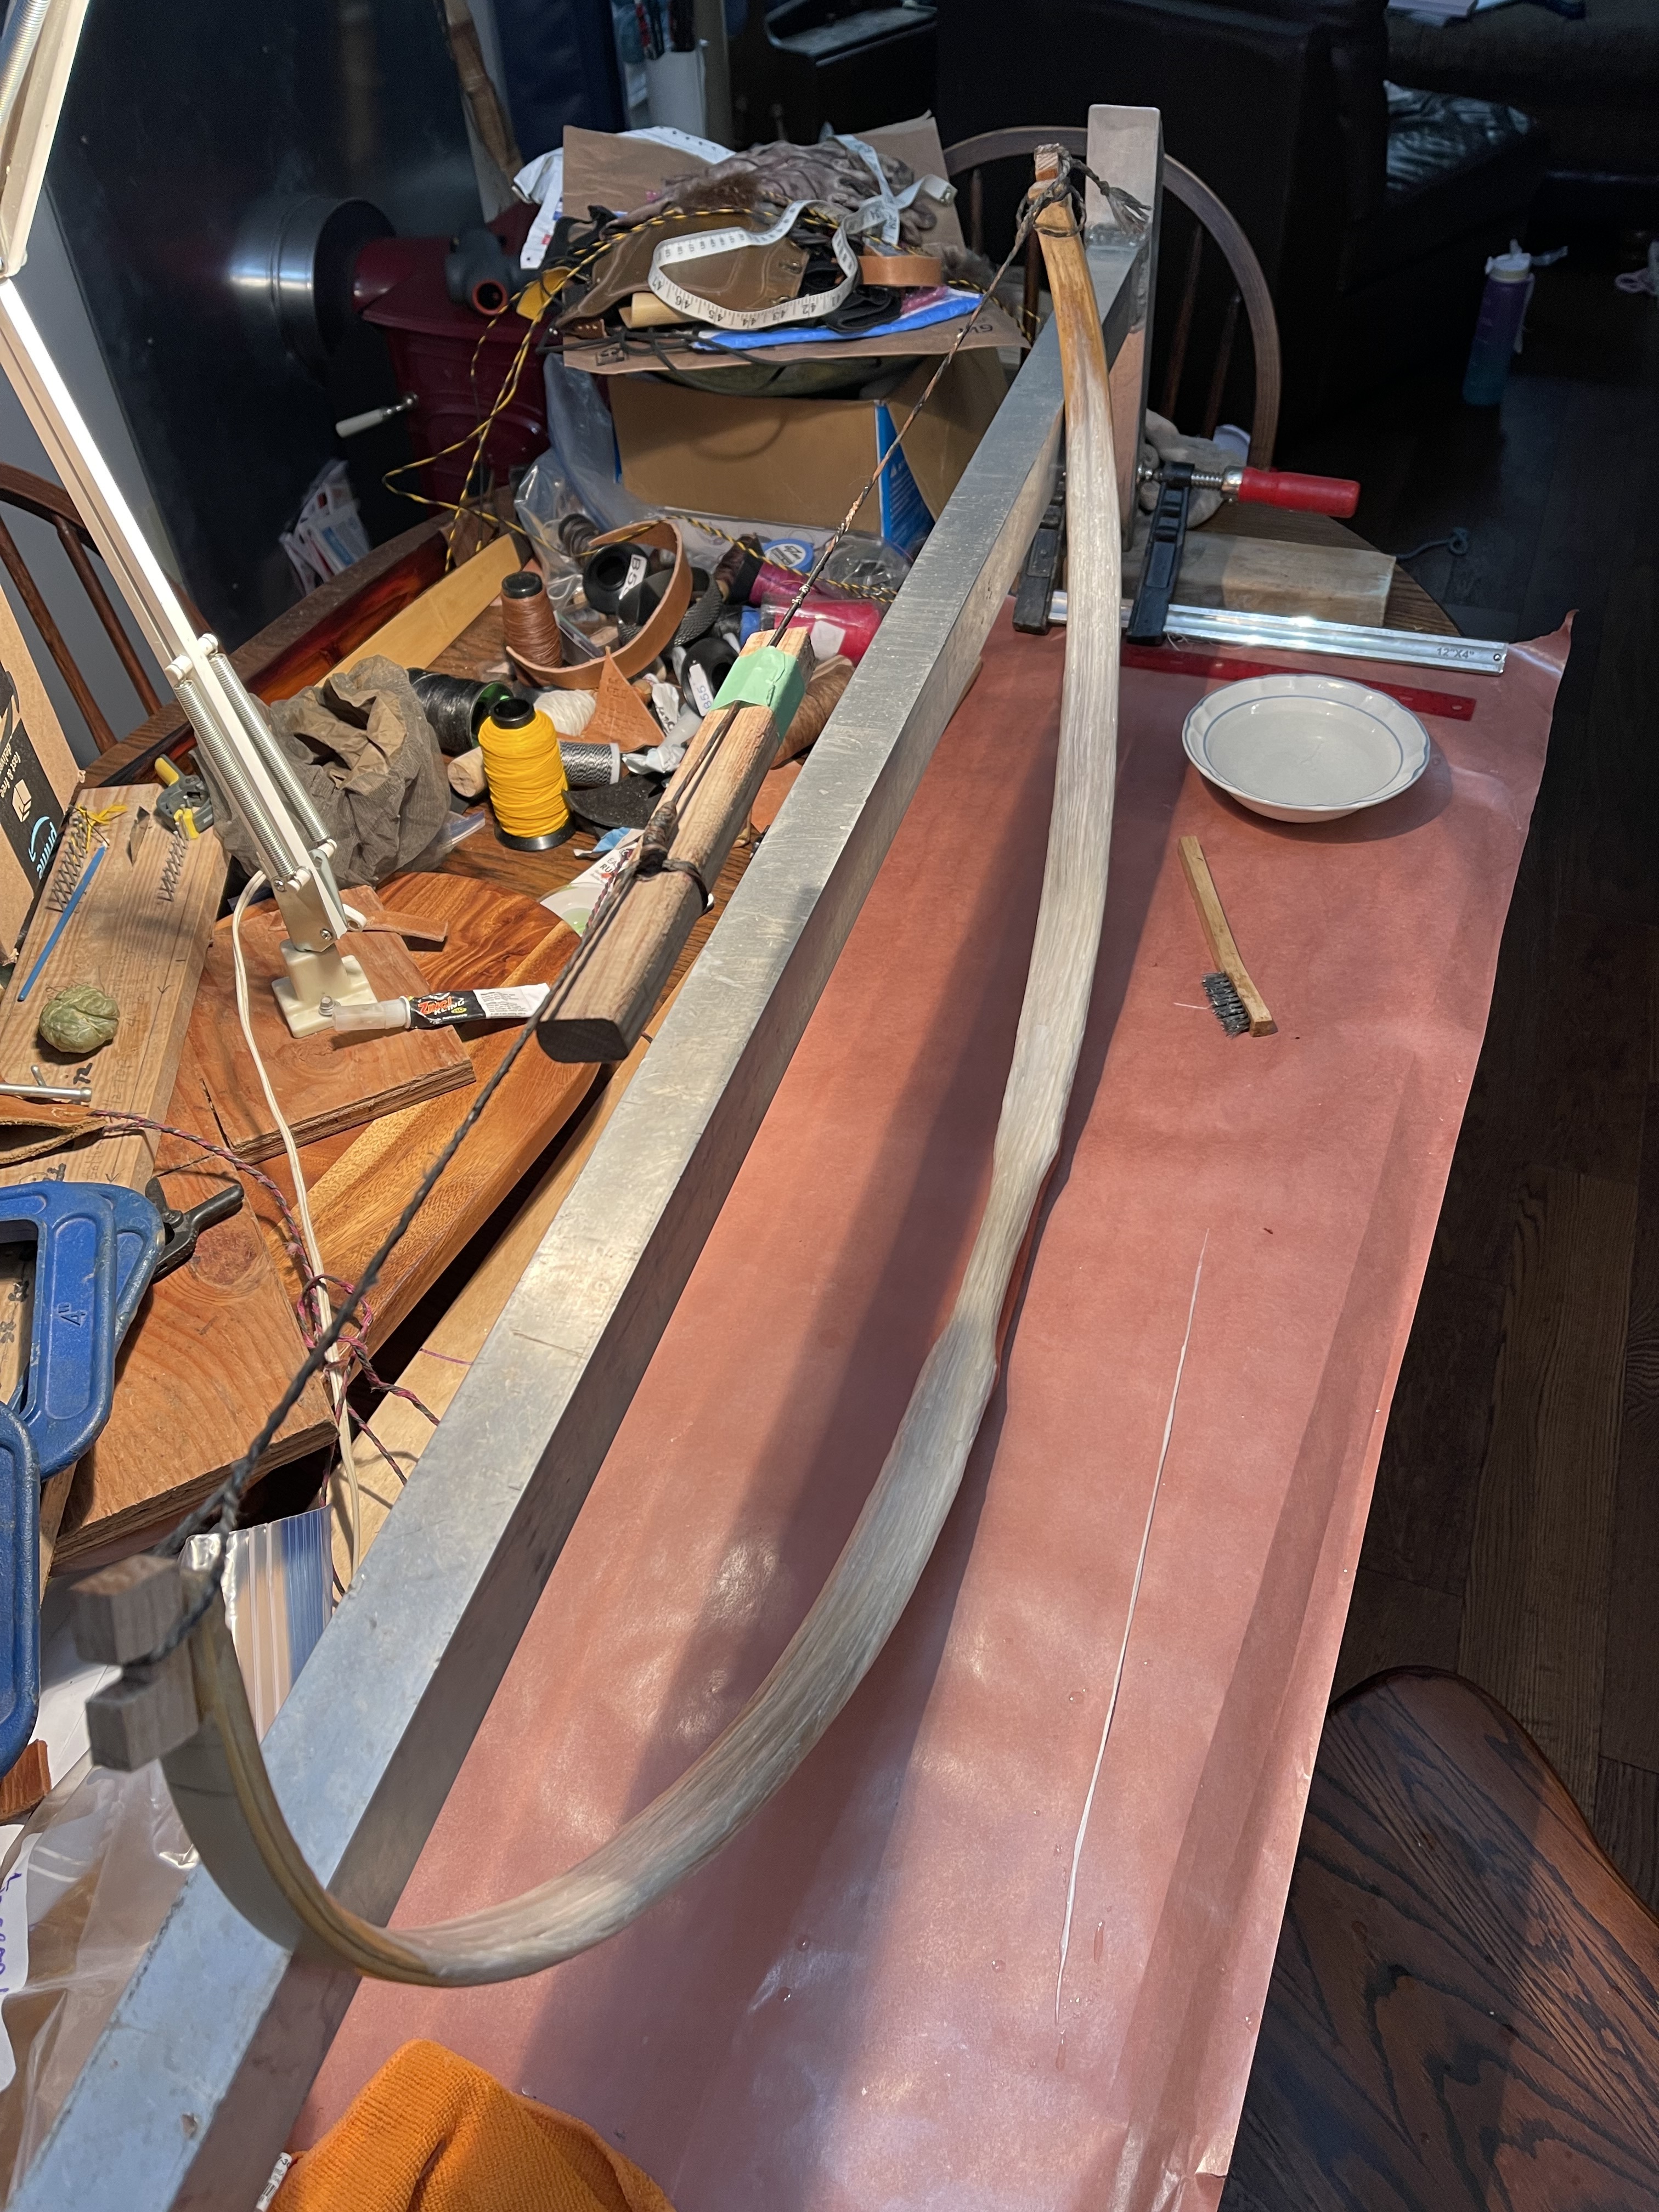
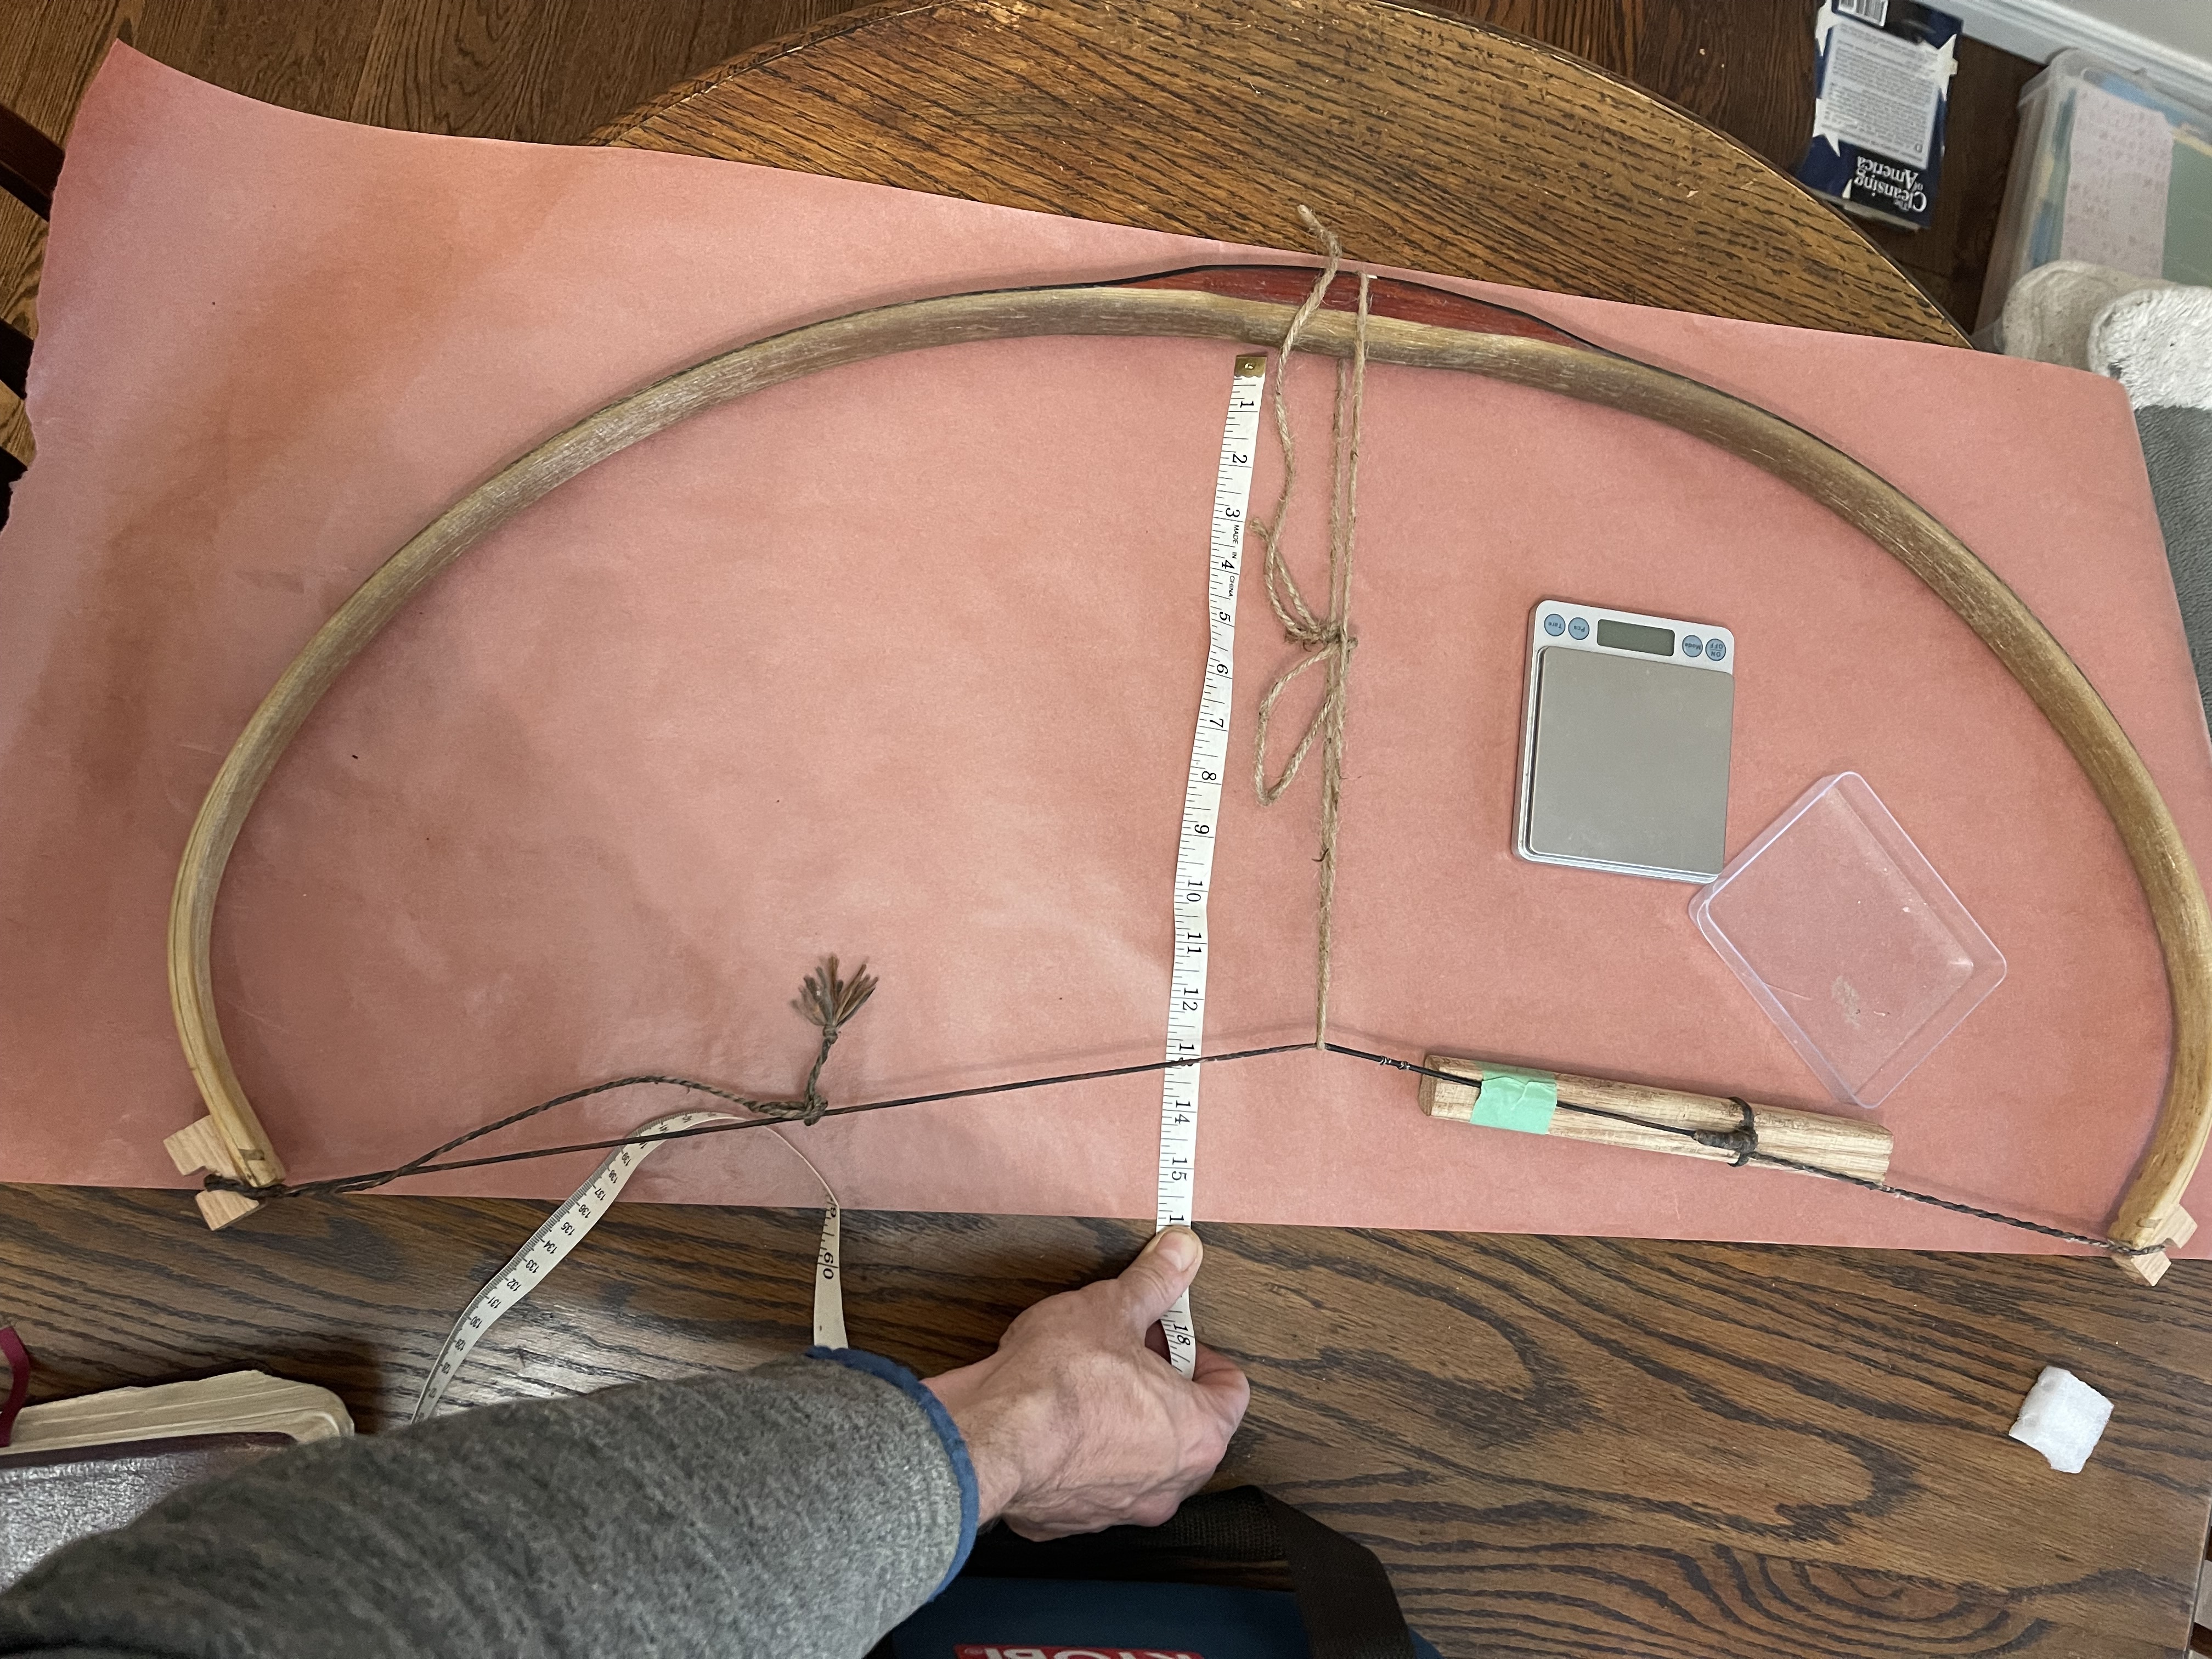
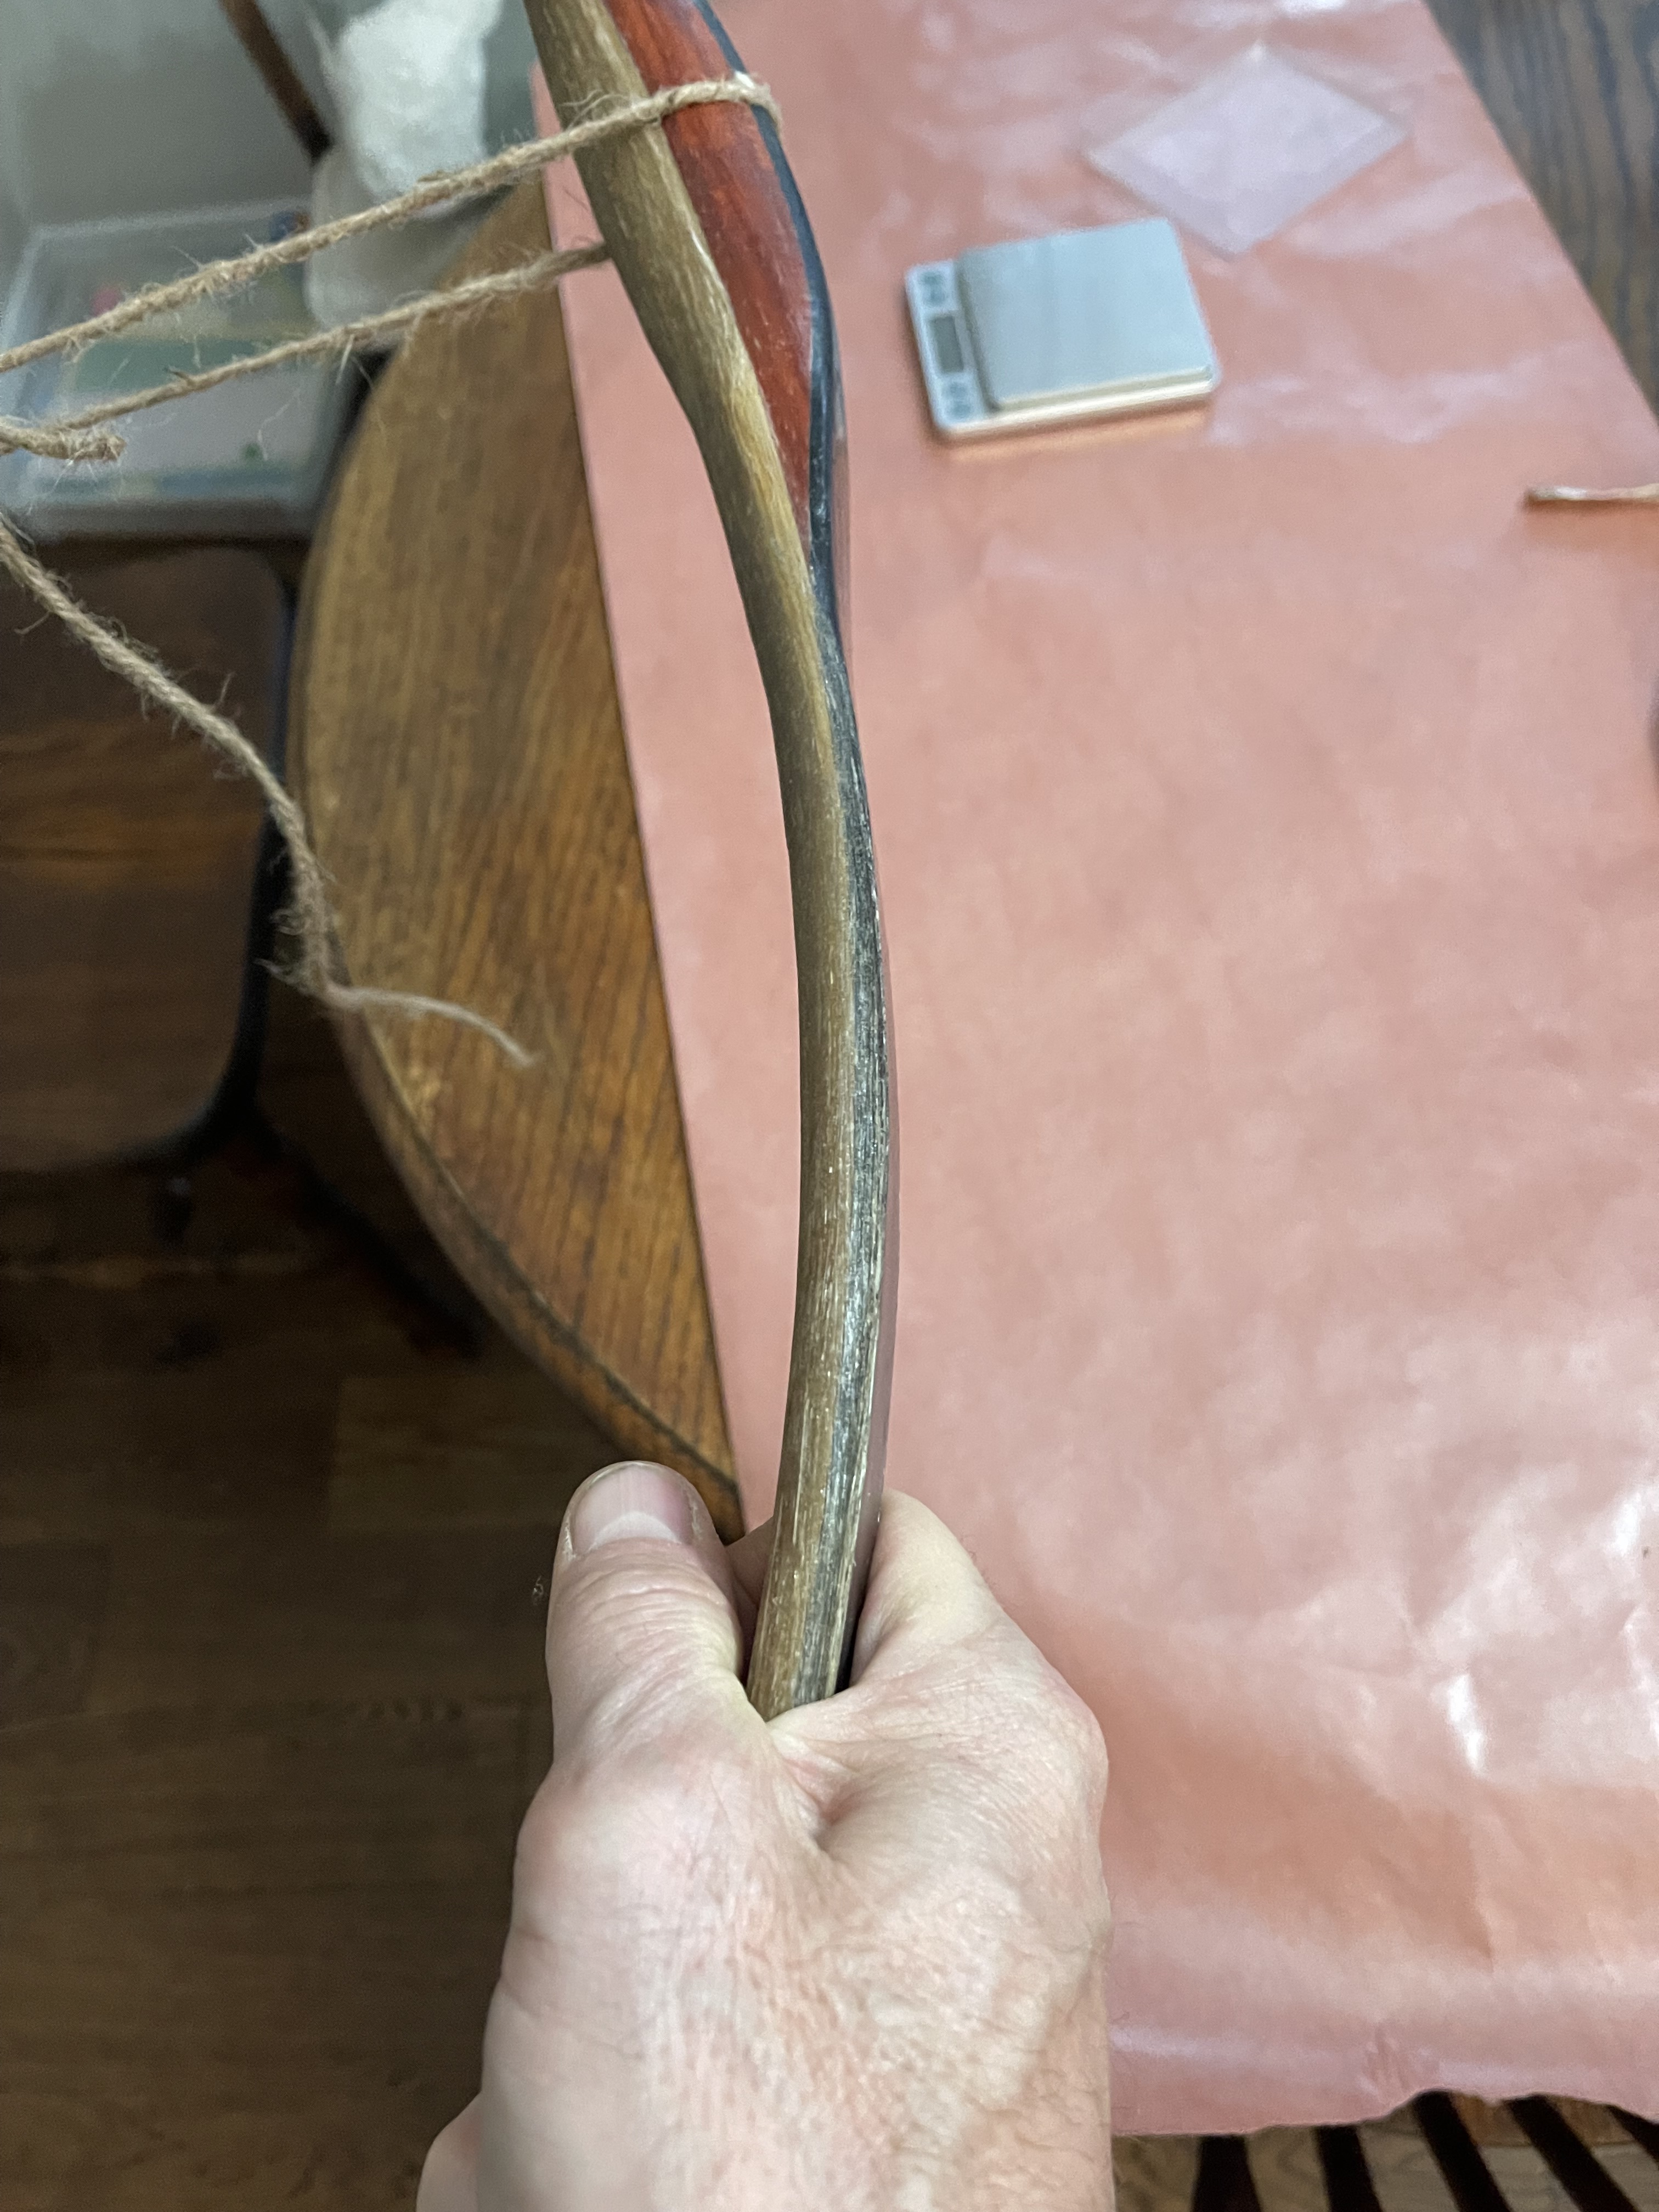
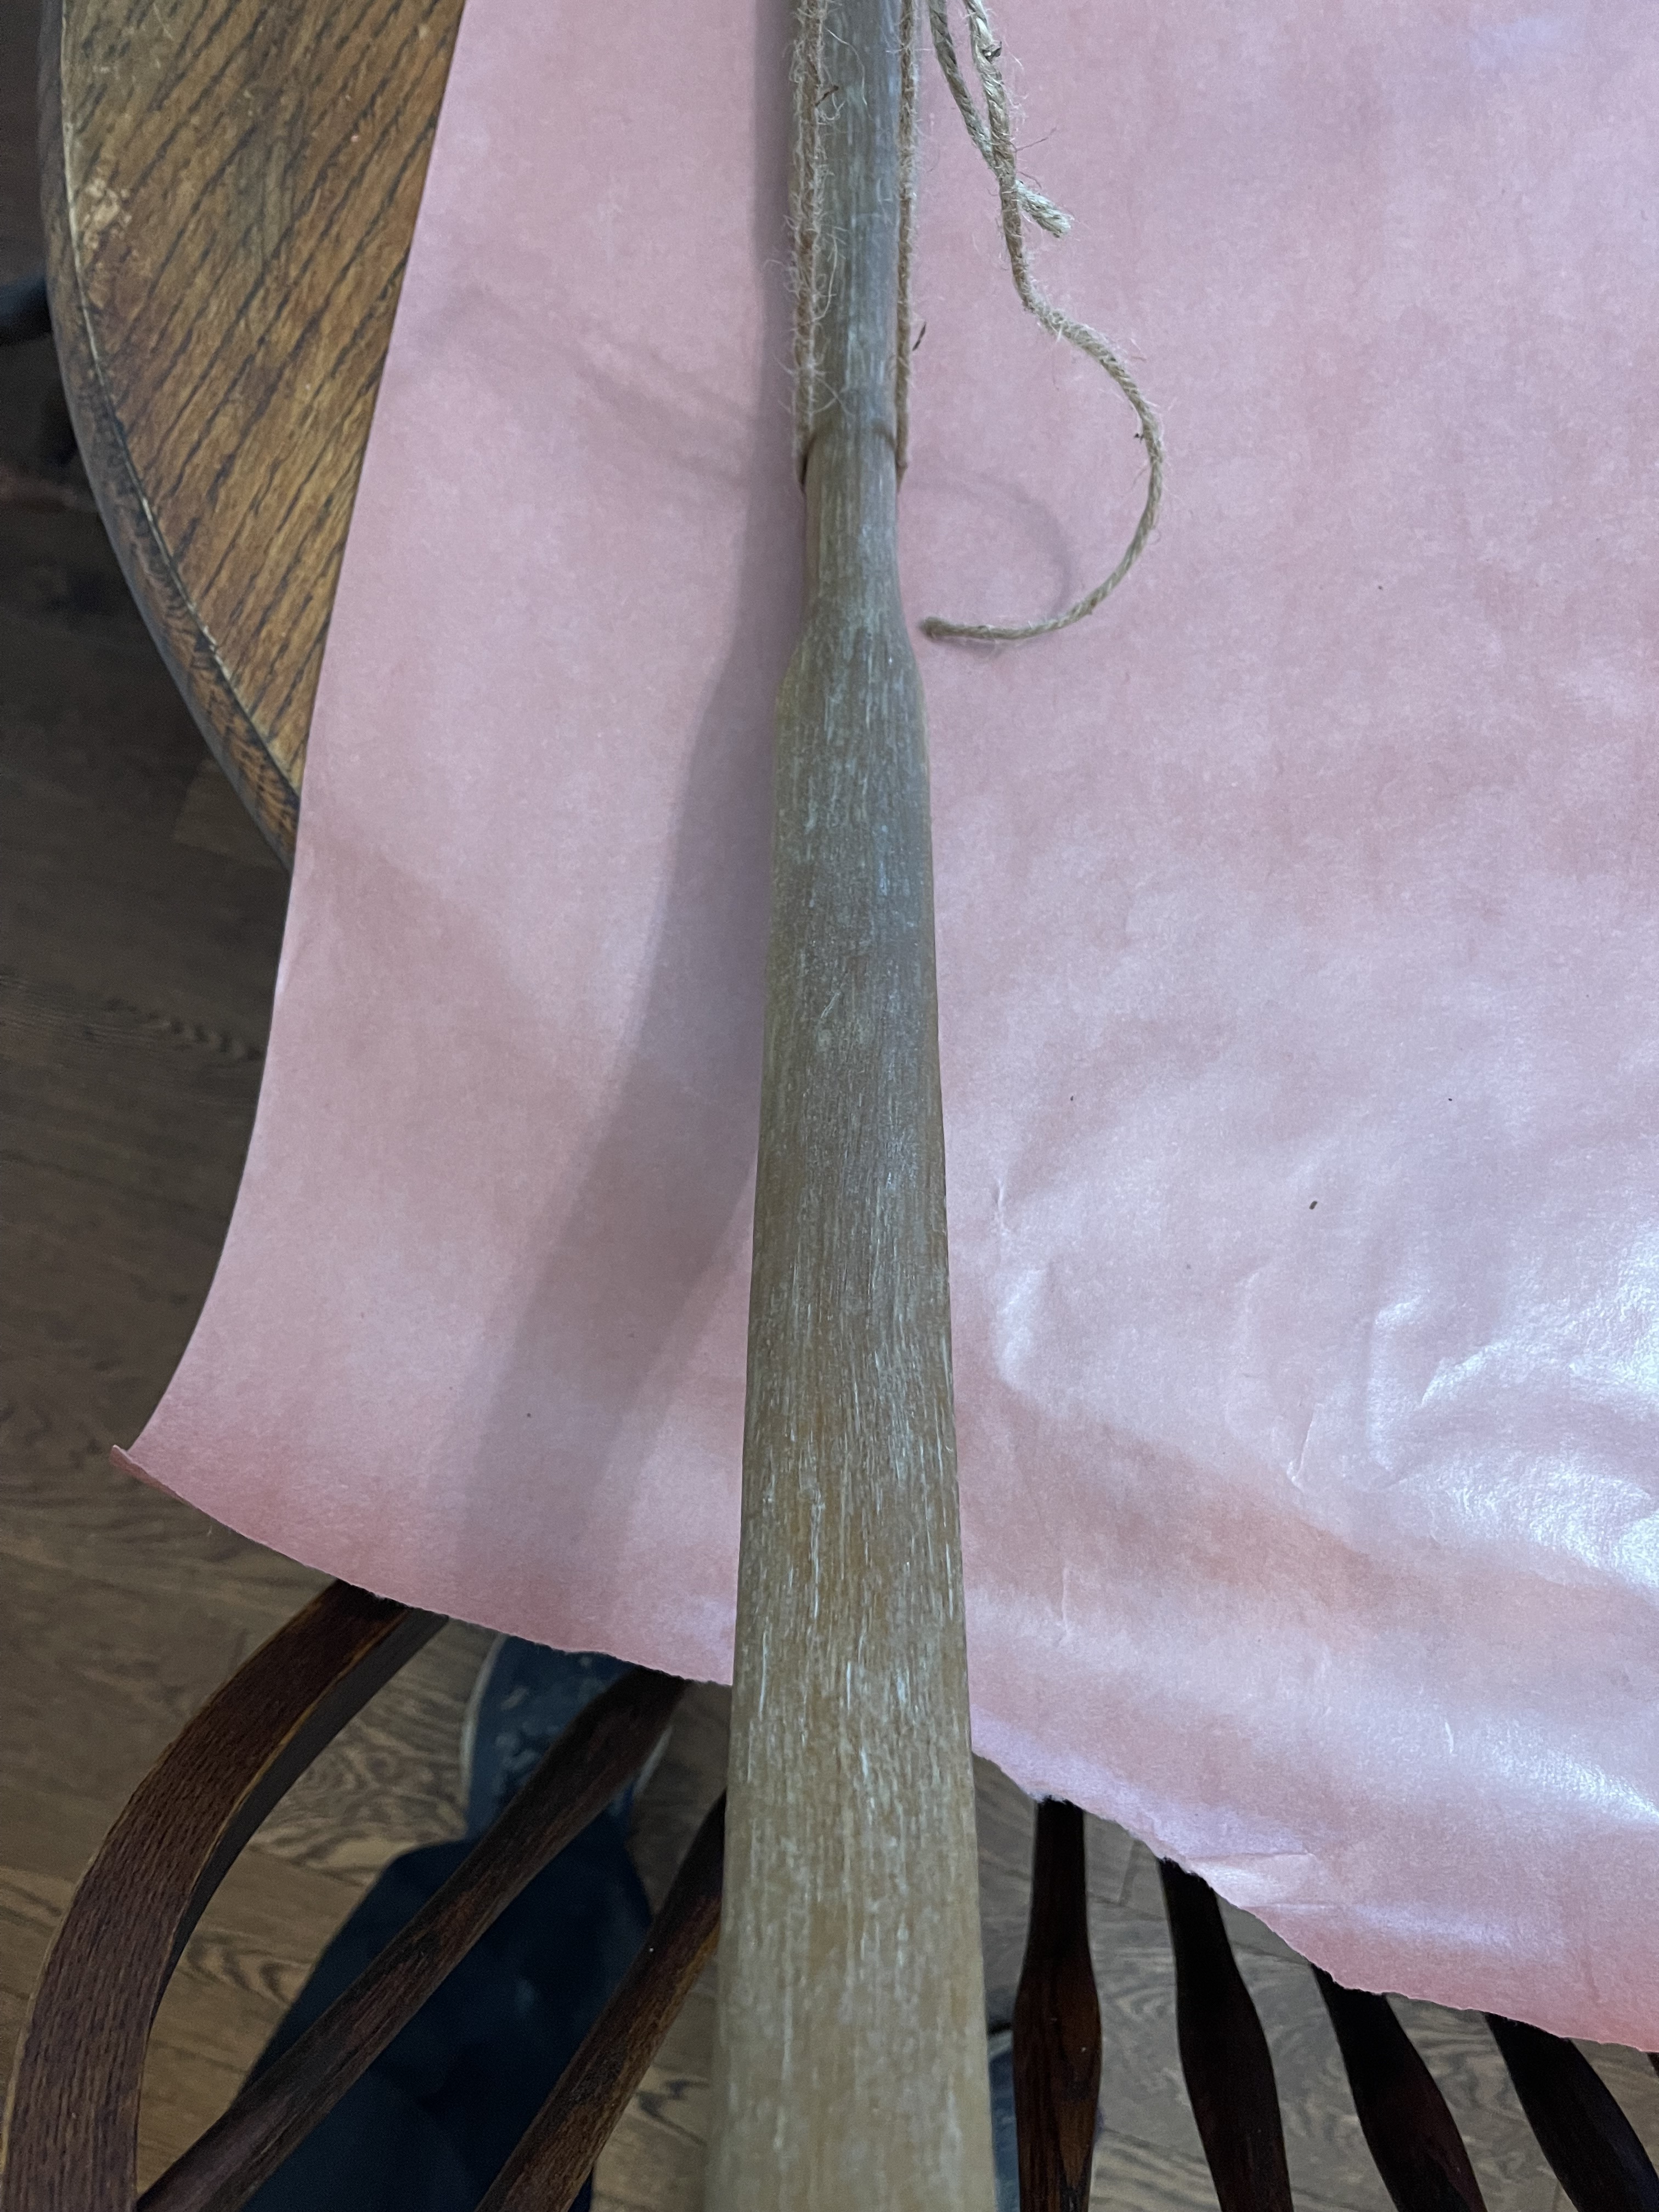
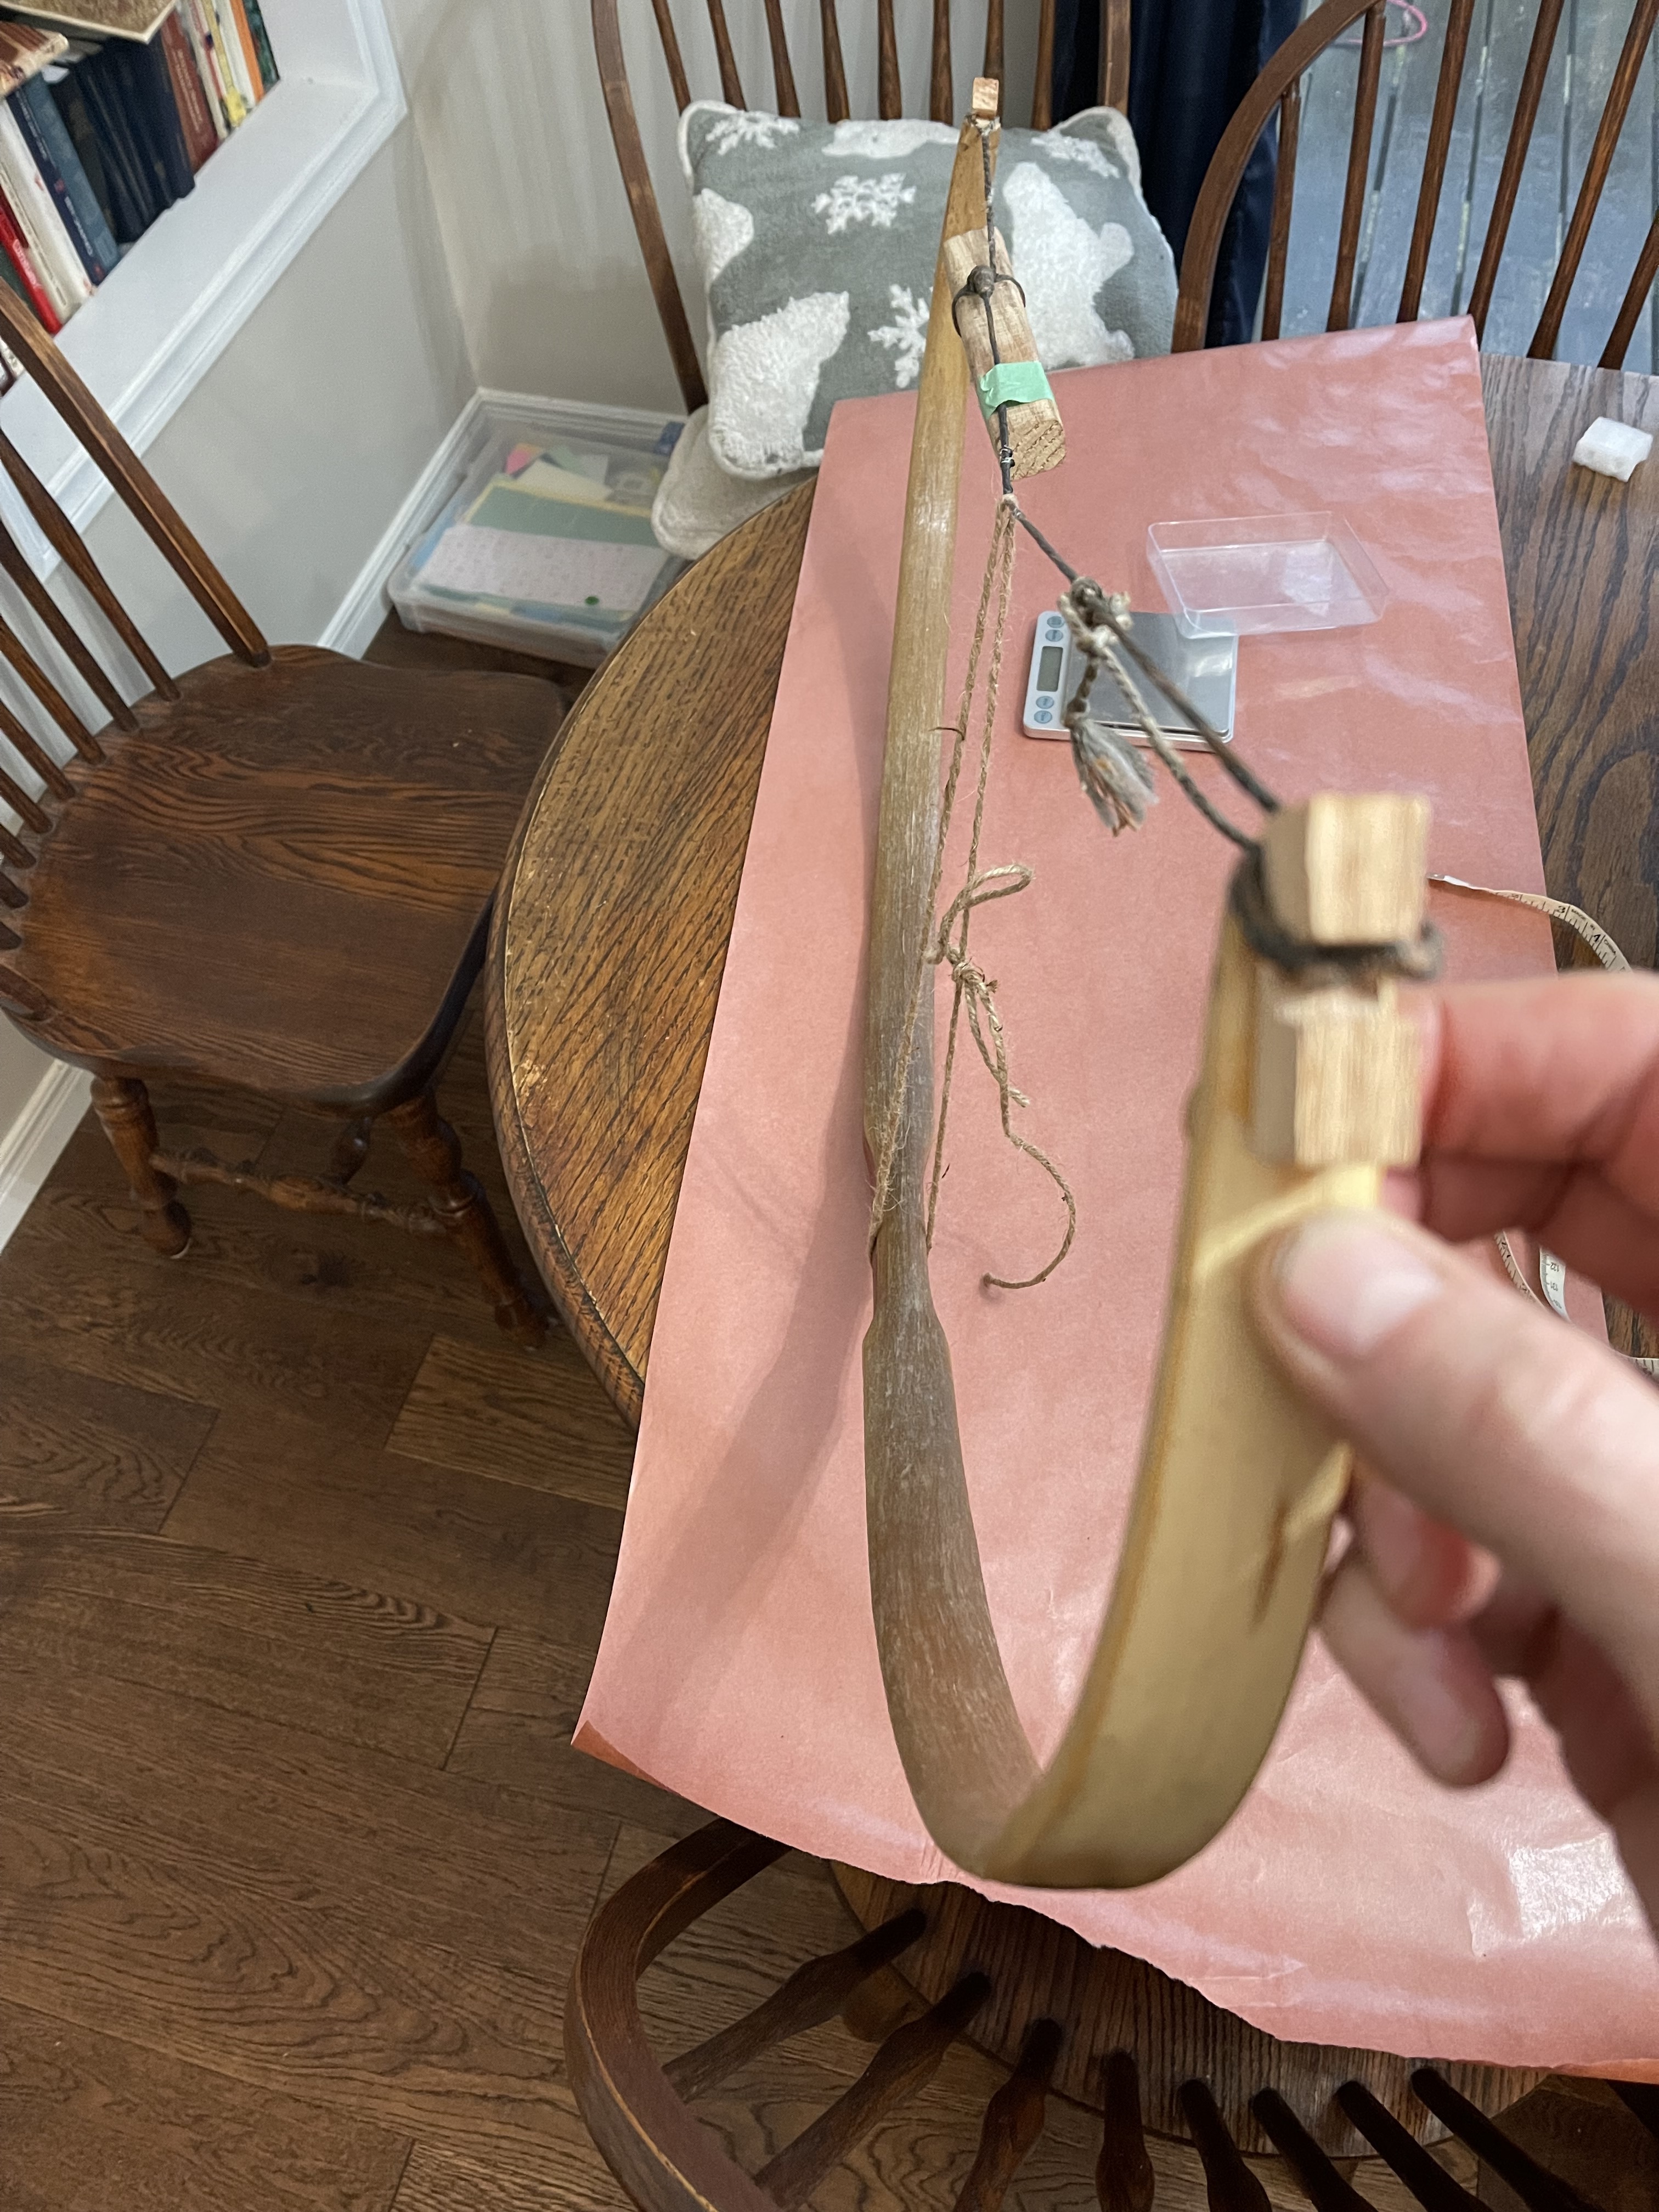
More than I wanted. Just the way it went when I laid sinew down. I will scrape most of this off when i get to the point of bending it. I do want a little on the edge and a tiny bit wrapped around for insurance especially at the spot I highlighted before where the small split was. I may decide to do a perpendicular sinew wrap around this small section of the limb and then the other one too to match if I feel it needs it. I’m hoping that with the little wrapping of sinew I’ve done here will suffice. I think I’ll leave it at about 14-15” reflex to keep it milder and a little easier to string up. It’s at about 15” pulled reflex with back string on but may spring back some when remove it when dried and cured. Gonna give it another month or two after this final layer and weight it every day and week to see when it stops losing moisture weight. Here’s few pics of what it looks like now after 4-5 days dry time.


A very nicely balanced look to your bow Dave.Of course things can change when the bending starts but giving the bow it’s best chance for easy tillering is the goal here.
The reverse bracing to me is just a starting point for the sinew to do it’s thing.I’ve had it before a few times where after 3 weeks the reverse stringer is slack and no need of it’s use any more.
Roger that Ed! Thanks. I’m hoping to realistically get about 13” after cured. I’m only wanting a bit to make it a little
Less a chore ;).
With 100 grams of sinew I’d be pretty assured you will meet your draw weight.
Very nice clean specimen of a bow.
Thanks Ed! I’m hoping so. I can’t wait to get this one bending.
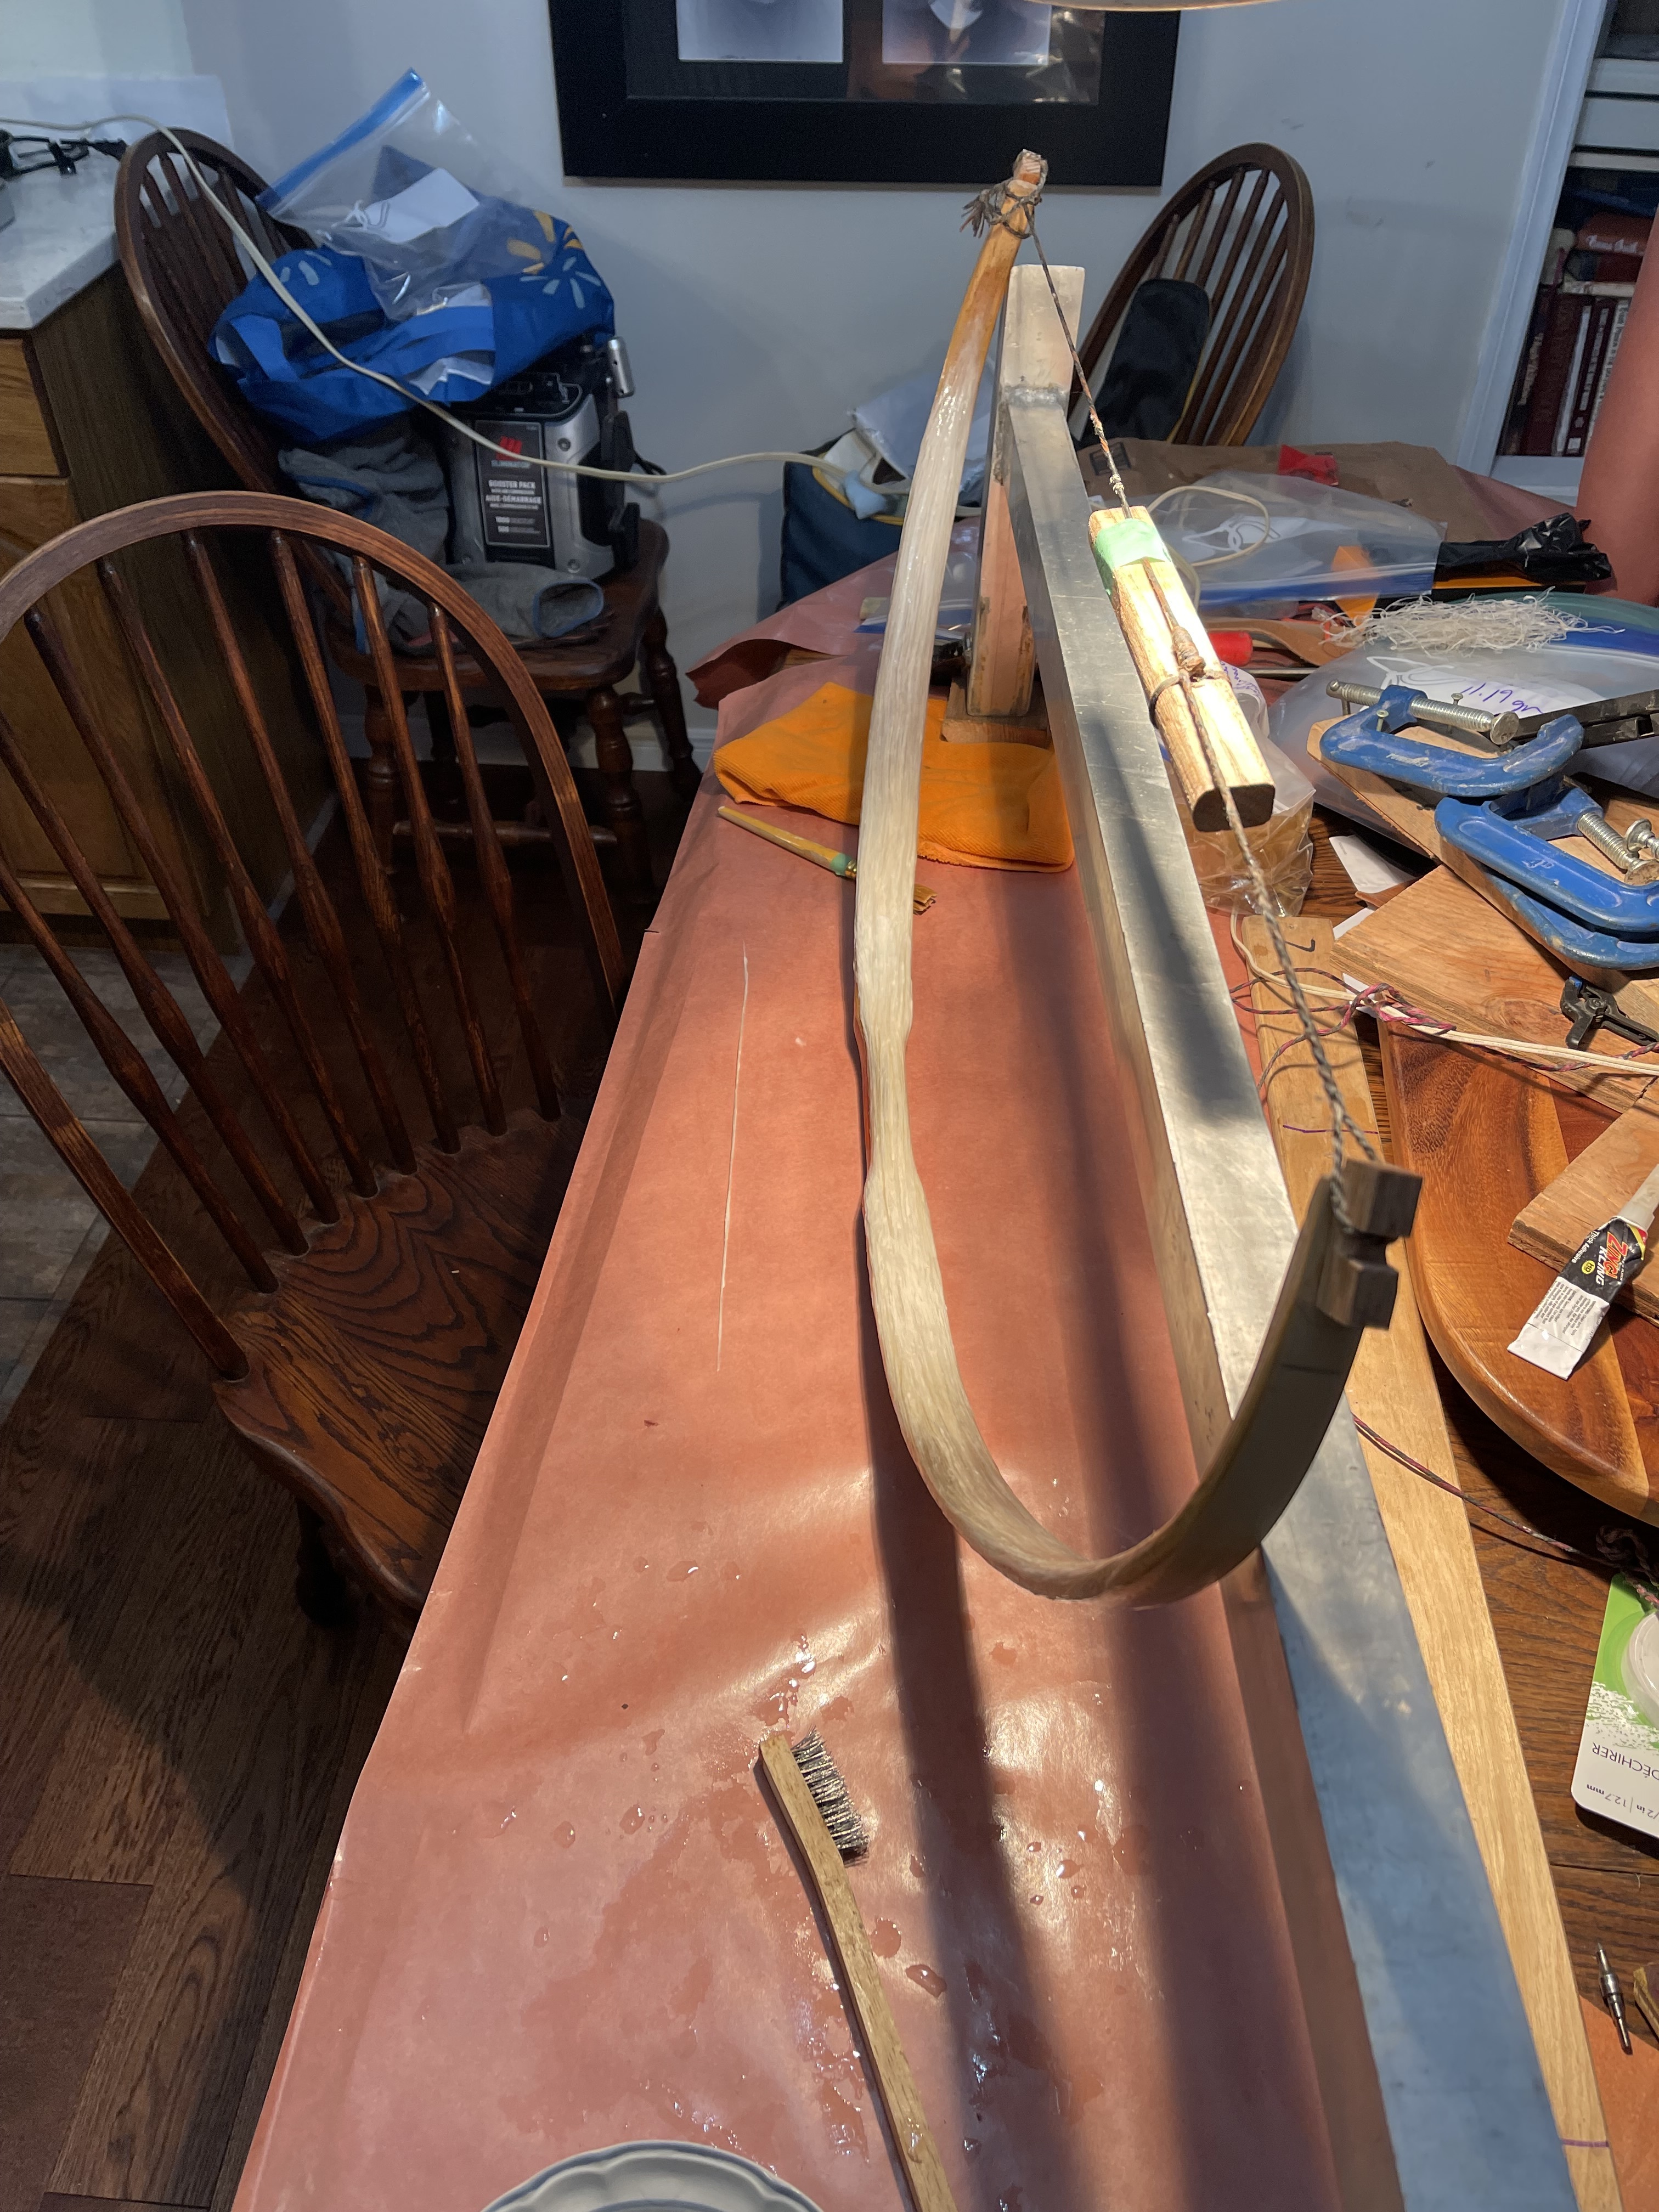
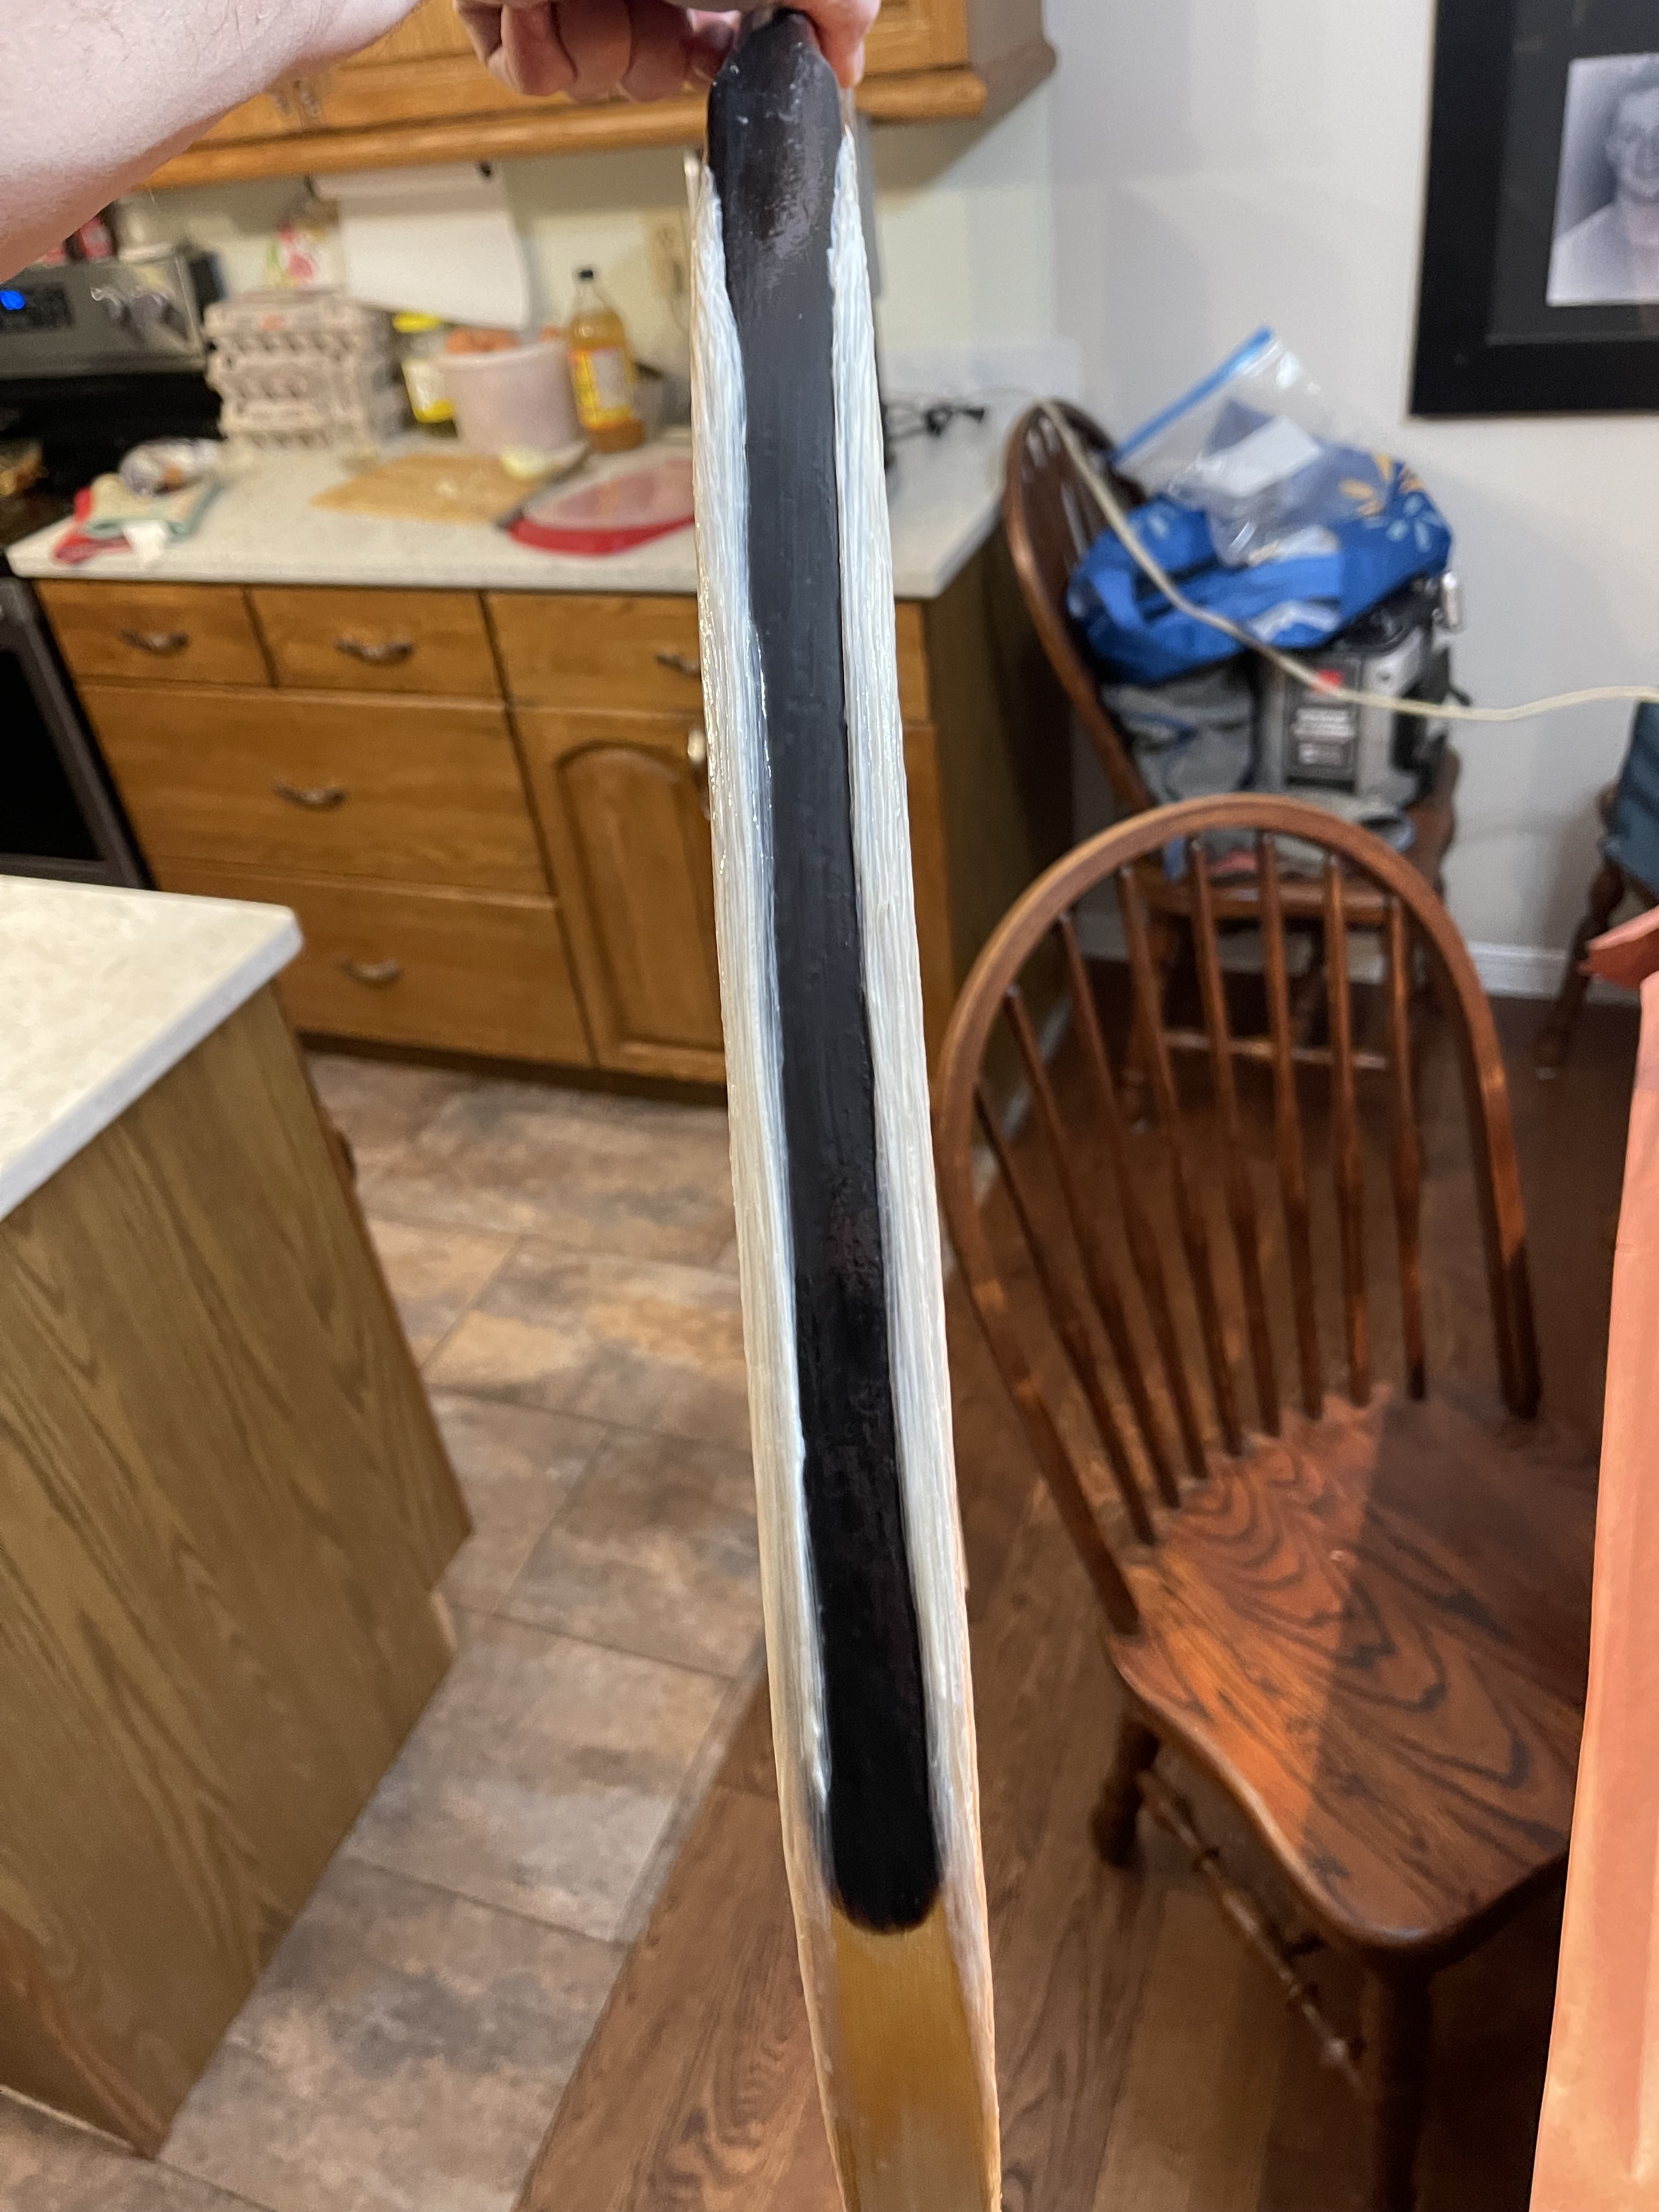
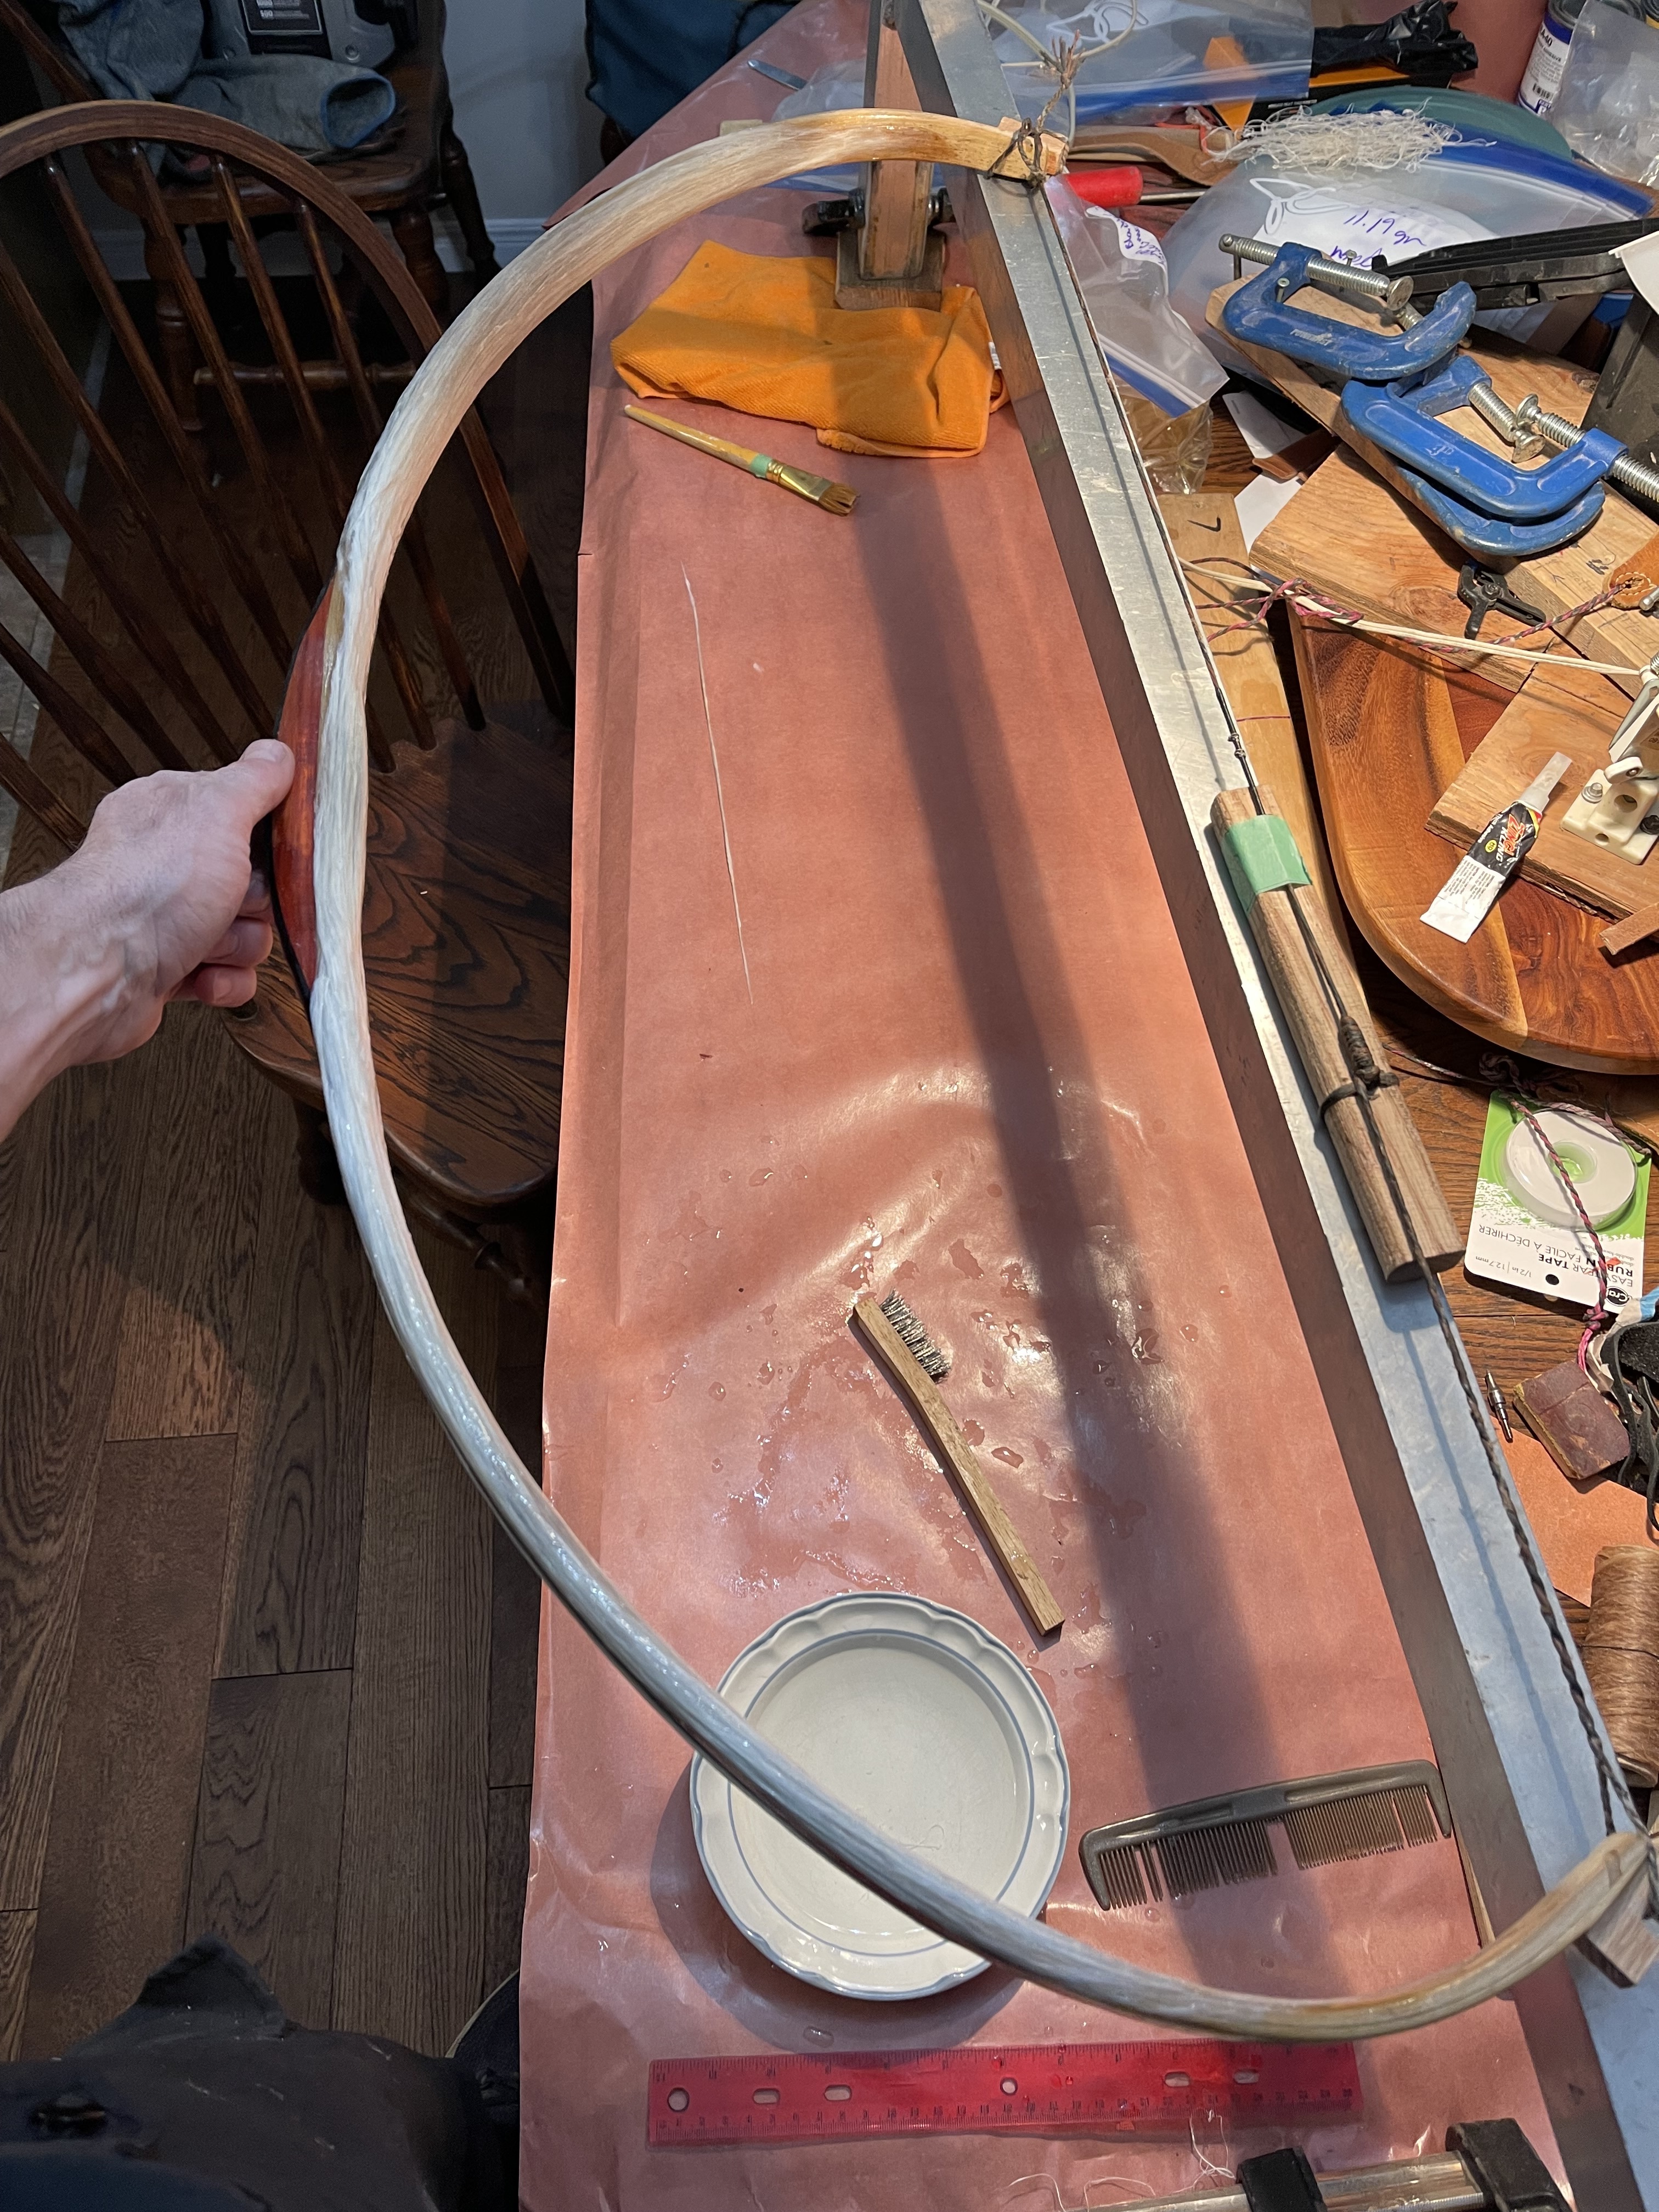
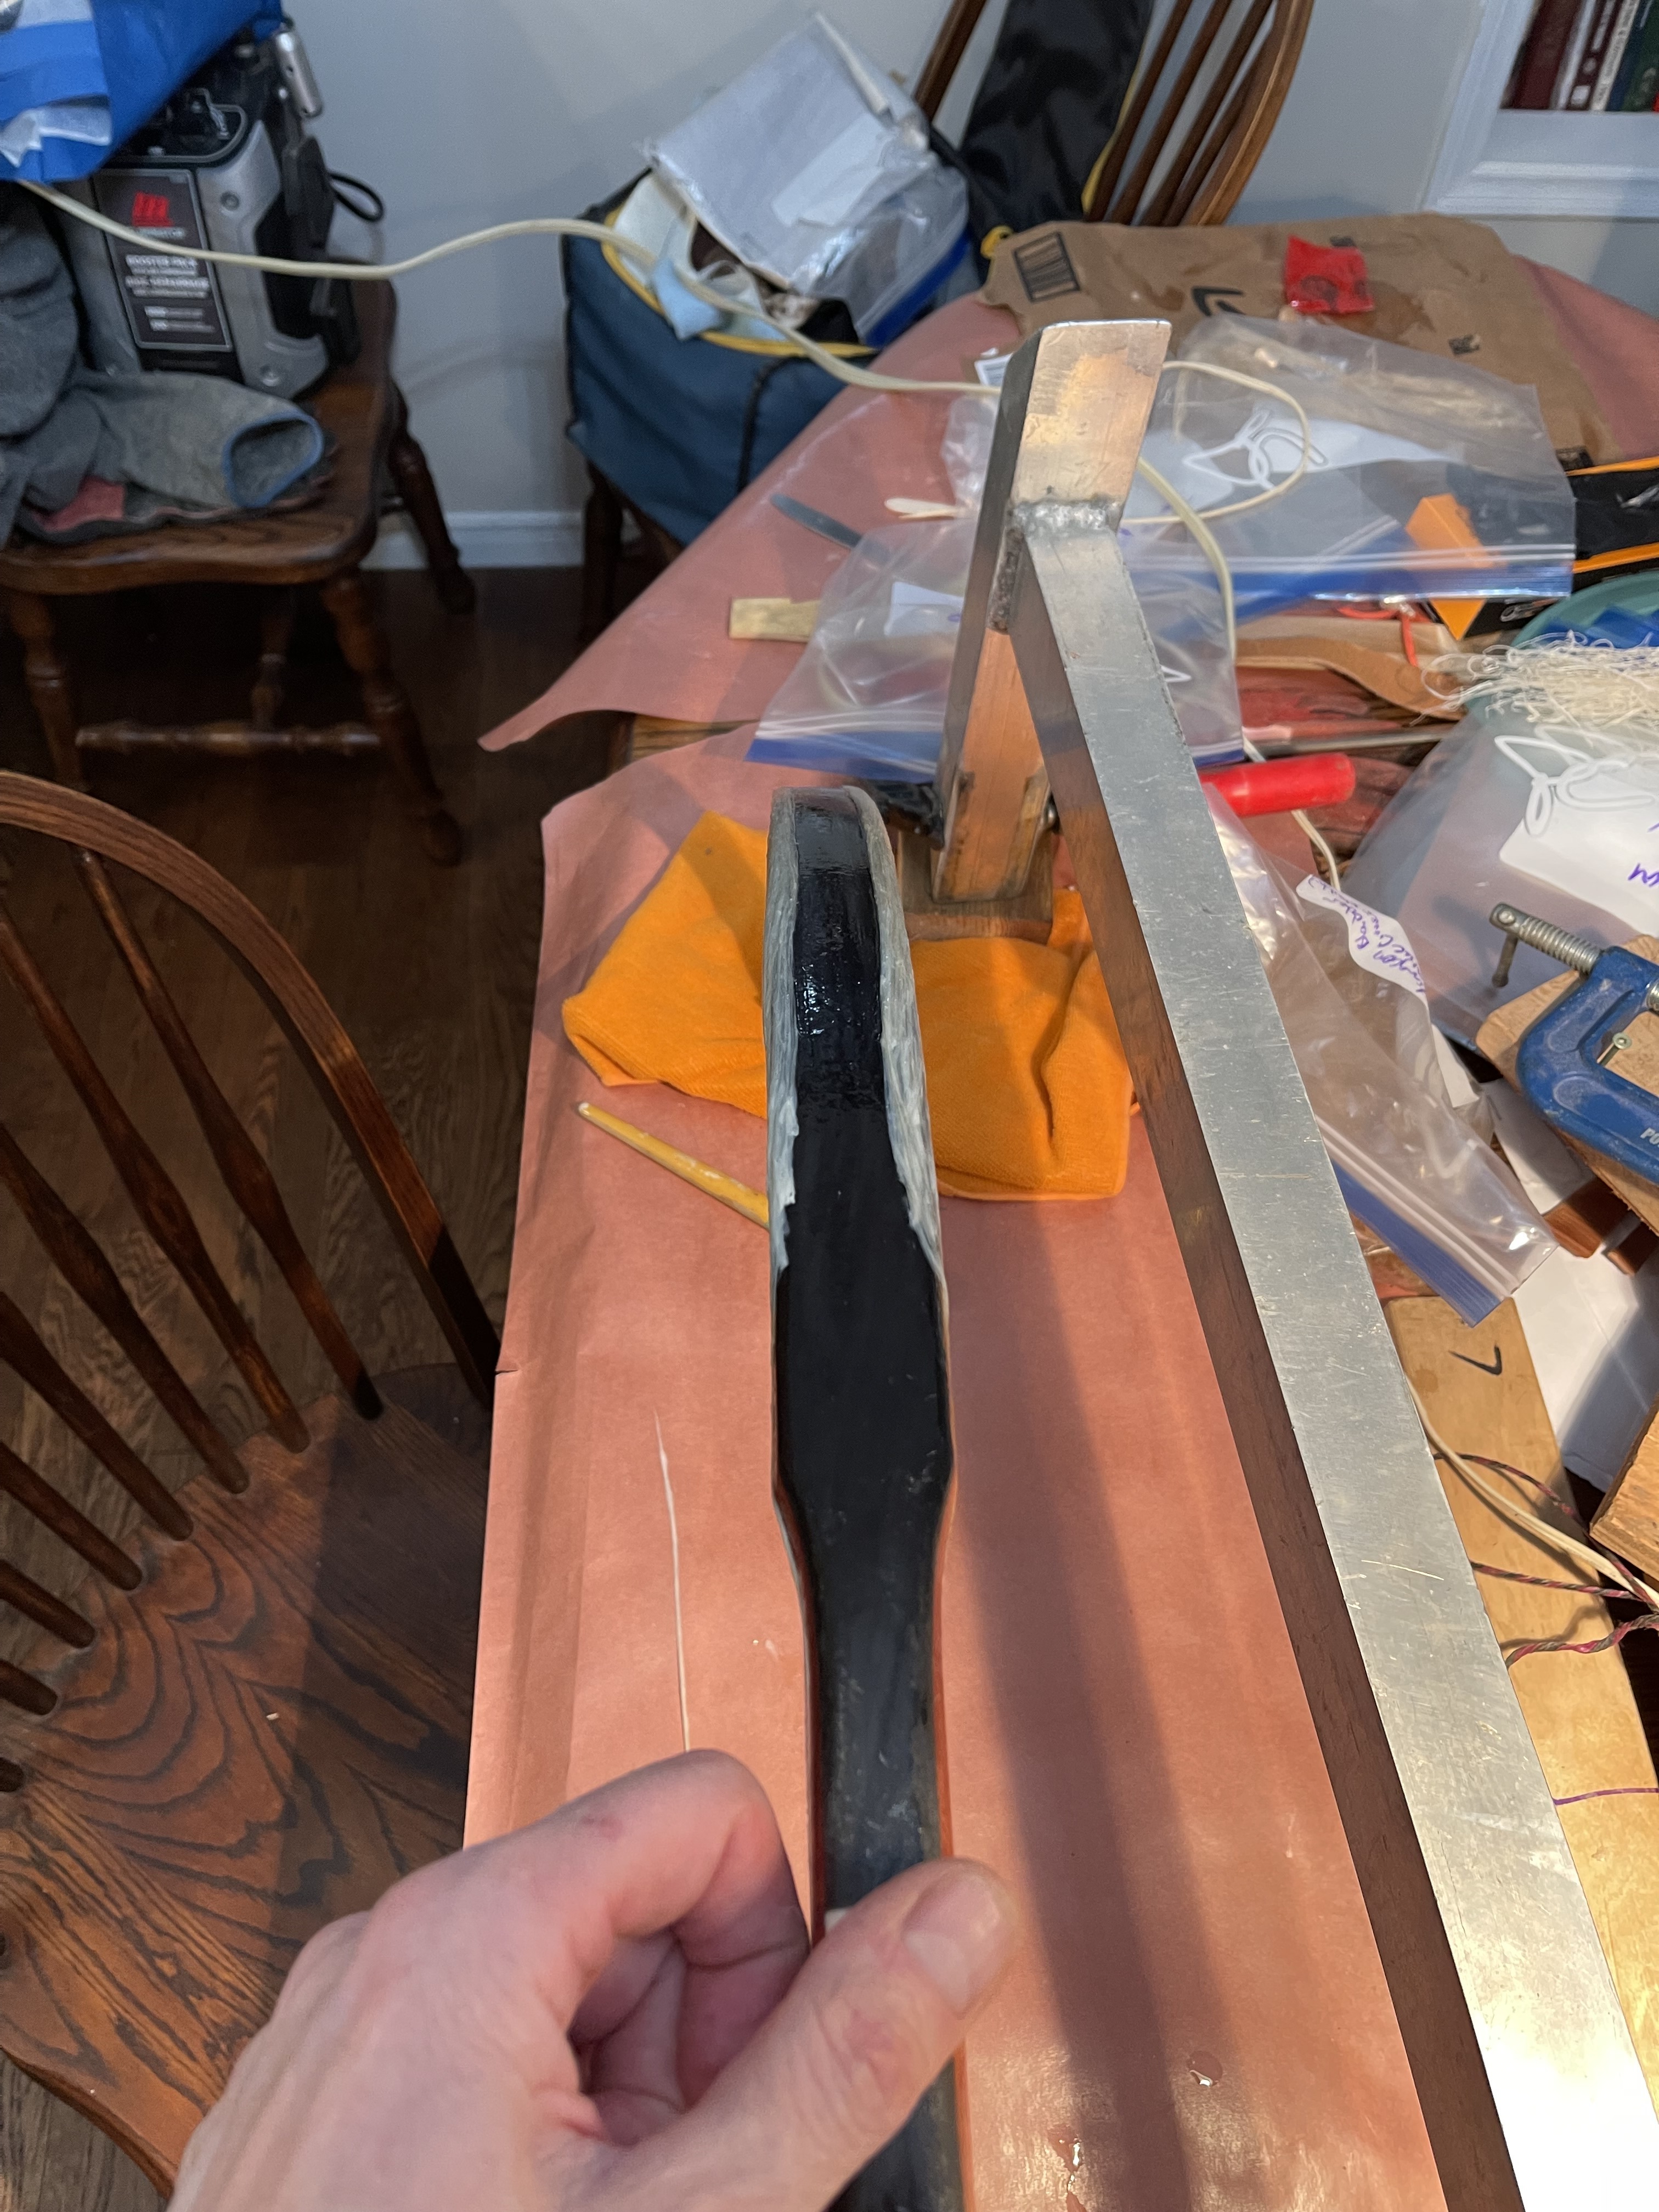
just a quick update on this little bow. Its all cured up now and so I had a day to get it bending. it was a humid hot day here so i figured it was ideal climate. i made a bow press to use in conjunction with the tepelinks forms to get the bend shaped in. the press worked great. I did some minor tweeks to the bottom limb but no scraping or heat correcting needed. it was spot on and it looks just liked i was hoping for profile. I will make a proper string for it soon and do some proper speed testing too once I get it out the full draw. right now it pulls 54 lbs at around 26-27". Im hoping to get it to 29" and be around the 60lbs. we shall see. It shoots amazing! was getting 194fps shooting a 400 grain arrow. zero handshock and feels buttery smooth even with the lighter arrows. couldnt be happier with the way it turned out. will get it finished up now. I started with about 13-14" reflex and then after stringing and shooting it a bunch it retained about 10-11".
a few vids


some pics of the bend process