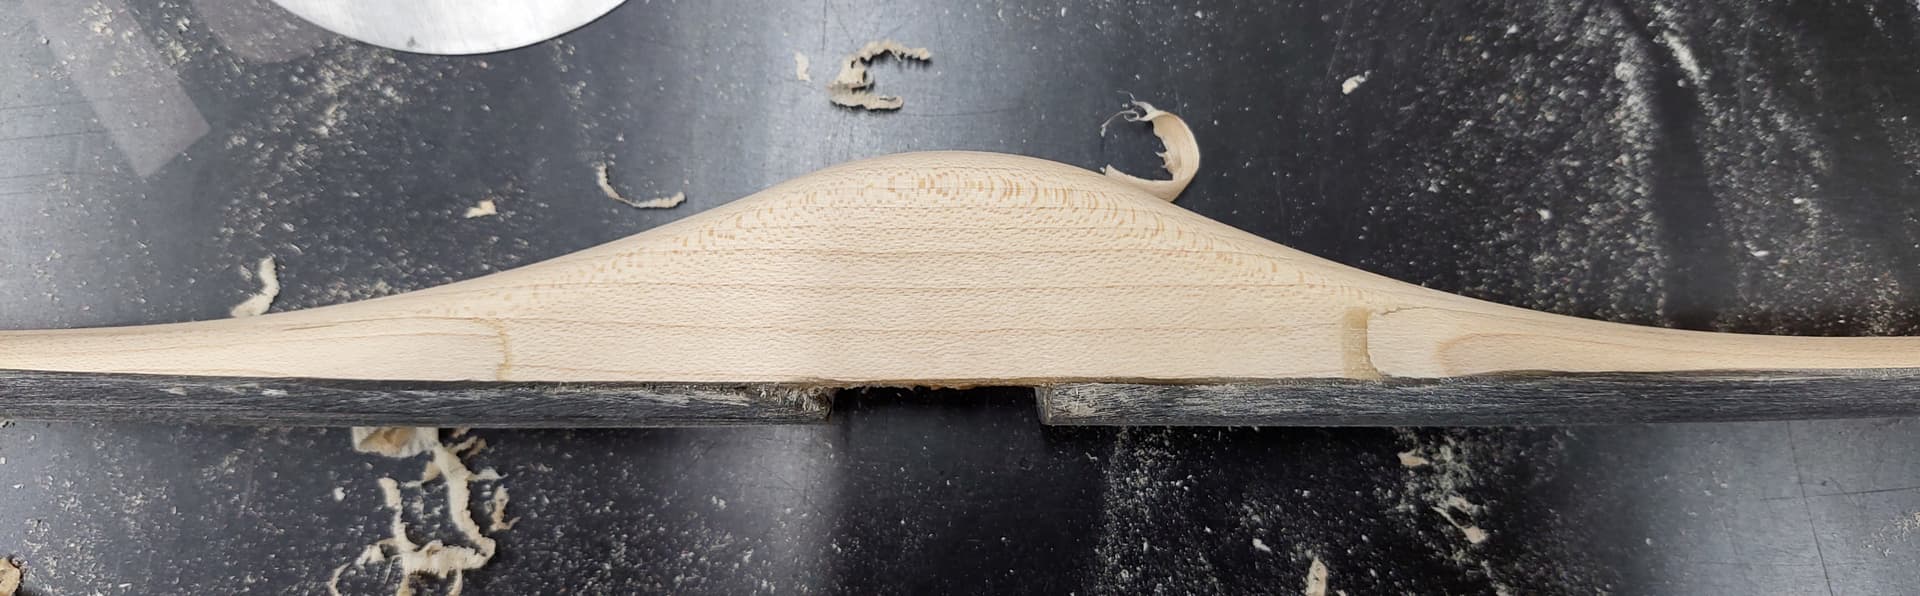
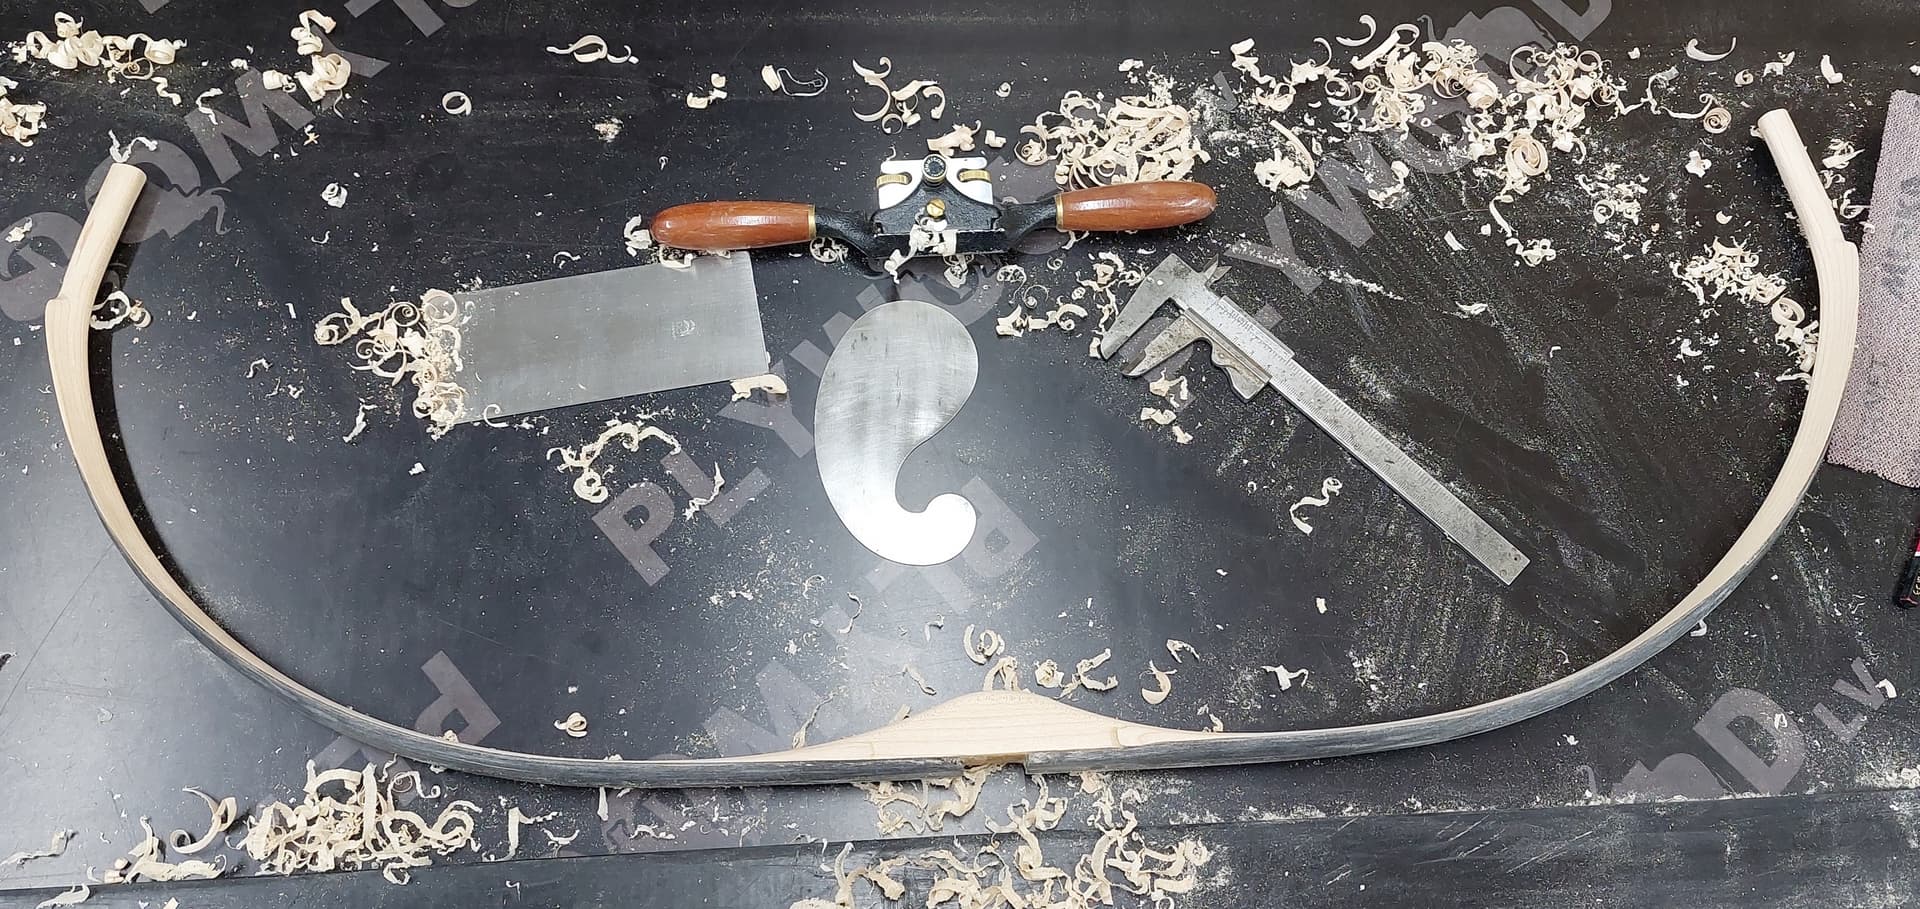
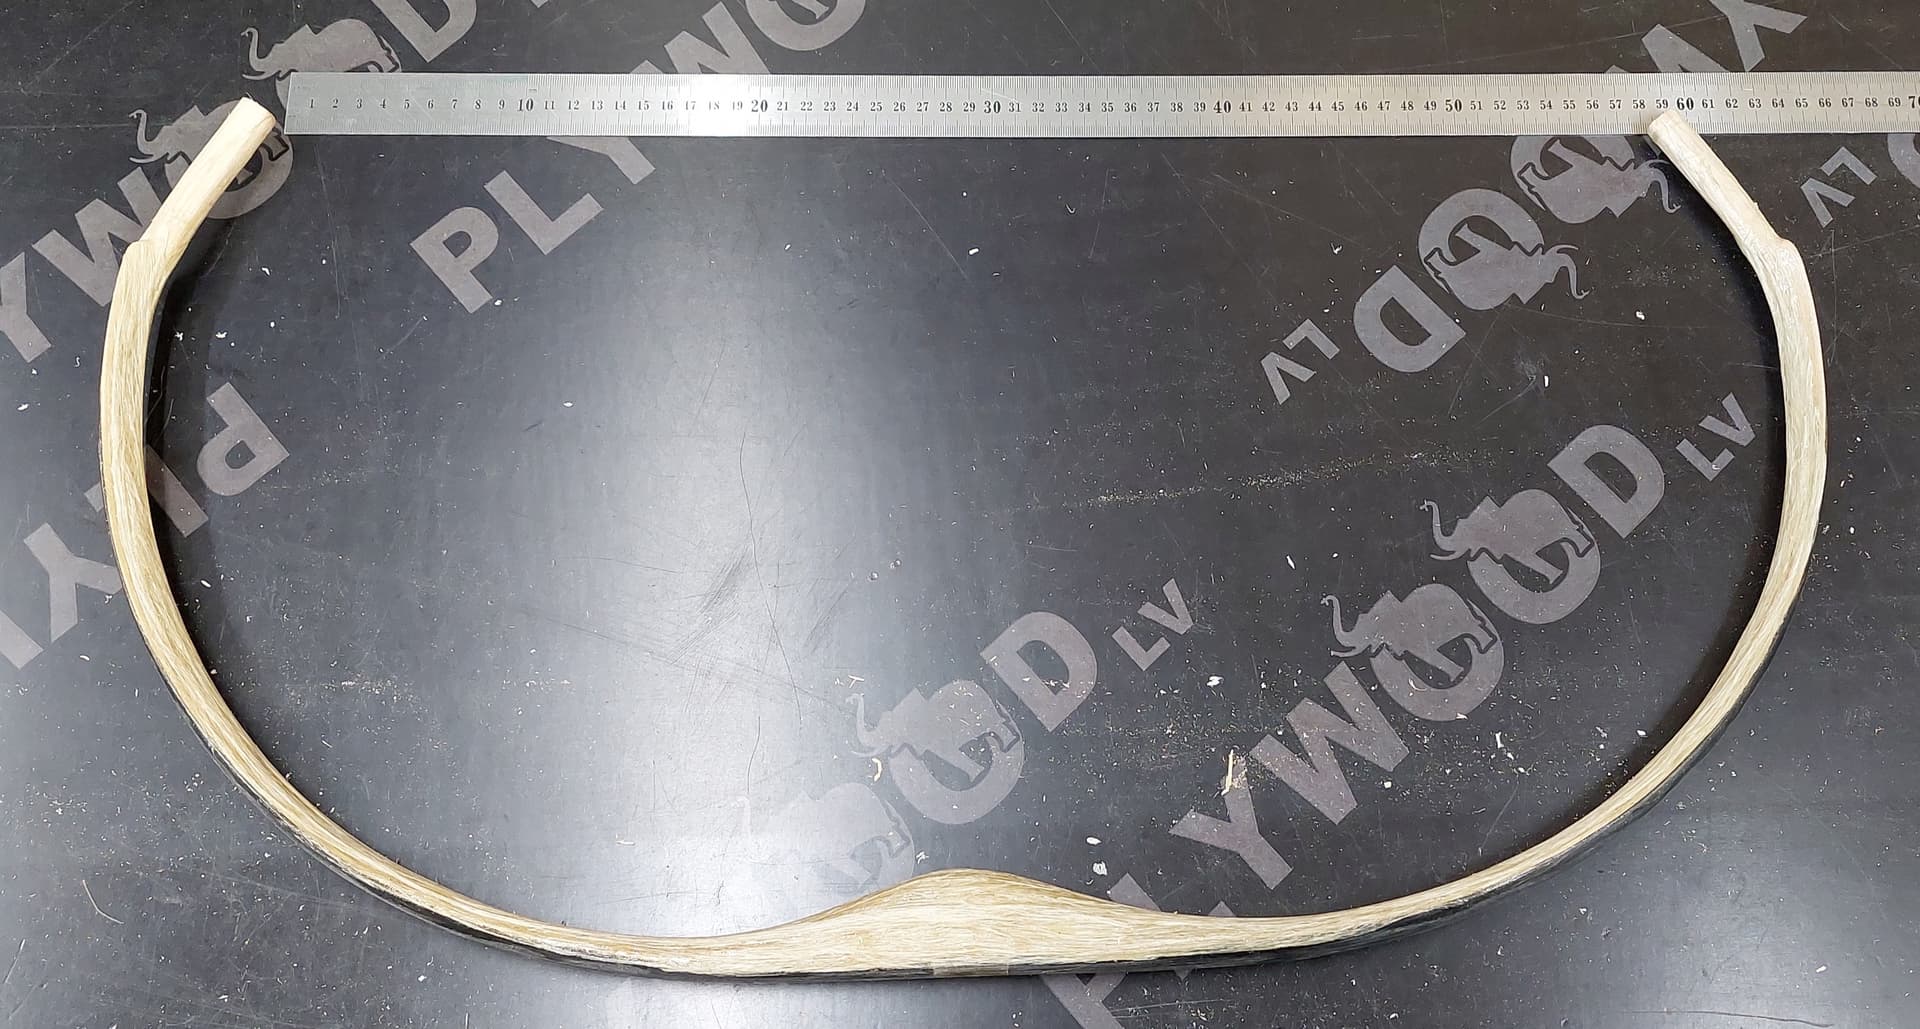
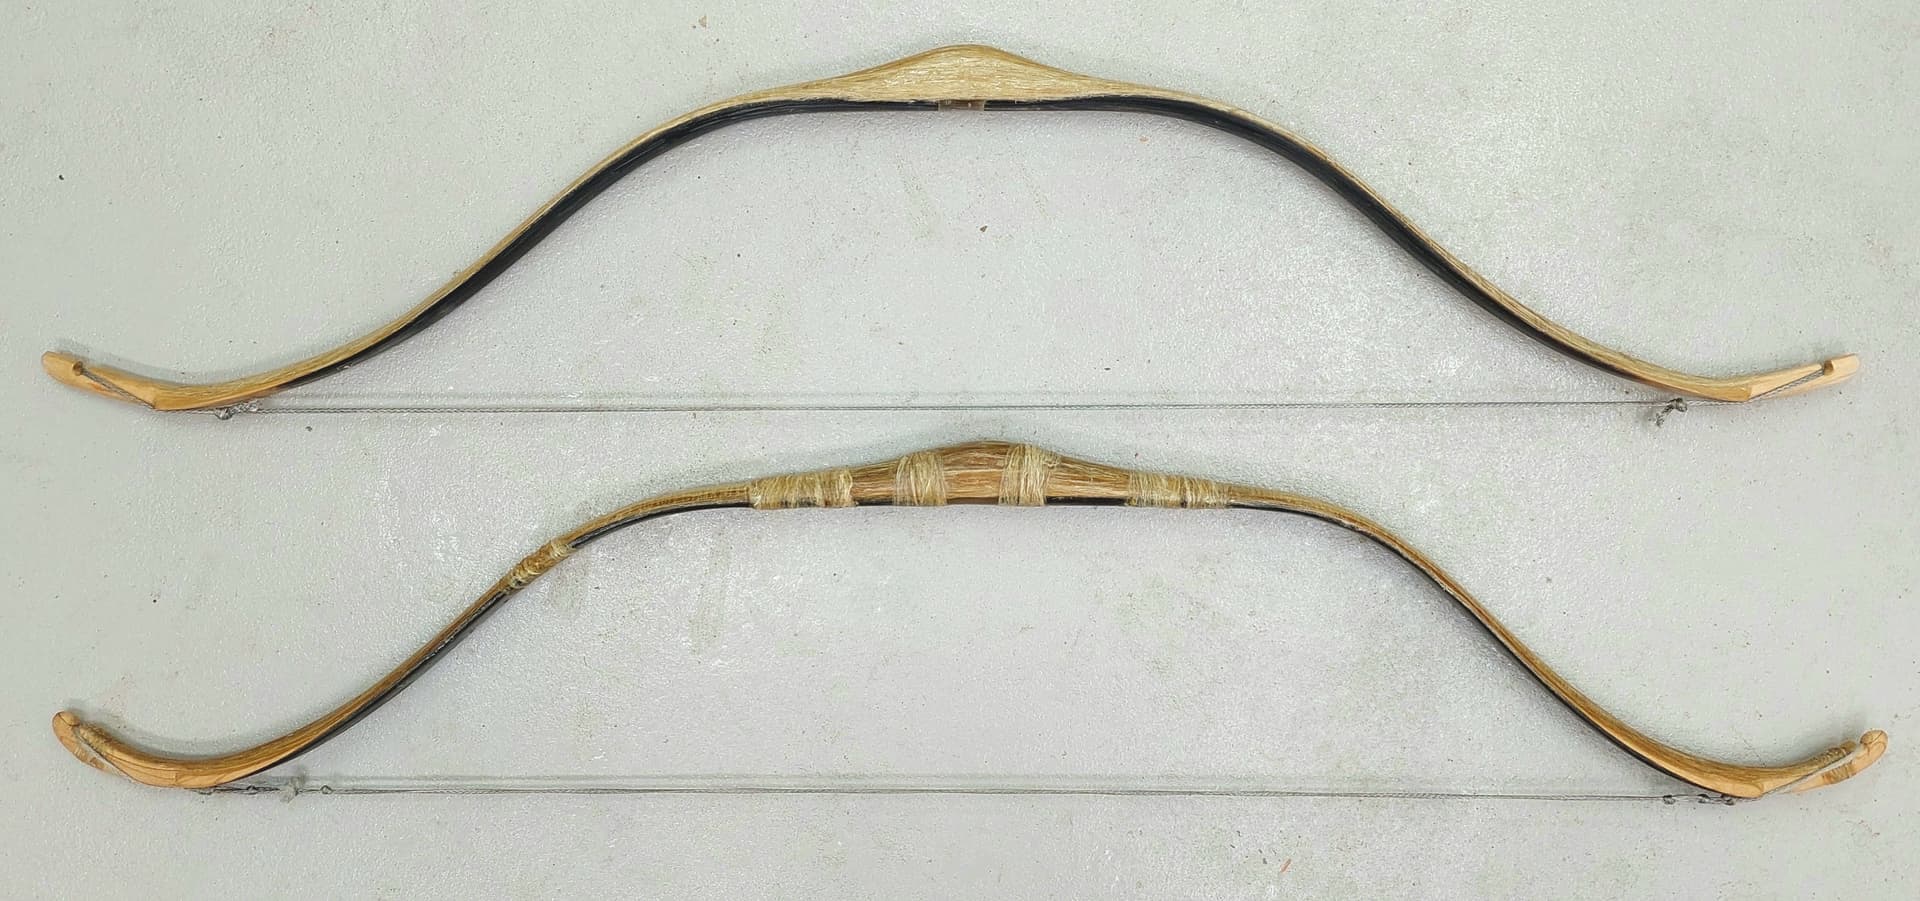
251 grams, almost finished.
118 cm nock to nock, max width 29 mm.
You start tillering only 2 months after sinewing ?
Ten days after the last (third) sinew layer and four weeks after the first layer… The bow was dry. And this is one kind of exercise, just making the process better and free of mistakes, so no need to make it perfectly. I just want to know, how it will function. Numbers #3 and #4 (starting soon) will be better and I will let them to “mature” long enough.
And what you exactly get after long curing period? More draw weight. With this bow, I do not care, it will be anyway strong enough for me. And as I though that this will be a flight bow, it is too long (about 116 cm) and too heavy (365 grams) and too much sinew (120 grams), so this is going to be just an all-purpose bow.
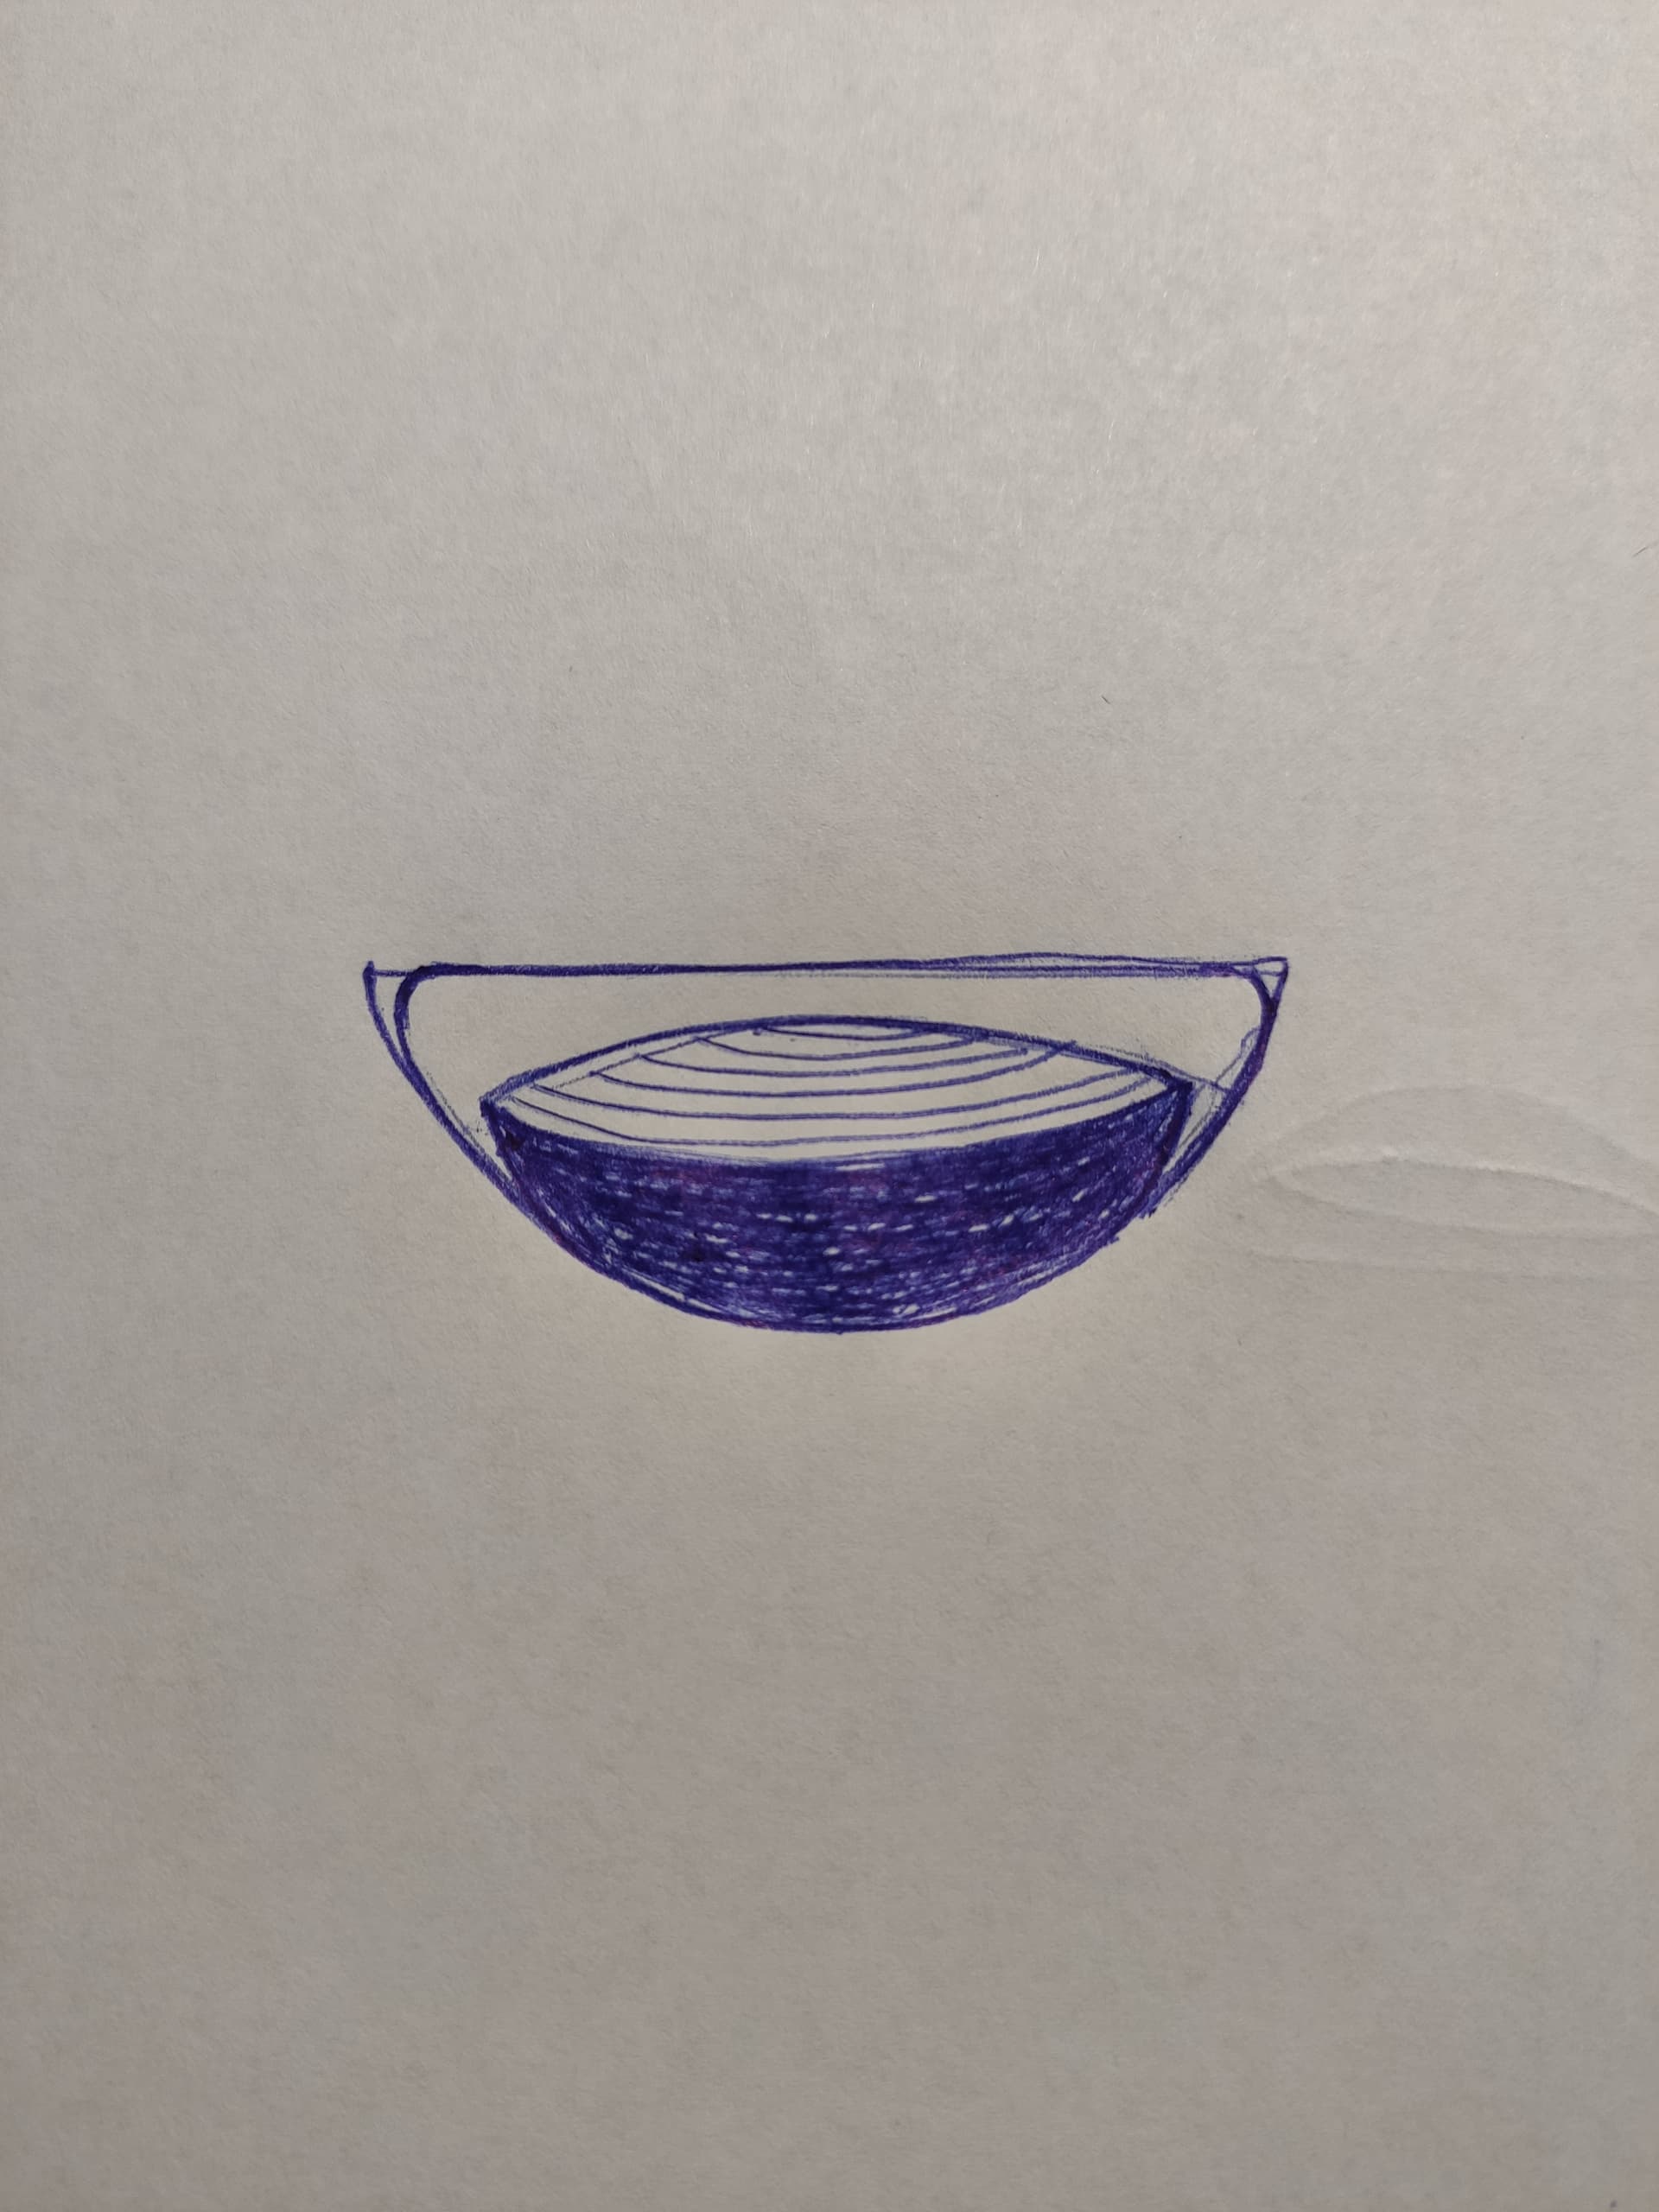
Four weeks, that’s amazing. How much mm is the thickest point of sinew in your bow ? I’m building bow like on the picture, where thickness at the sides is 6mm and at middle 2.5mm. I think those 6mm need looong time to dry.
Me and many others have been bracing hornbows pretty early for some time. Still the bows set flight/speed records. I think Ivar made some of the world records with a bow that had been curing 3-4 months? And surely the bow had to be tillered before he flew to Utah, so the actual time to cure before brace was less.
@TuomoReiniaho here is being very modest and careful, but i know this will be by far better bow than the first he made.
If we would be only caring about the moisture content, we could everyone be bracing the bows a week after the last layer. You can simply weigh the bow and see when the weight is stagnant.
I wouldn’t brace the bow after a week in 50% rh. Here in Finland we have extreme dry conditions during winter which makes a huge difference.
Hornbows gain poundage and stiffness by curing for longer time, but my experience is they gain the stiffness regardless of bracing soon after sinew job or after 6 months. Most often 10% increase in strength.
I’ll admit though i haven’t made longterm tests with cure time, for the simple reason that it would be really hard to somehow document the difference.
While i’m enthusiastically making new bows, i find myself bettering every 6 months anyway… I have bows curing now from which i already found some details i would like to fix in the future bows! 
Eventually the bowyer falls into a cycle that lasts an year and he will have bows curing, bows just being braced, some cores under work etc. So its natural you can then choose to cure bows fully before tiller. What i have found is you benefit letting the bow cure longer, because that way you end up in the final form of your bow. When you open early, the tiller will most likely also shift a little while it gains the 10% strength by curing.
Few days later I noticed a minor problem…
Glued it back and let it dry about a week. Problem solved. Yesterday I started again to bend the bow:
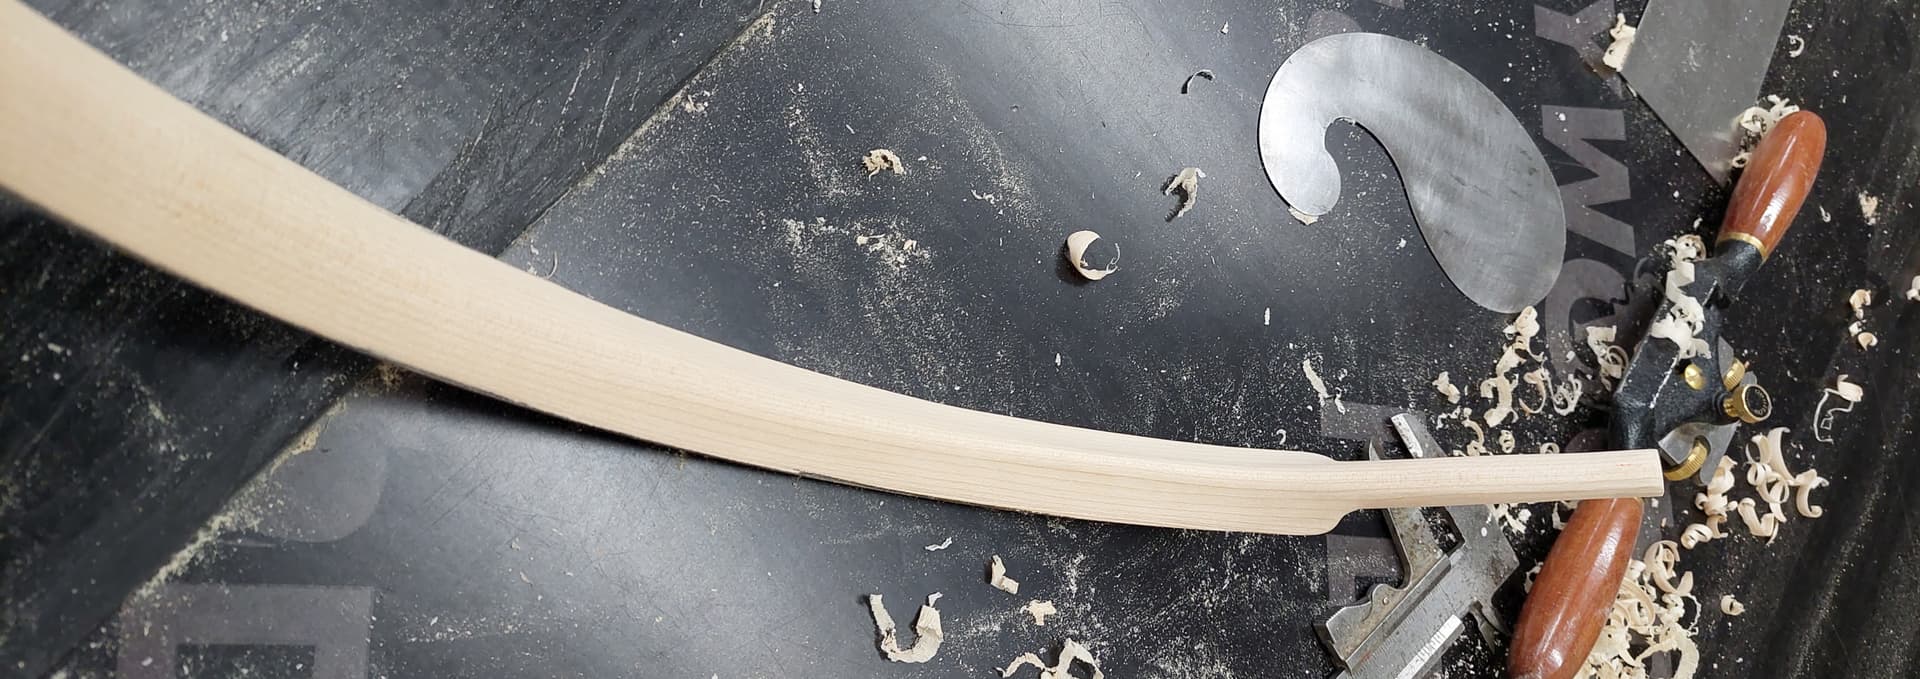
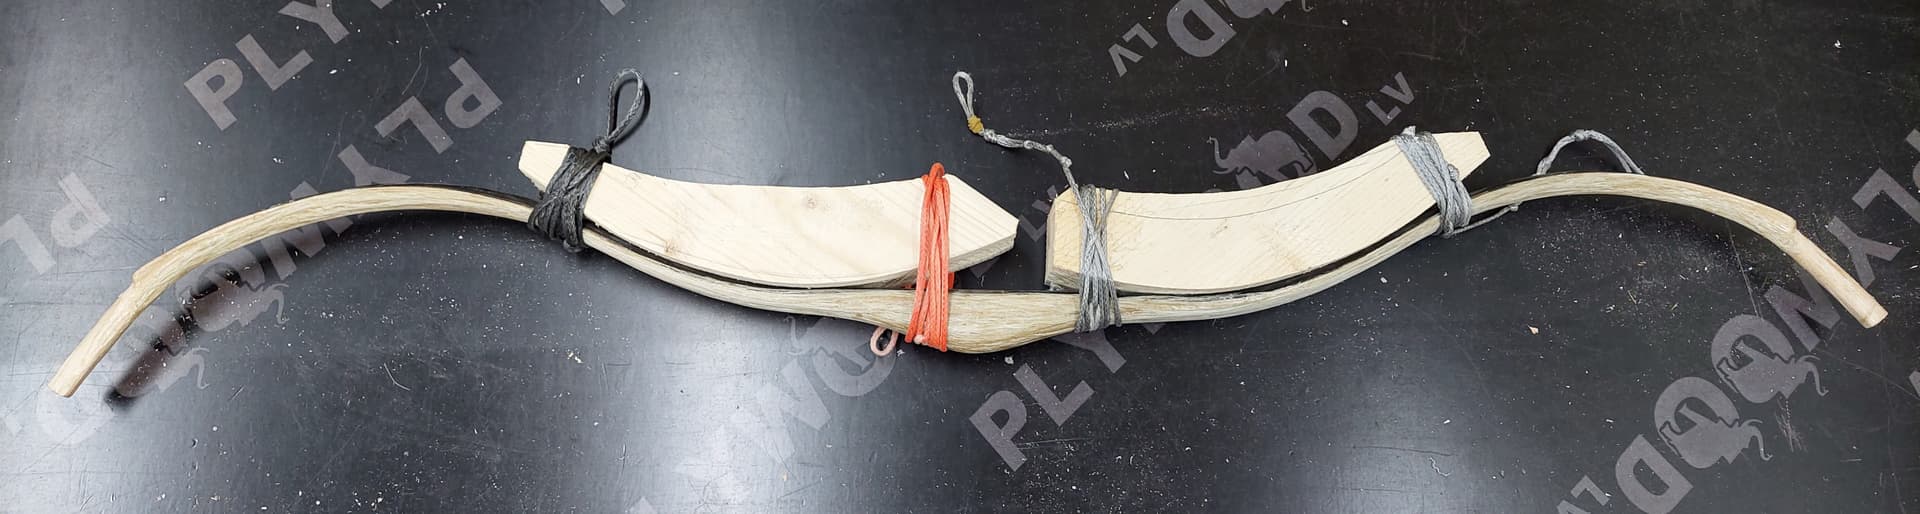
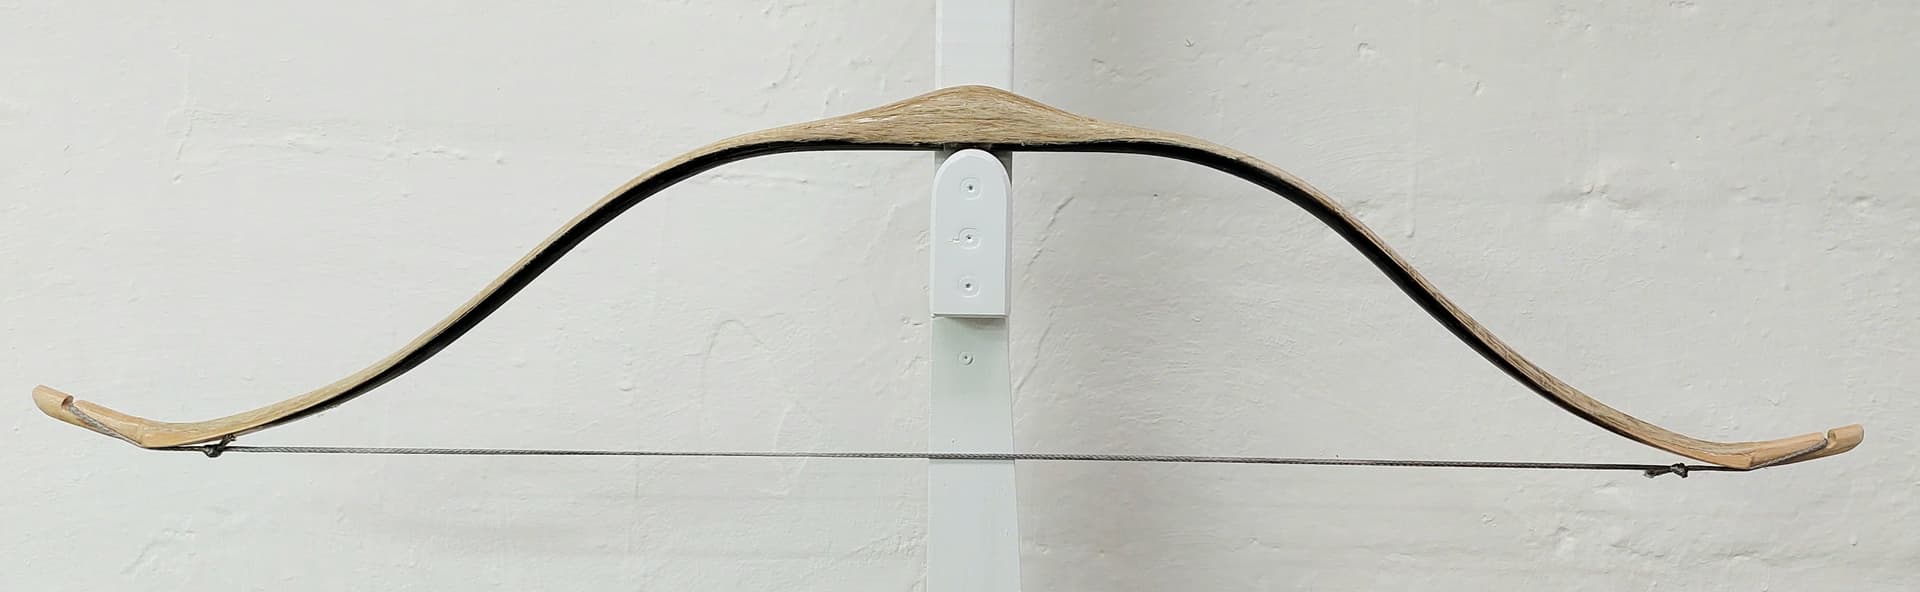
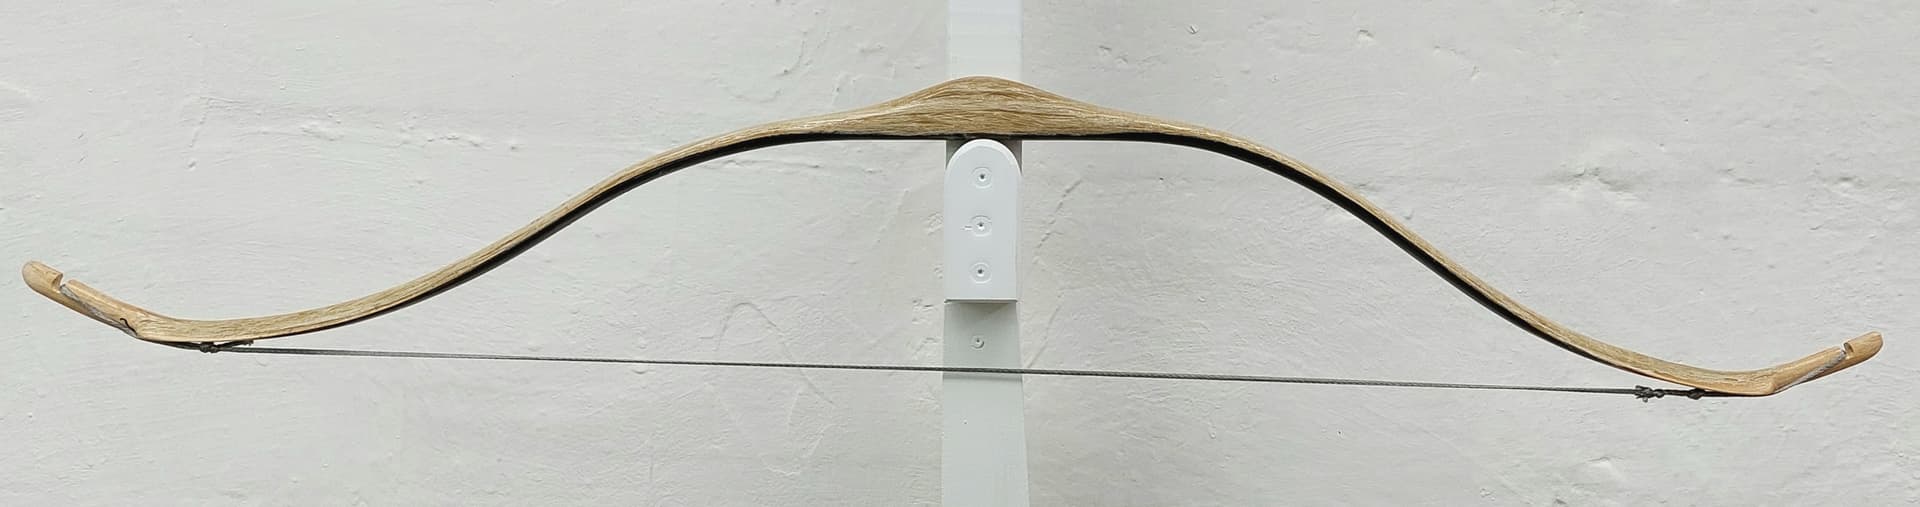
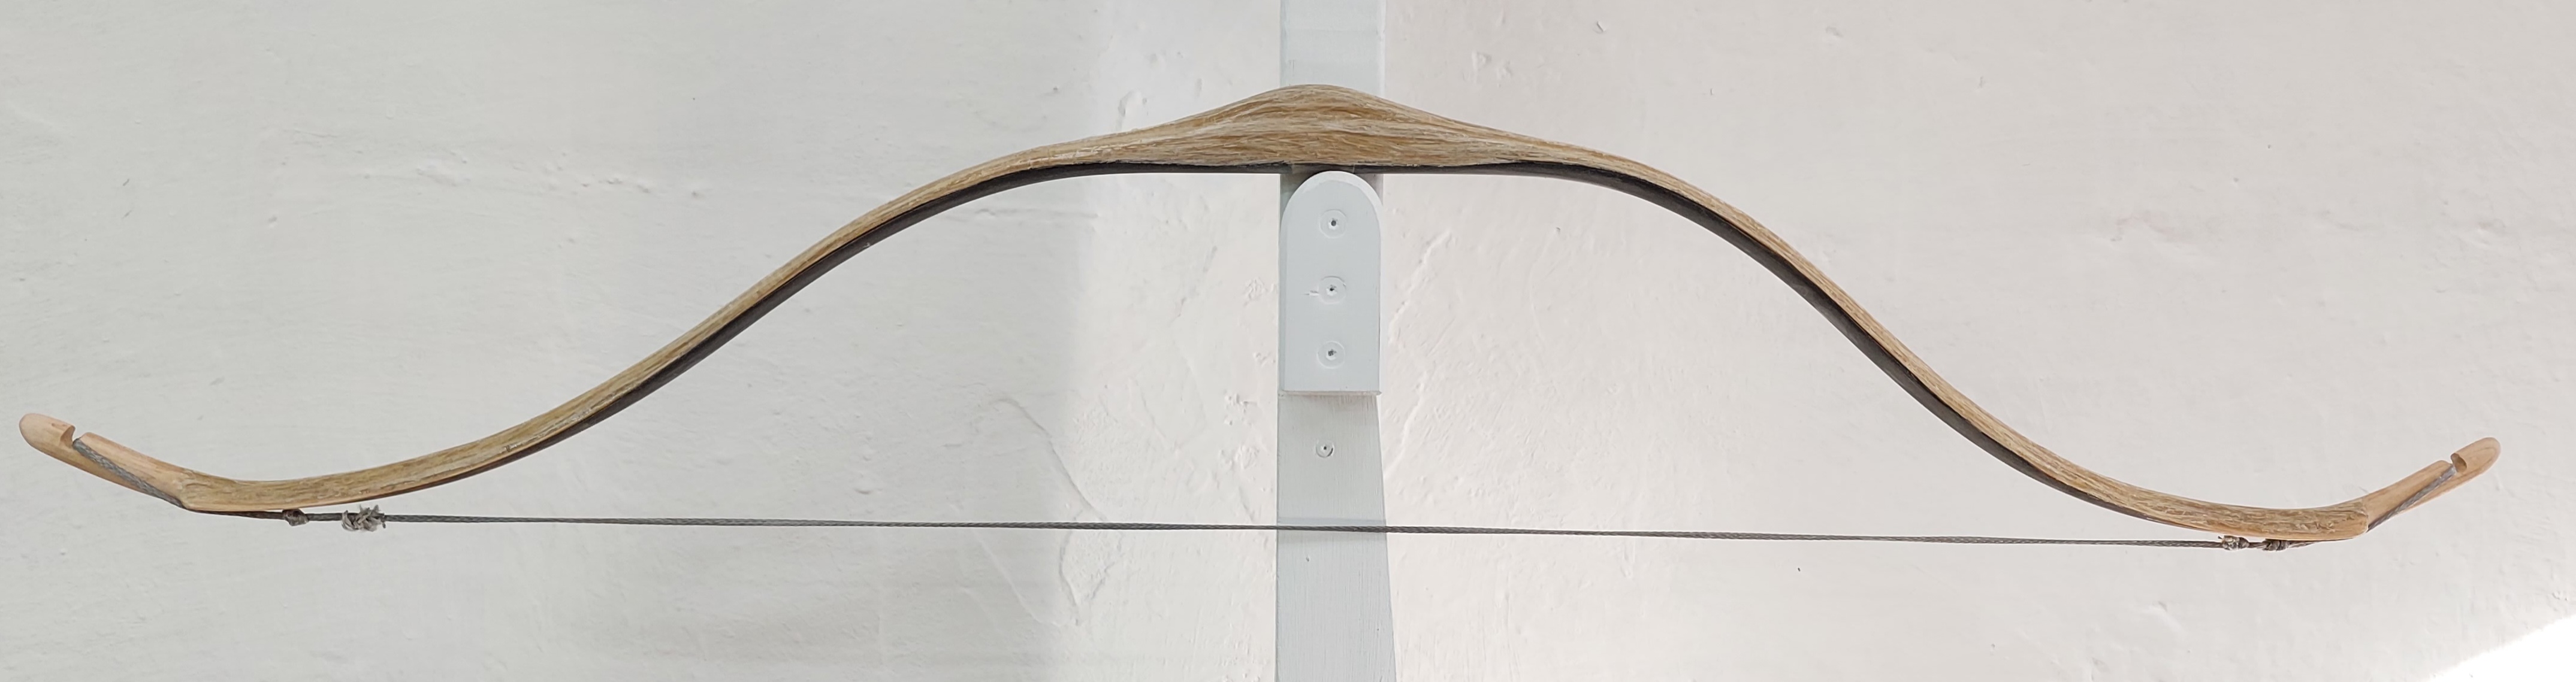
Looking good so far, so I let the tepelics for overnight. Then, continued this morning, and it took about 20 minutes with heat and scraper to get it braced:
Looking quite ok, in my opinion, much better than my first one:
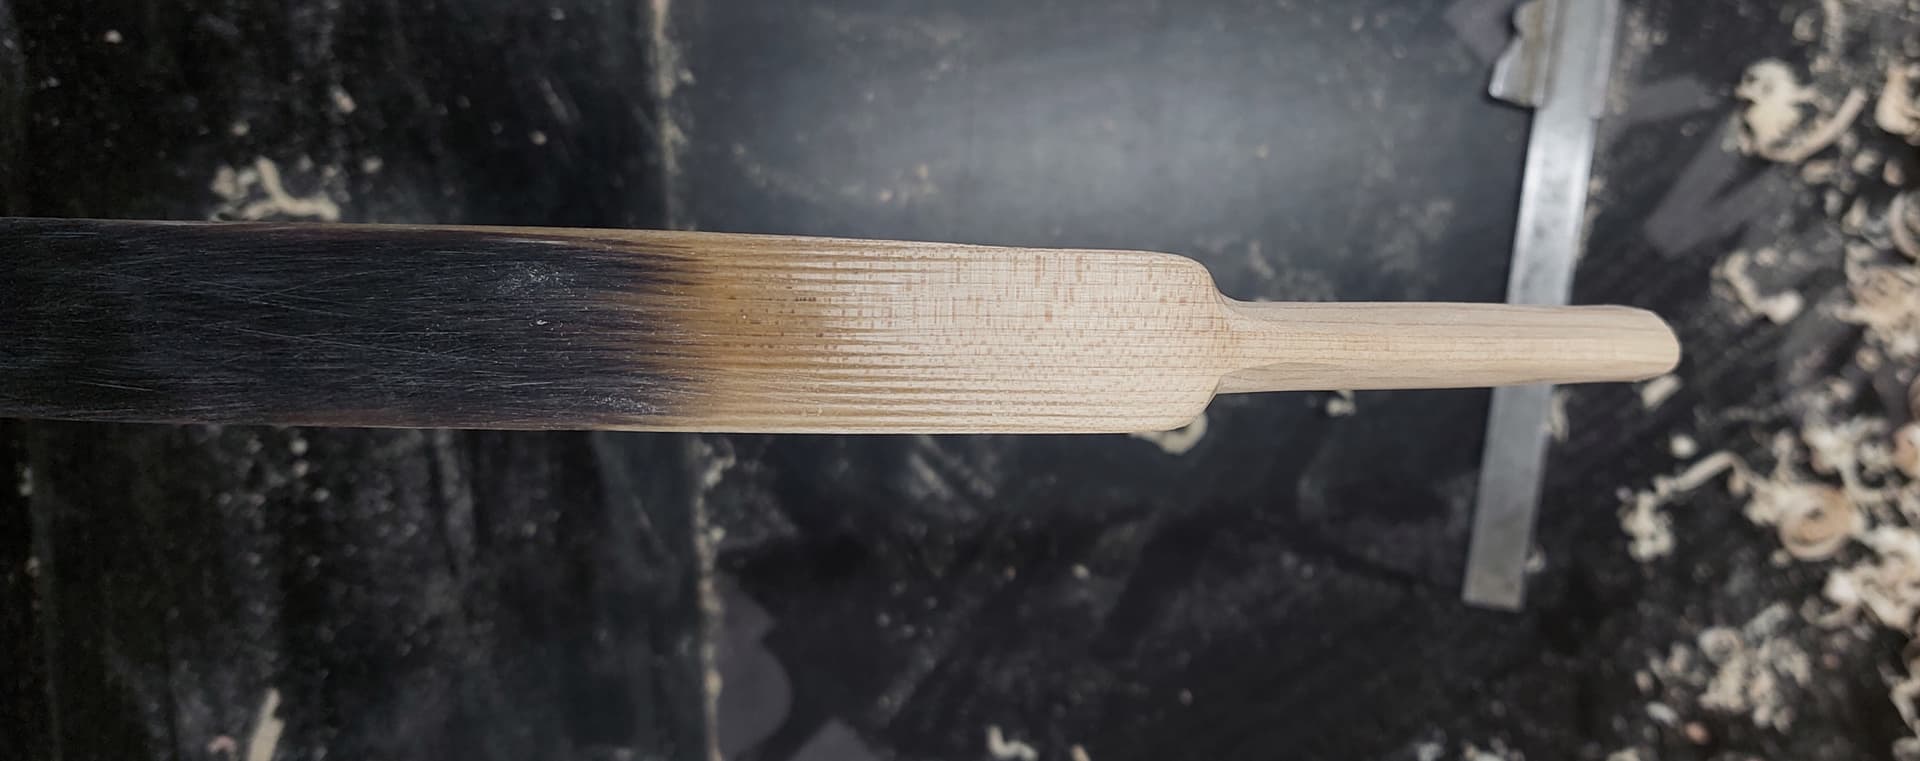
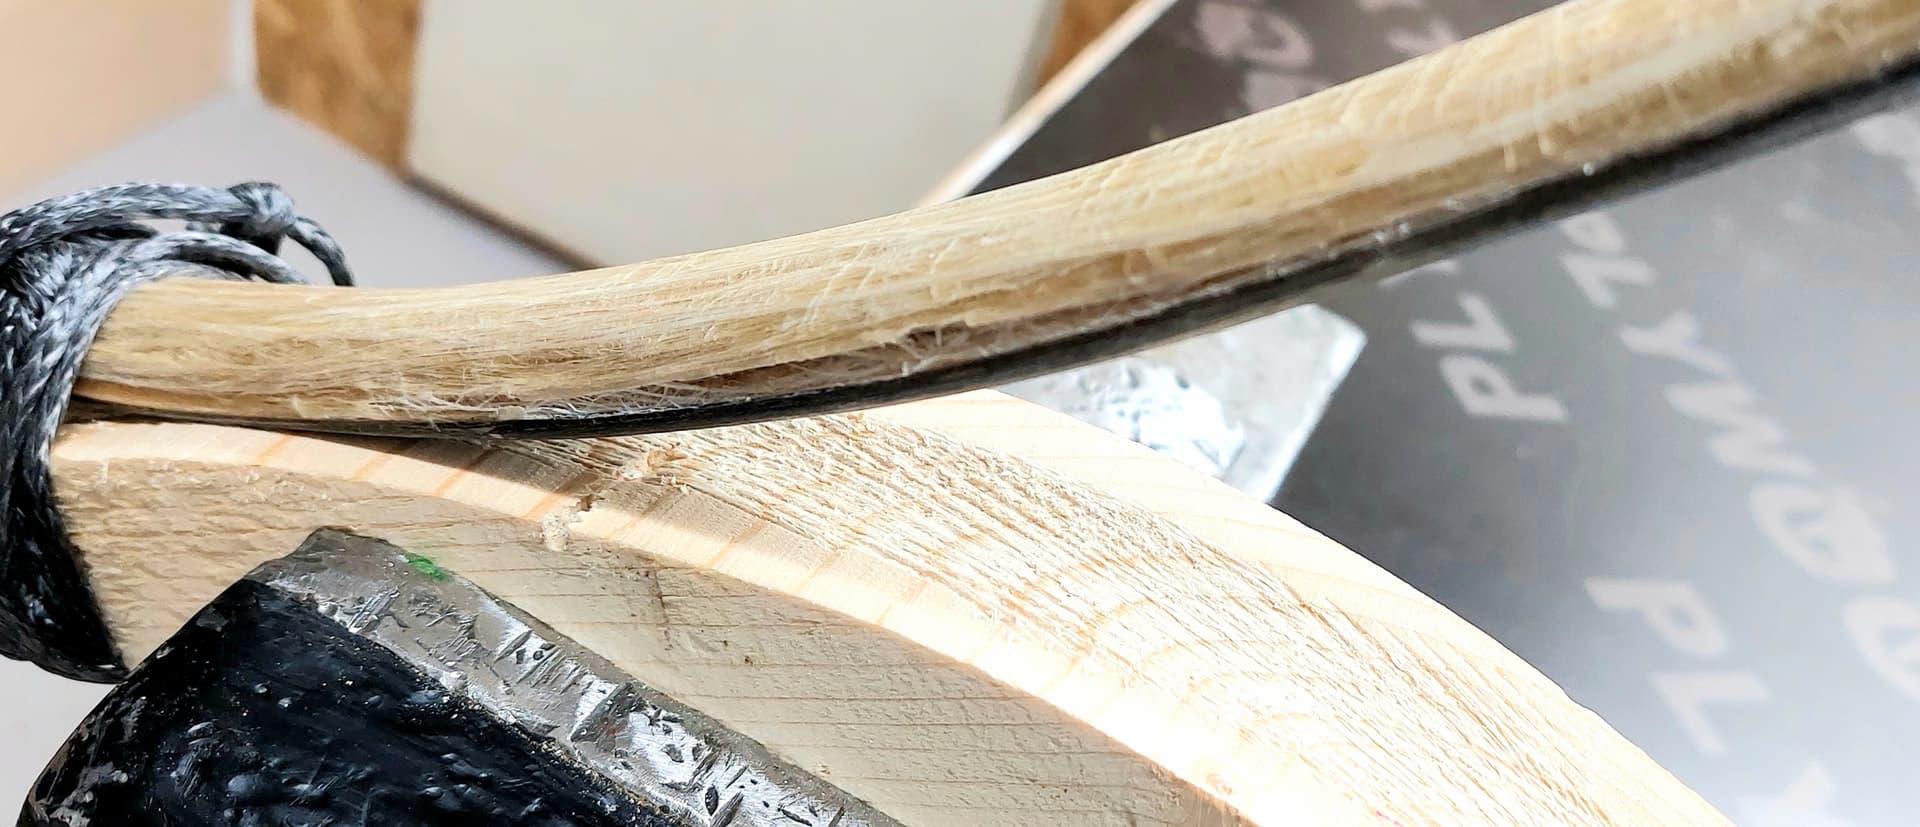
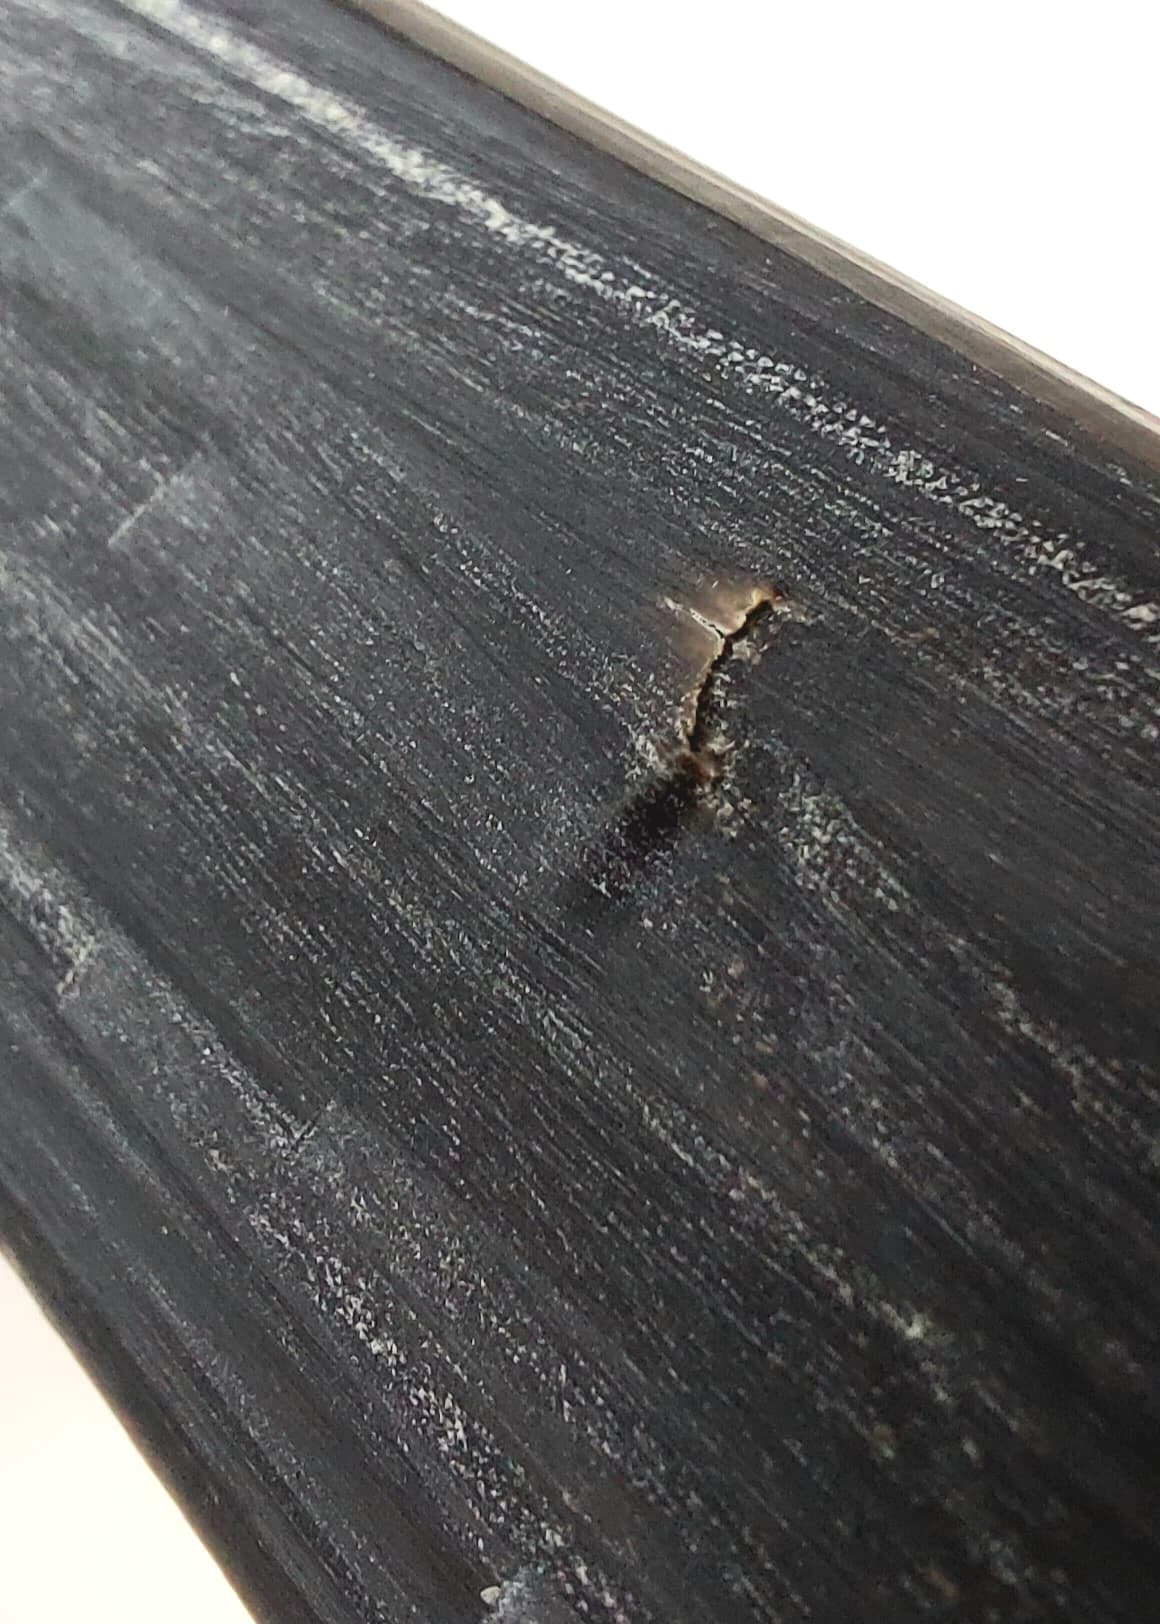
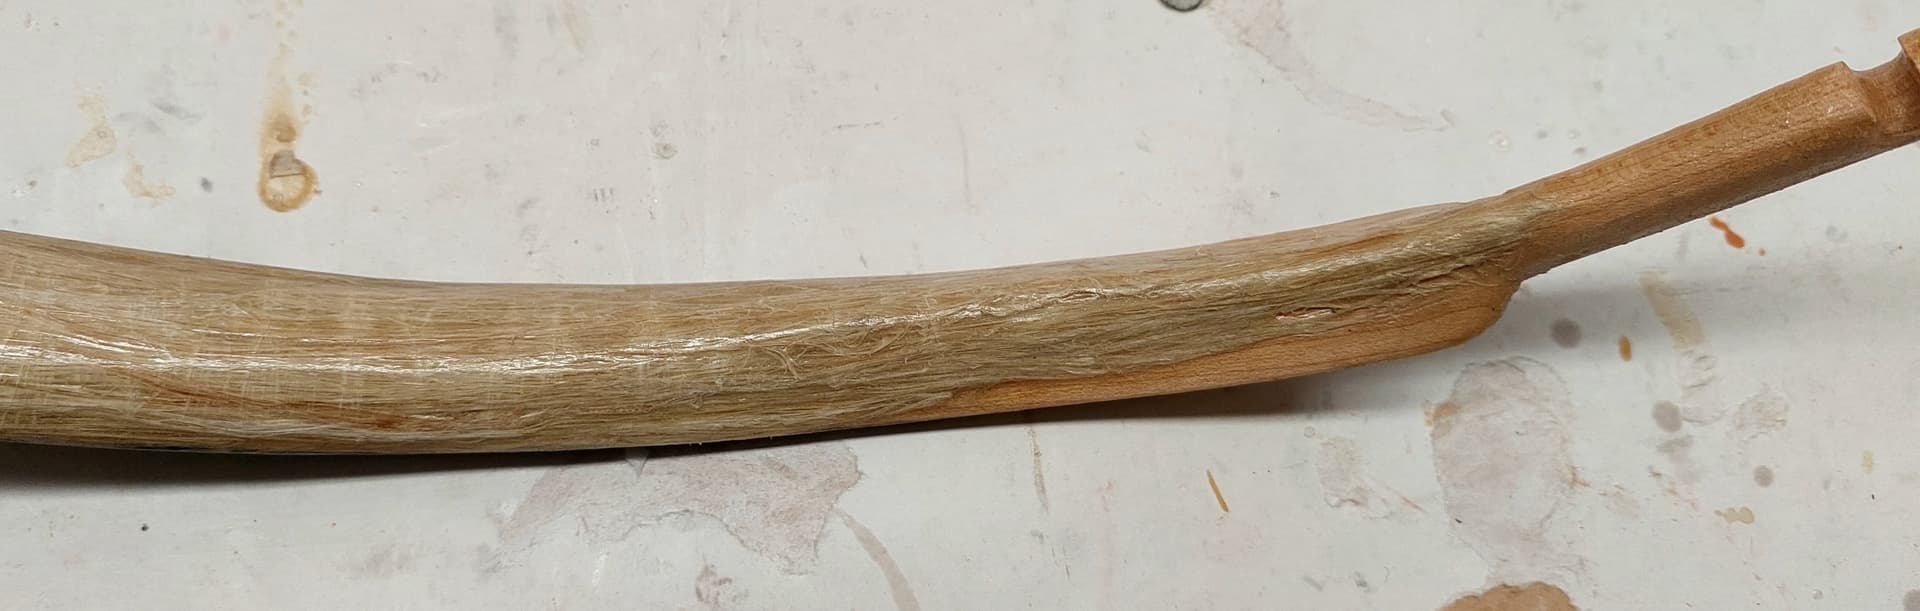
But, after drawing it to 24 inches, I noticed a problem, again:
Location is about at the middle of the limb. There was not any kind of sign for this small crack. I am not sure, what I should do with this, and is this fatal or not.
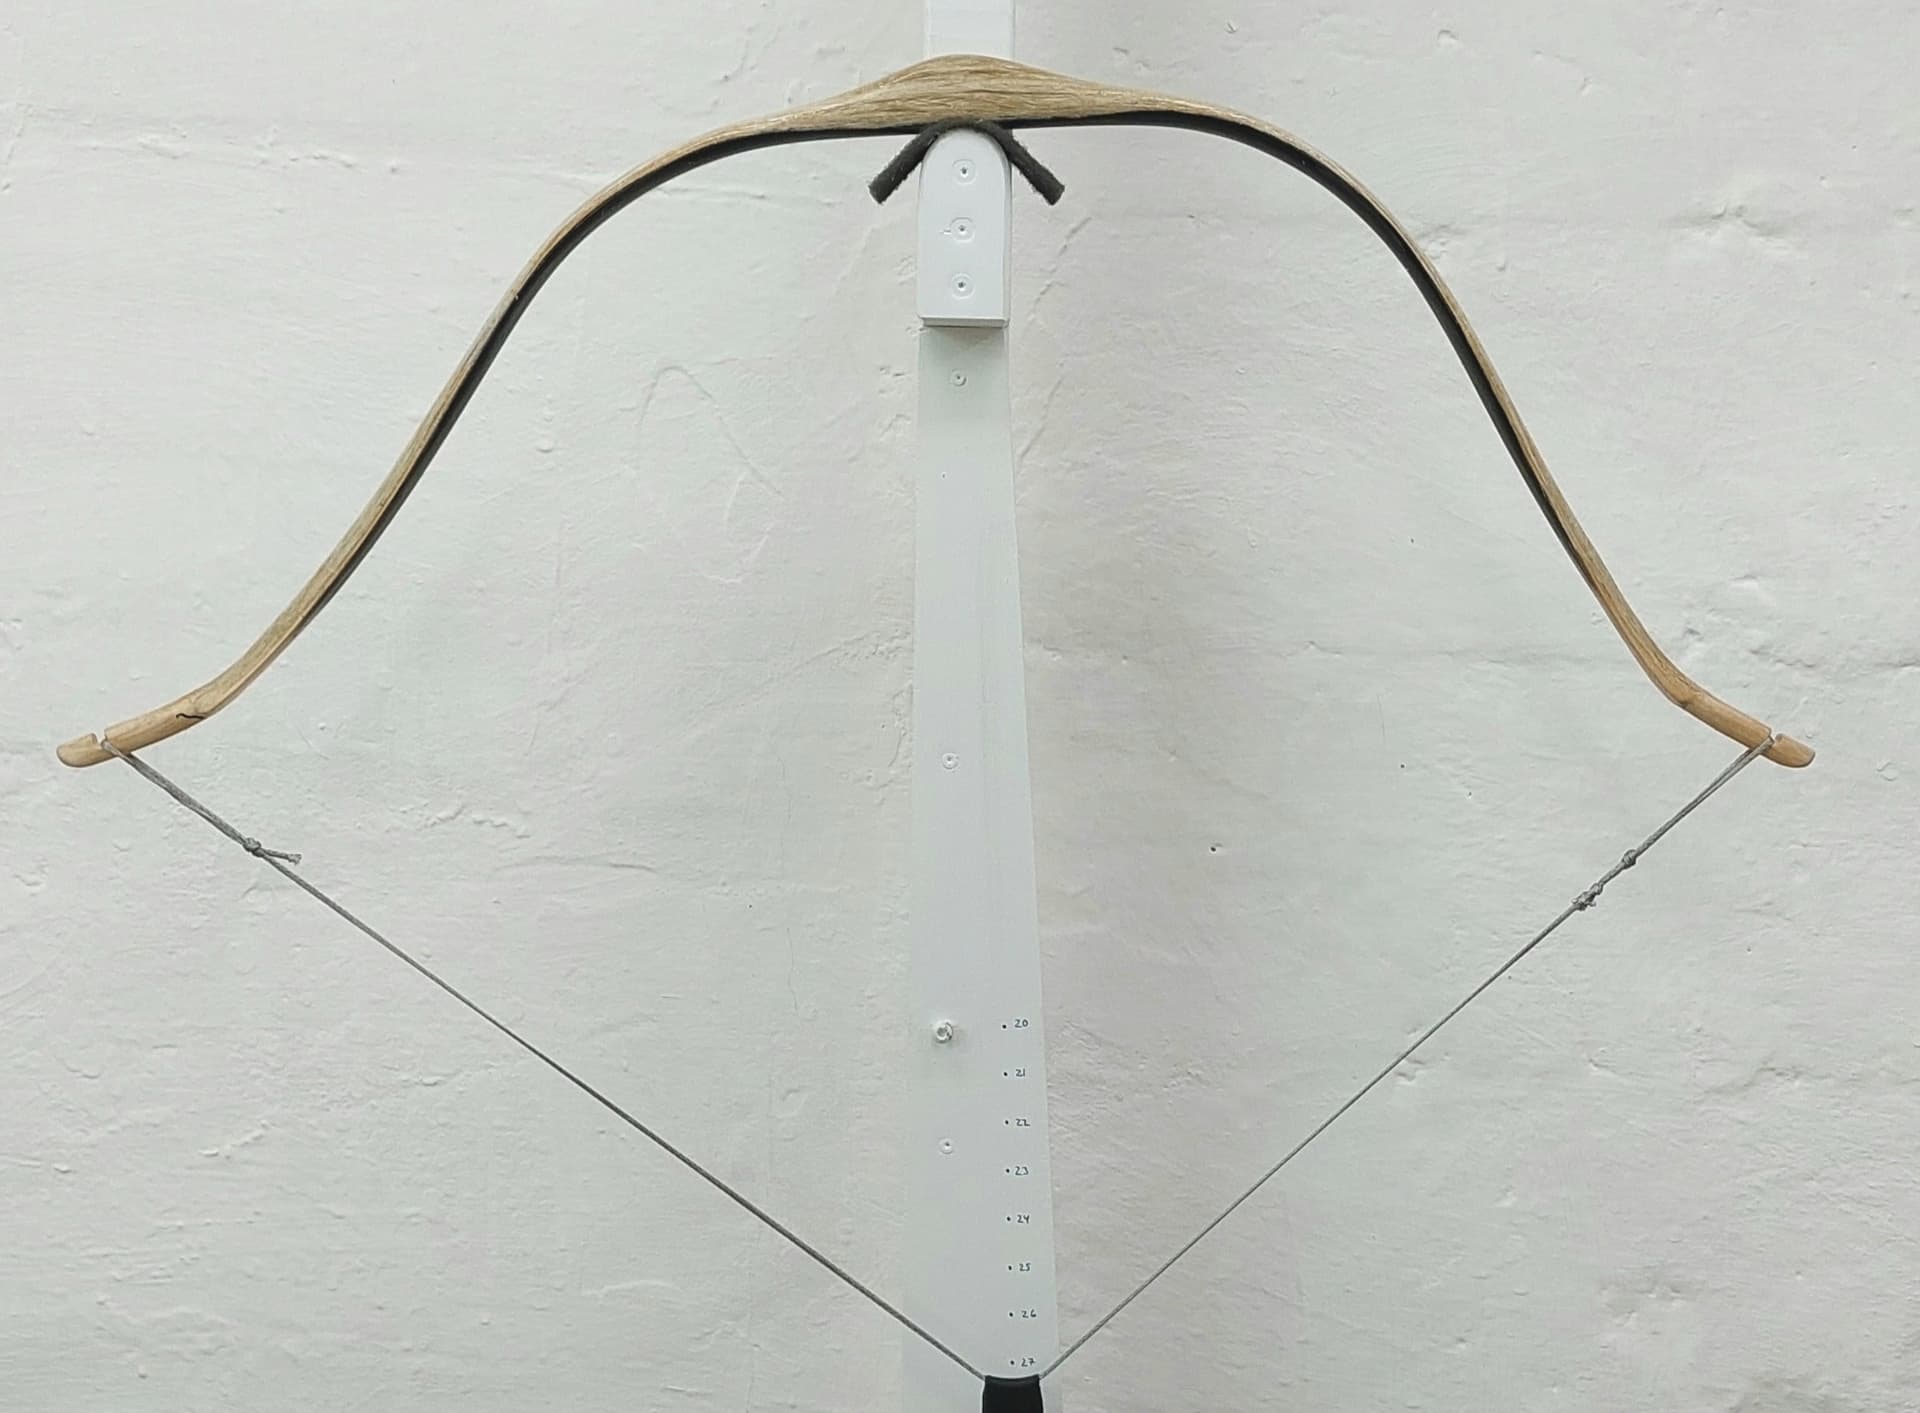
Fixed the crack with super glue and it hold. The bow gives now 59 pounds at 28 inch draw.
Full draw picture is a bit odd, because the bow is tilted to left, still, right limb is bending more than left. Tiller need still some work.
Great start to tillering. I noticed this section seems a bit overstressed, it might be the area you need to put on high priority. Does those look like sinew fissures, like cracking? Means its bending, which it shouldnt do this much.
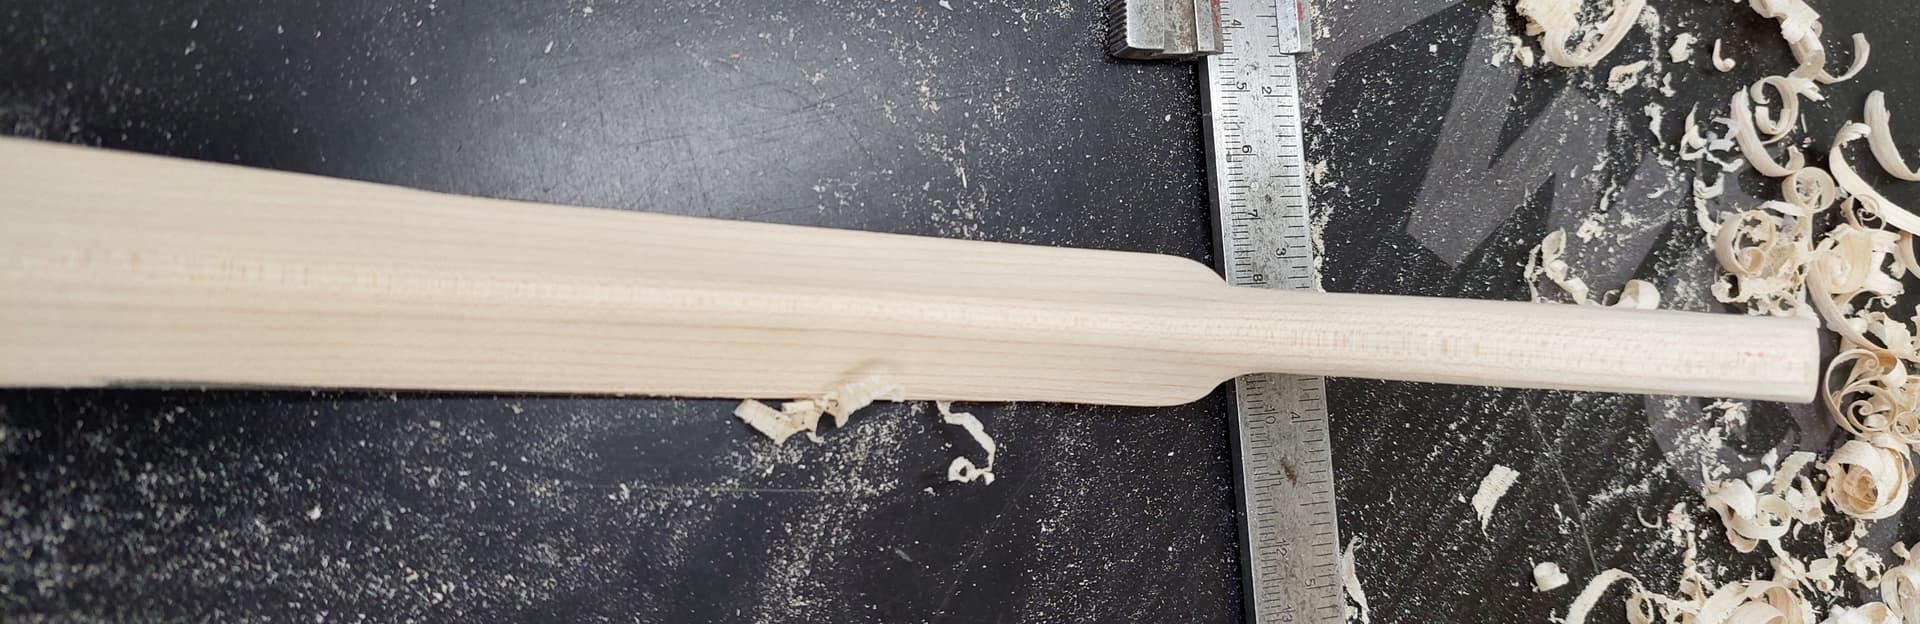
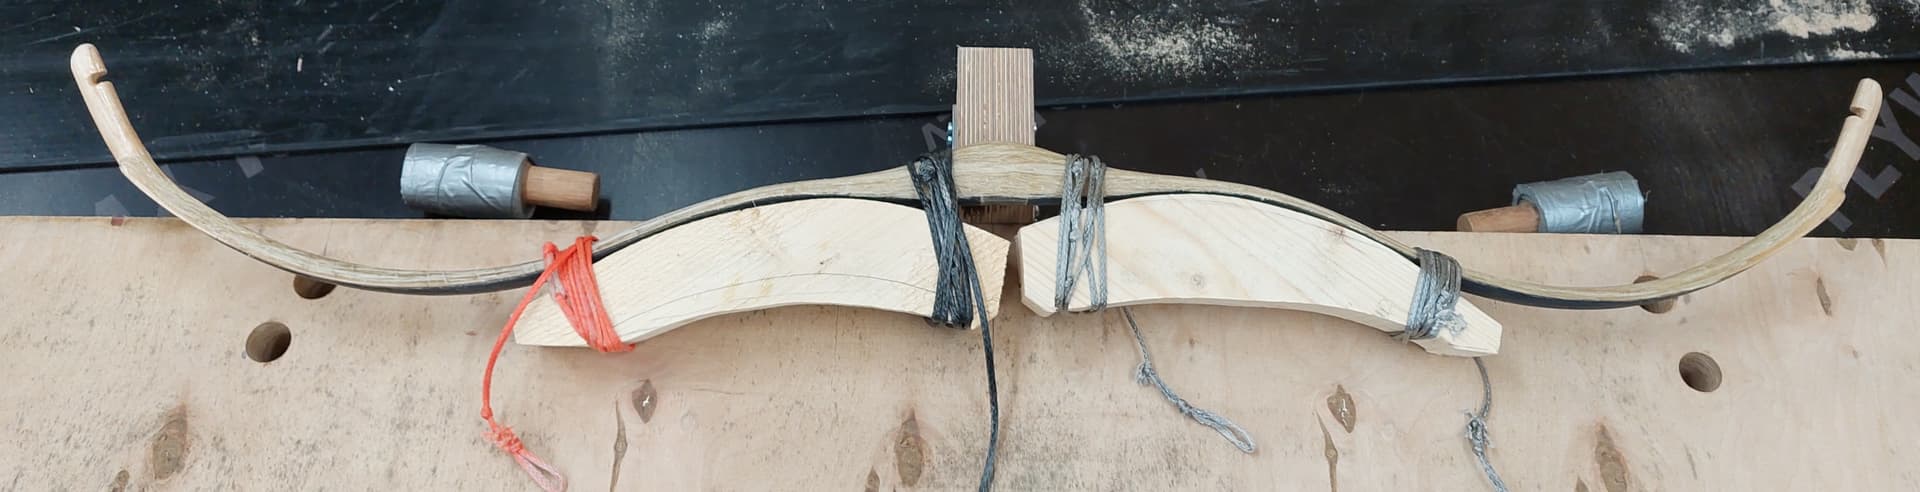
Little update. After adding a bit more sinew, it was like this:
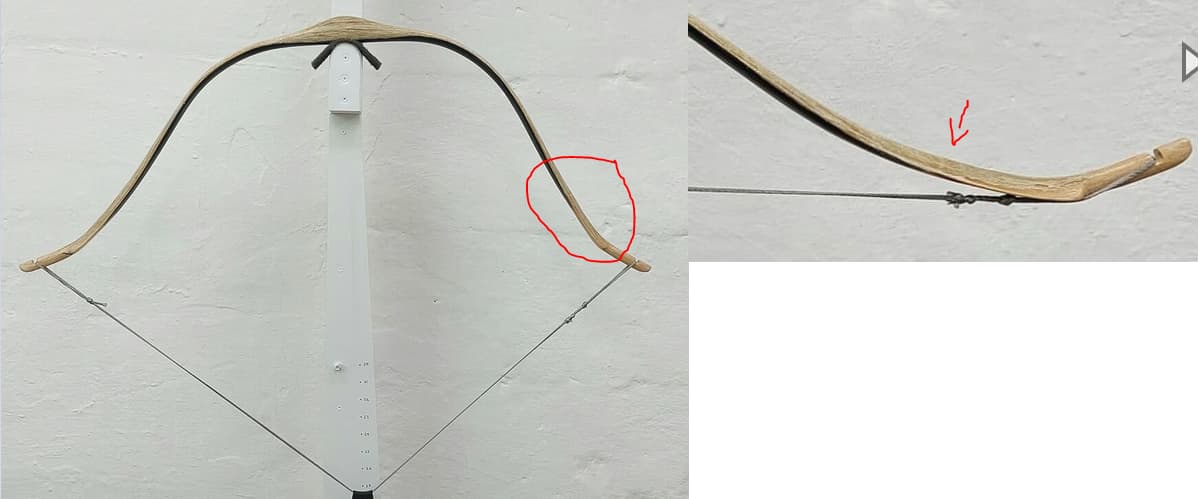
And after drawing it to about 22–23 inch, it was like this:

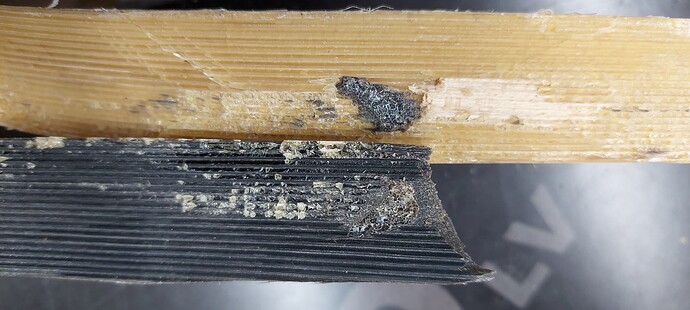
I think that the reason for this was that horn-glue-joint failed. As you can see, the horn is nice and clear, all the glue is on the wood. So, case closed.
I will start the next one soon, hopefully…
Did it happen despite of the successful application of glue in sizing the horn ?
Sorry but do not understand the question. The sizing was difficult, as you can read from previous messages (13–16). I re-sized the horns five times, the bow was few times in full draw but somehow the sizing was not good enough, I believe.
I was just wondering, if you were fully satisfied with the last sizing and if you have any explanation as to why the adhesion of the glue to horn was not good enough ?
Ok.
Just don’t know. I made the sizing in non-ideal conditions (bit too dry air humidity), maybe it is one reason. The other reason is lack of experience making horn bows, I am not sure if the sizing was in reality good enough, although I was happy. Third reason was maybe that there was a small tear in the horn, just where there is that horn piece remained on the wood (the last image). I think that the break started there.
Generally with horn glue up the joint is super strong. Grooves add a lot more surface, glue is plenty strong, rope adds a lot of 360 degree tension.
So you can basically make tiny mistakes here and there, BUT if you miss something critical like have some bubbles (not perfect glue base layers)… failures might happen.
A lot of practice and meticulous measures are needed! ![]()
And even after that you can start breaking the bows in different ways, like i am with the cores!! But finally when standard procedure is set and tested, everything will be easy. ![]()
One reason of not good adhesion of first layer(s) of the sizing could be, that it had not enough time to penetrate deep into pores, because of quick evaporation ( of water )/thickening and then even drying before it could gell ( if you heated the horn strip substantially at the beginning and size shortly/fast with thin layer only ). Hence, my solution is to do heating of horn strip like before, but prolong the “smearing” time for the first layer considerably to let the glue penetrate deep and then secure the slow gelation of the glue ( ? by raised concentration and thickness of this first layer of glue and lovered temperature ? ) before drying in “weak state”. Then maybe even do not let it dry “fully” before the next layer to prevent voids creation ?
Did you forget the bloodletting? You have to cut yourself and bleed on the core at least once! Then there’s dancing naked under the full moon at mid-winter (or June for you guys in Finland!!) while slapping yourselves with horn strips
. ![]()
![]()
![]()