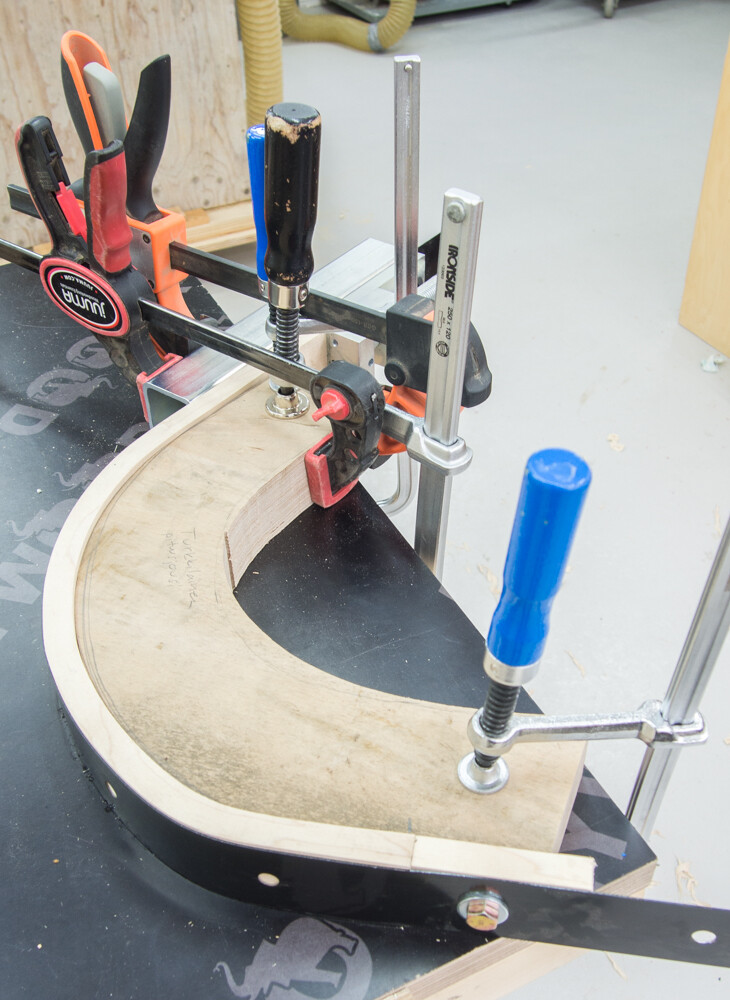
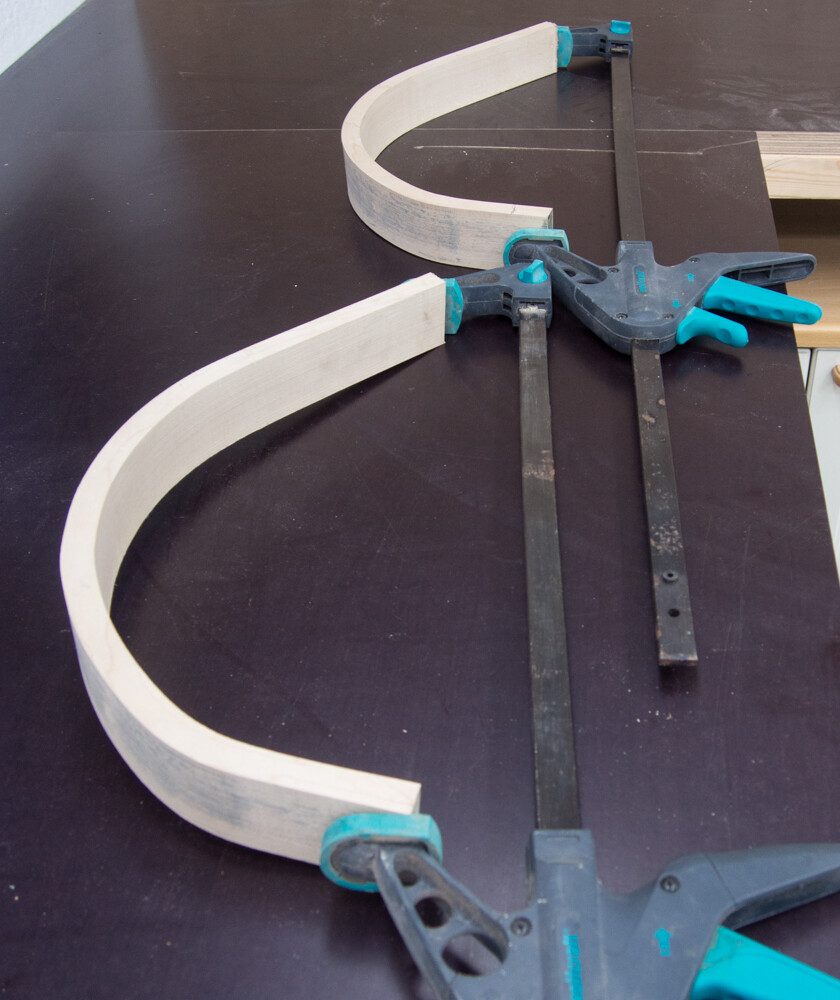
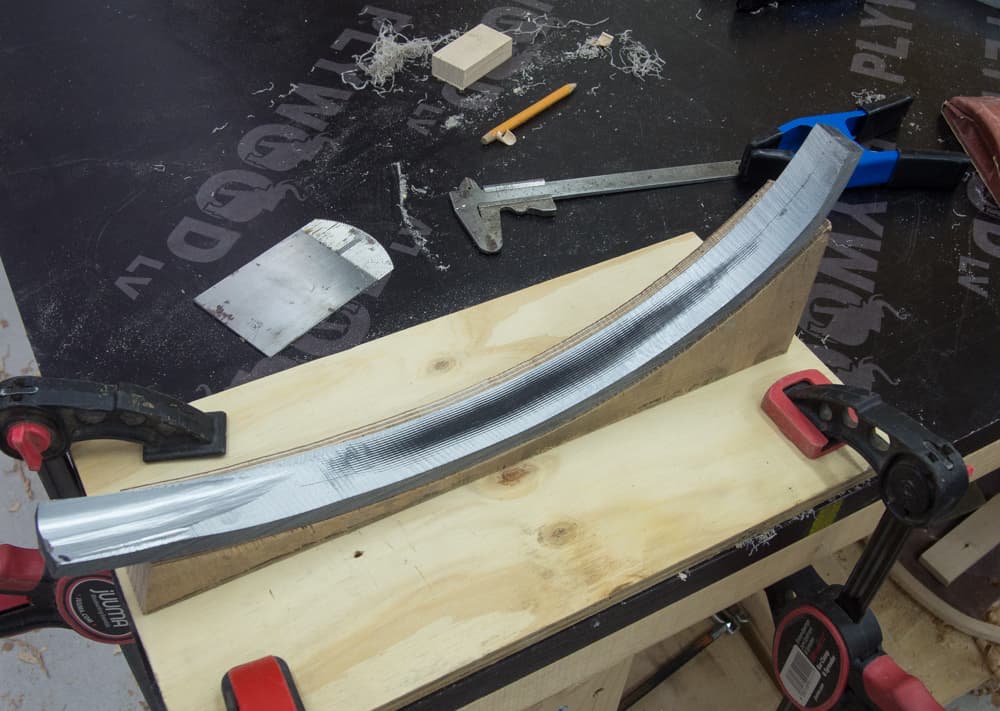
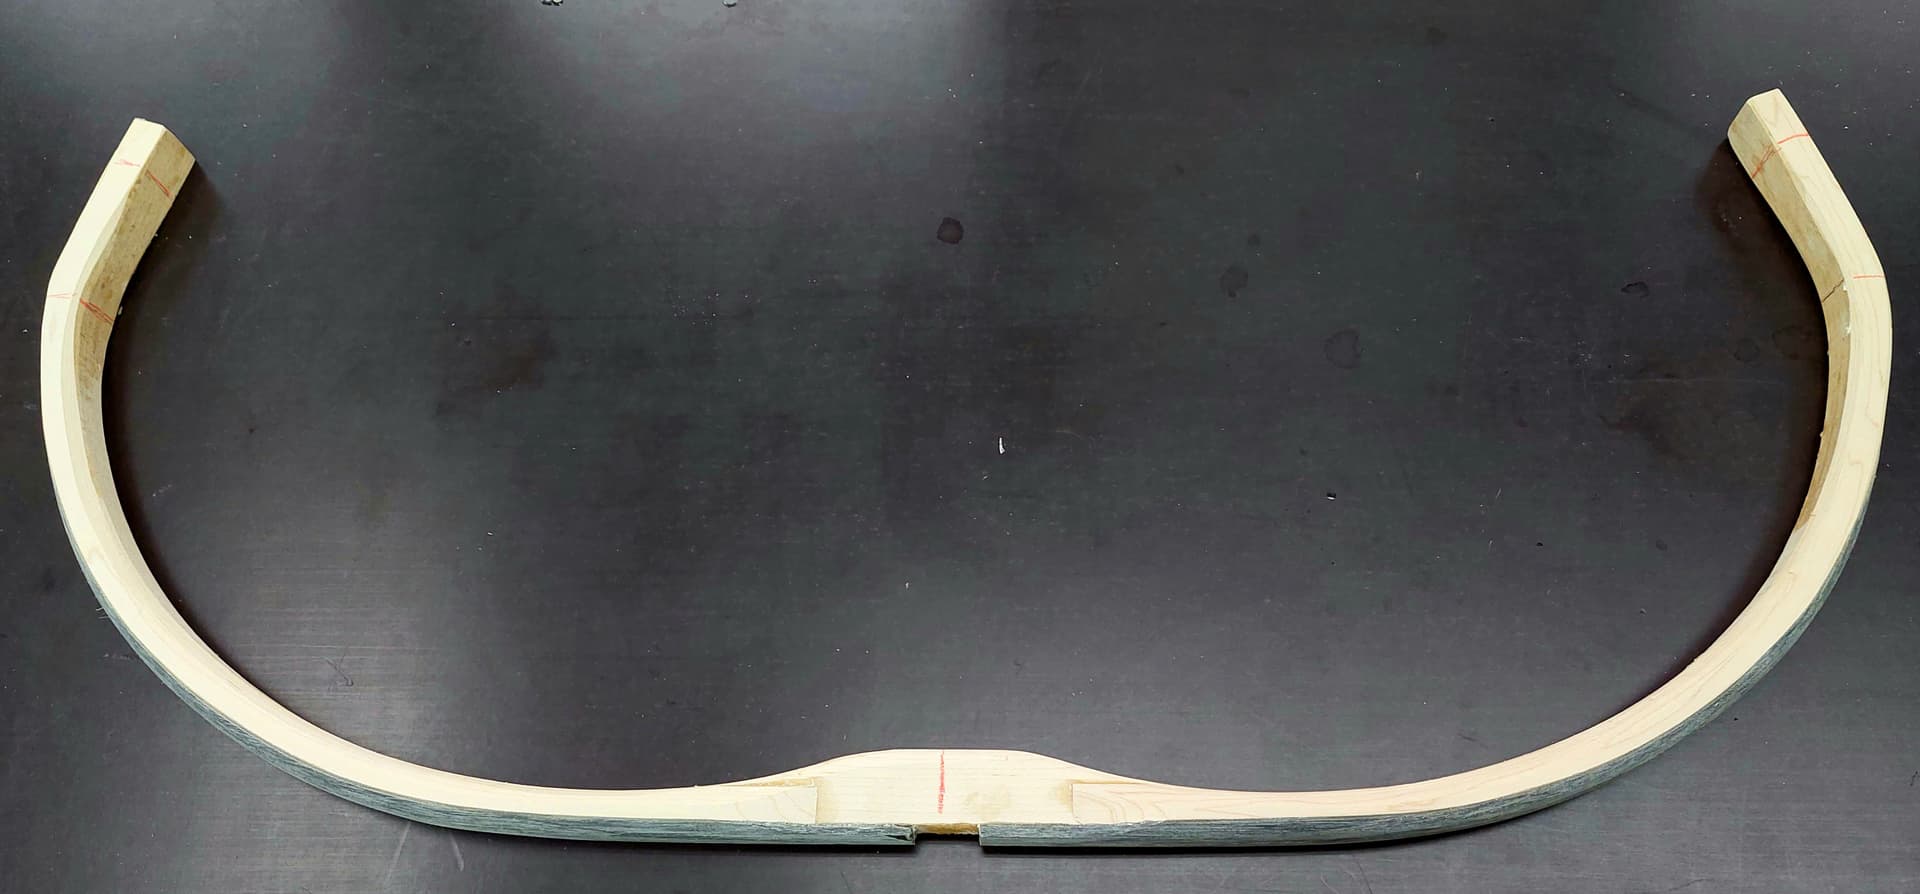
My second bow, Turkish flight bow, started at 18.09.2021. Material is sugar maple, 50 mm wide, 16 mm thick and 650 mm long, blocks driven through a thickness planer. I steamed the pieces about 20 minutes (no soaking before), then to the form. Letting them cool about 20 minutes in the form, took out and pressed them with a long quick press again into shape, nicely settling into the same shape as in the form. Then, drying three days.
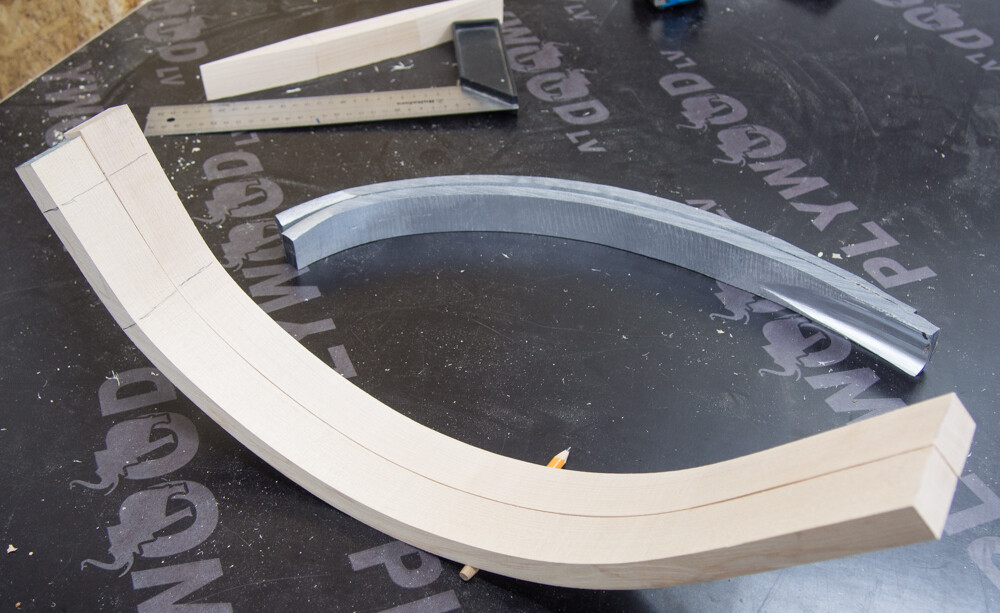
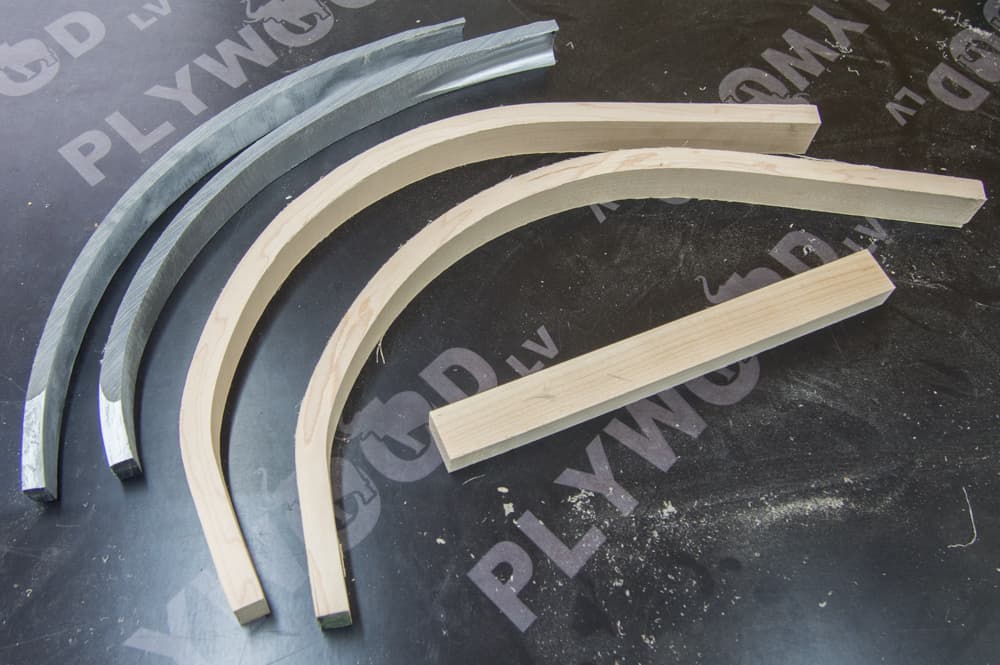
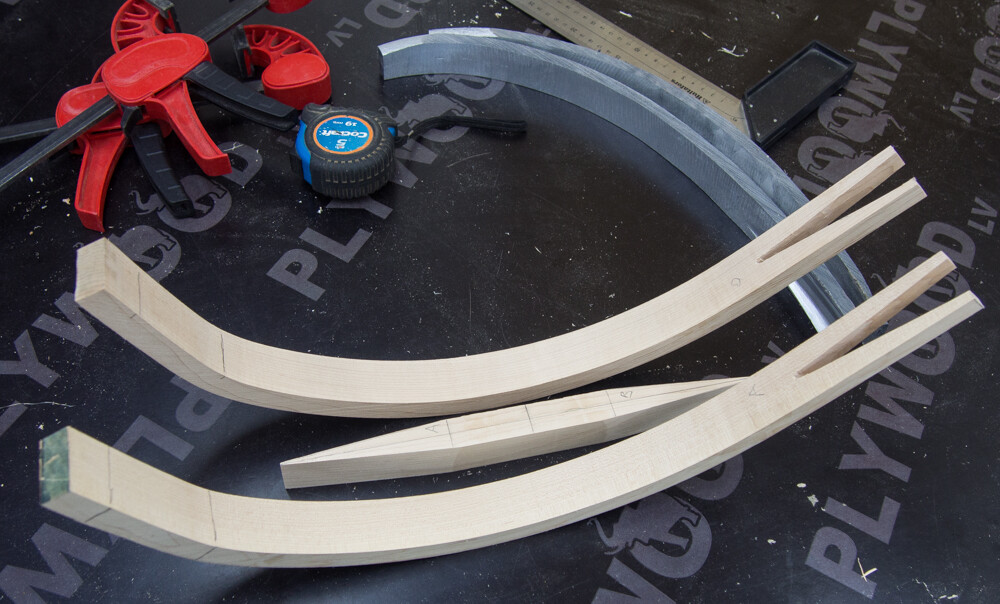
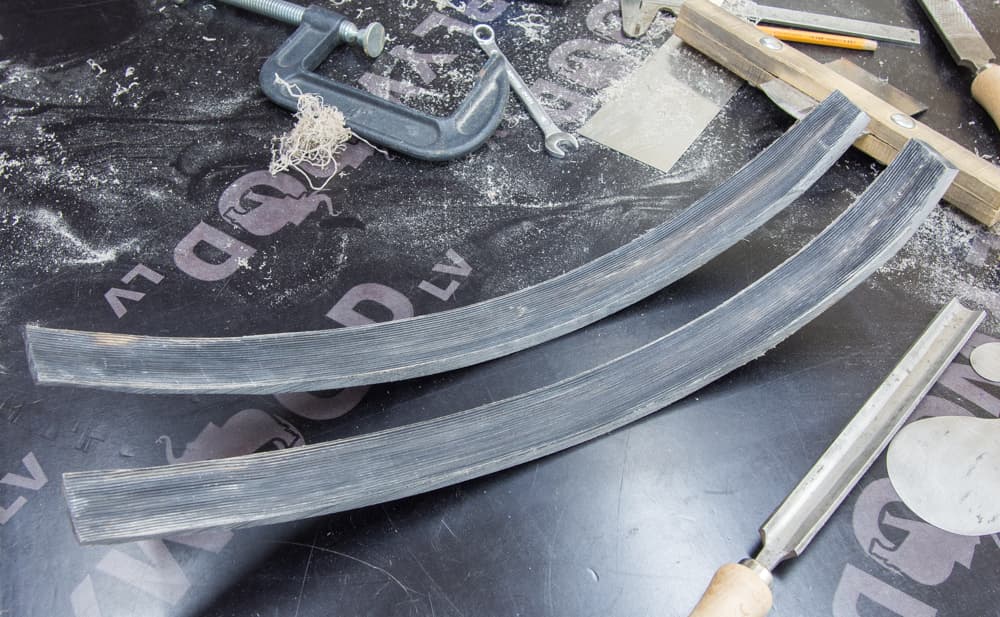
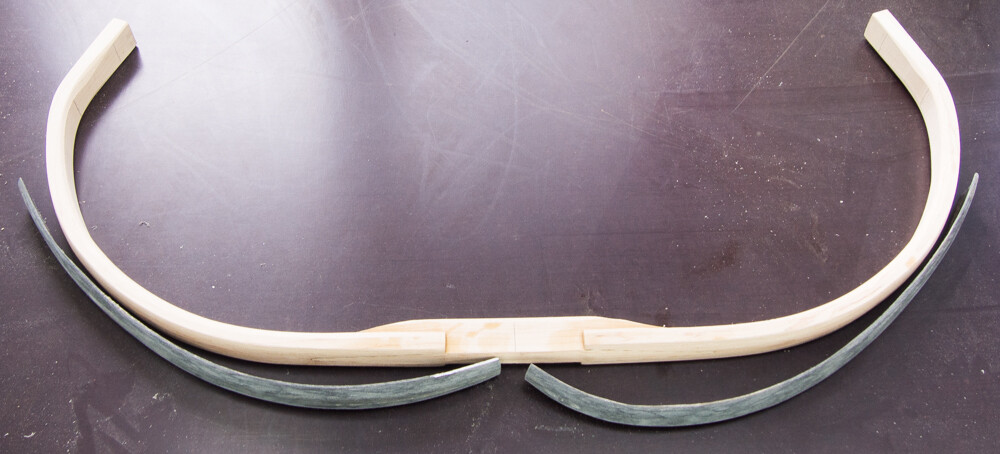
After drying, I worked with a bandsaw and a drum sander to the final width of 32 mm, the blocks were already perfectly straight, so narrowing down was easy task. The horns were also top-quality and I worked them through the sander to a width of 32 mm. The handle piece is also sugar maple, width 20 mm, length 300 mm, thickness 25 mm.
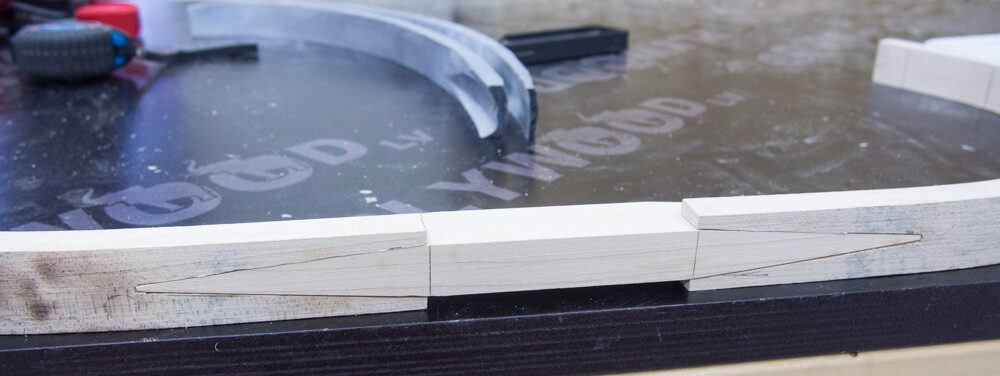
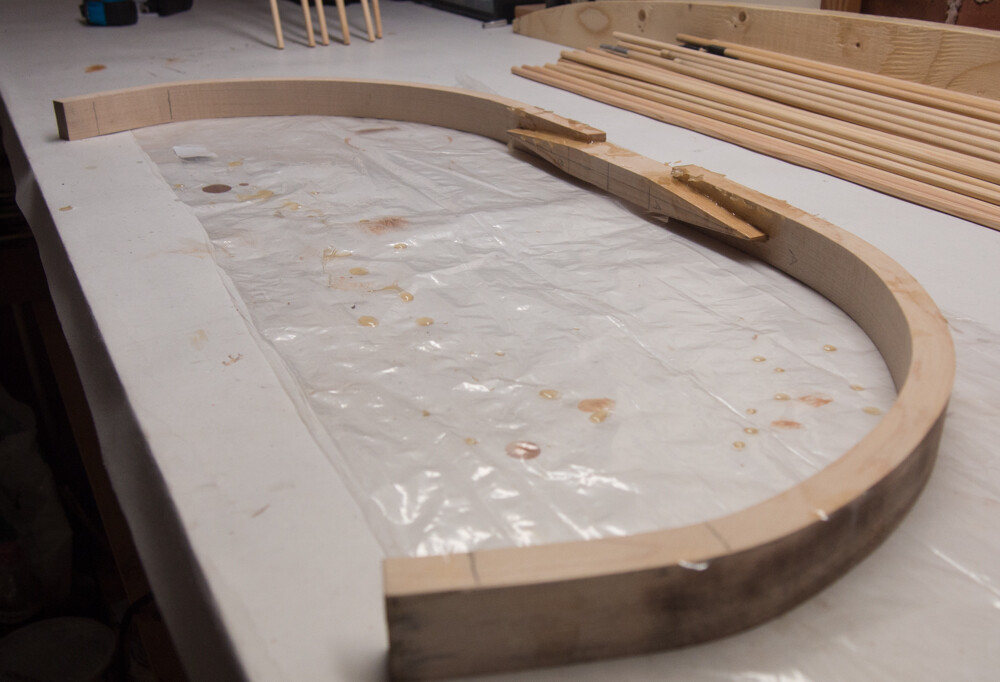
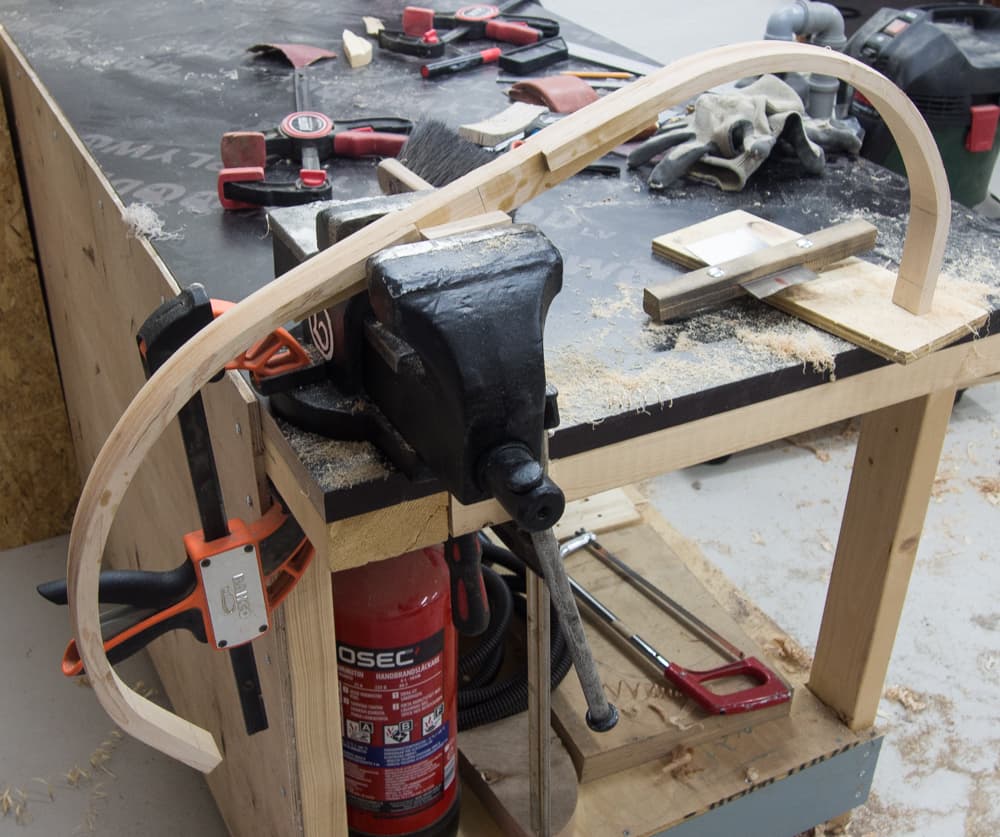
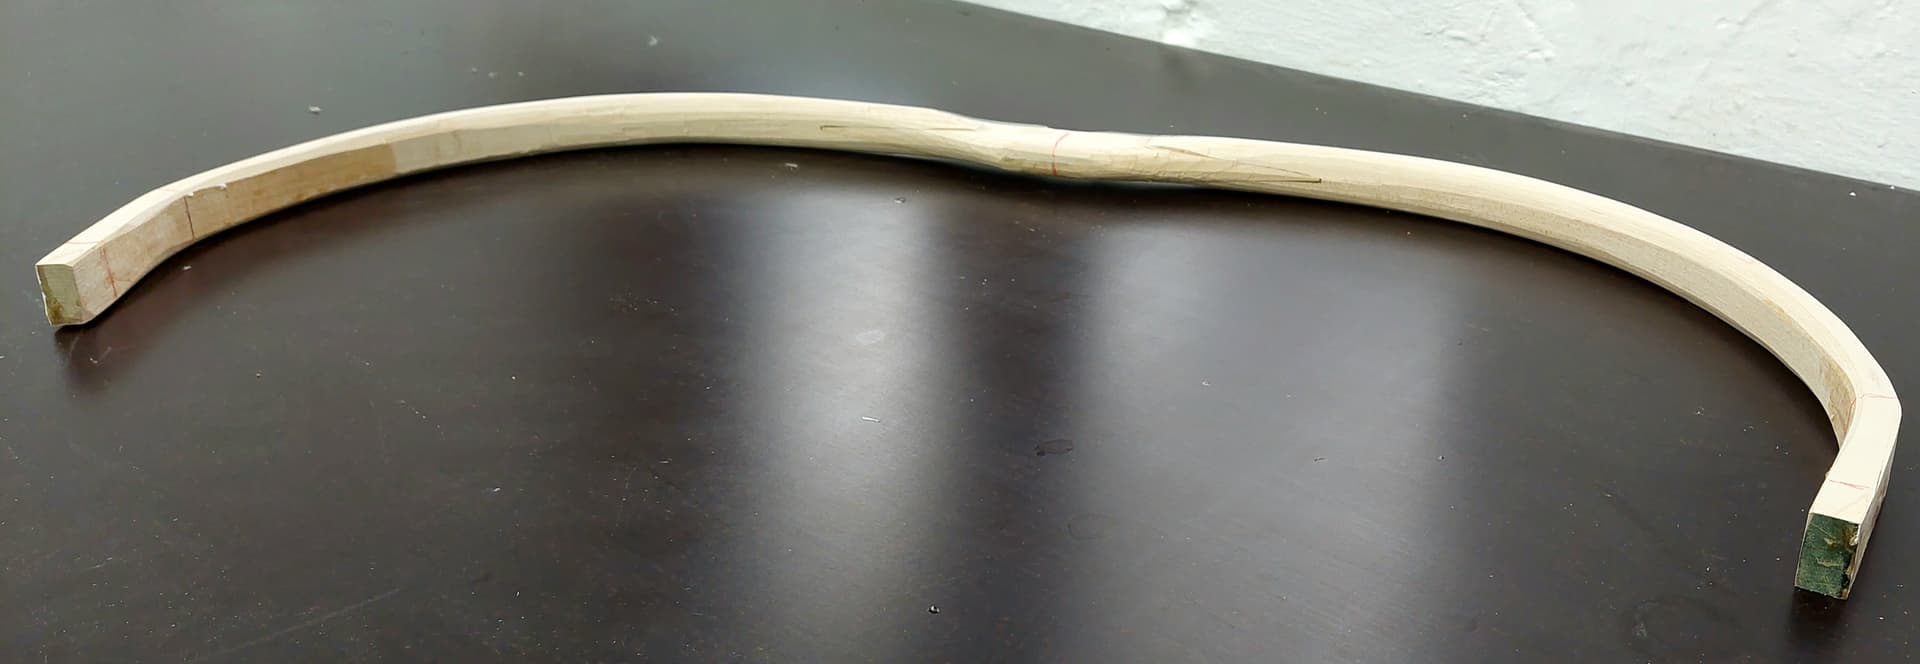
Then, I made V-joints. Here straight tabletop was very nice aid. I did not use any clamp in gluing, so the core stayed perfectly straight. Easy and straightforward and after cleaning the glue remains, the core is ready for grooving. Total working time is now about three hours.
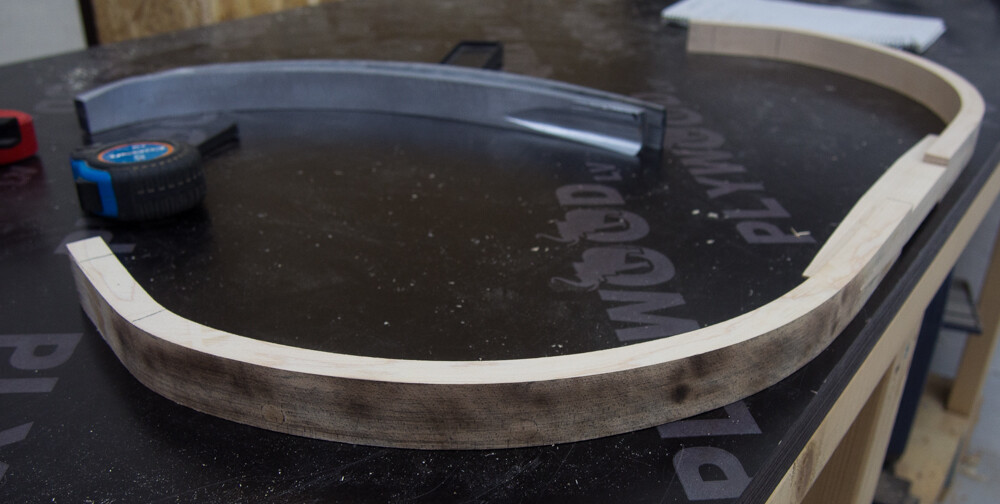
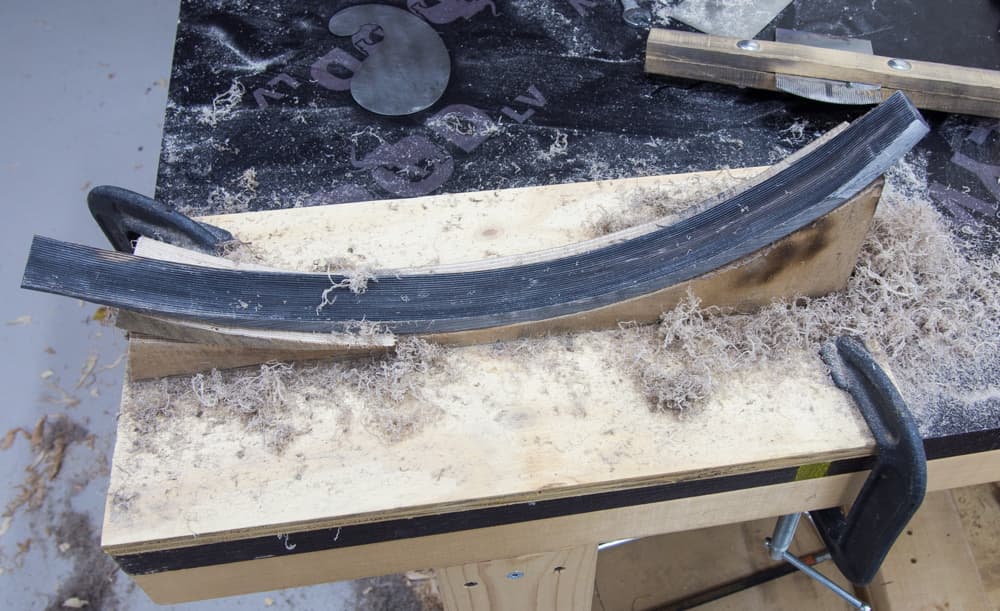
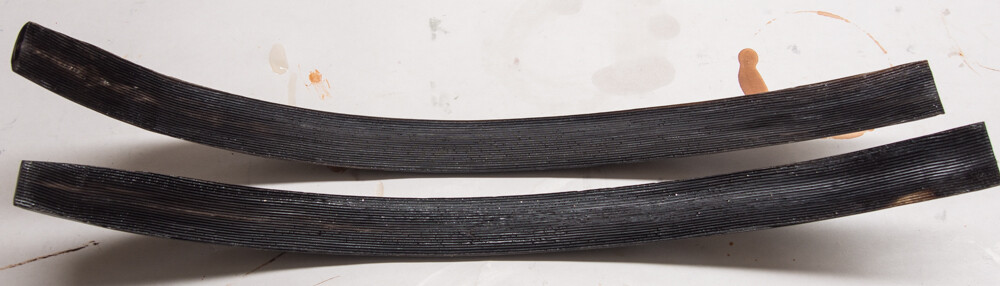
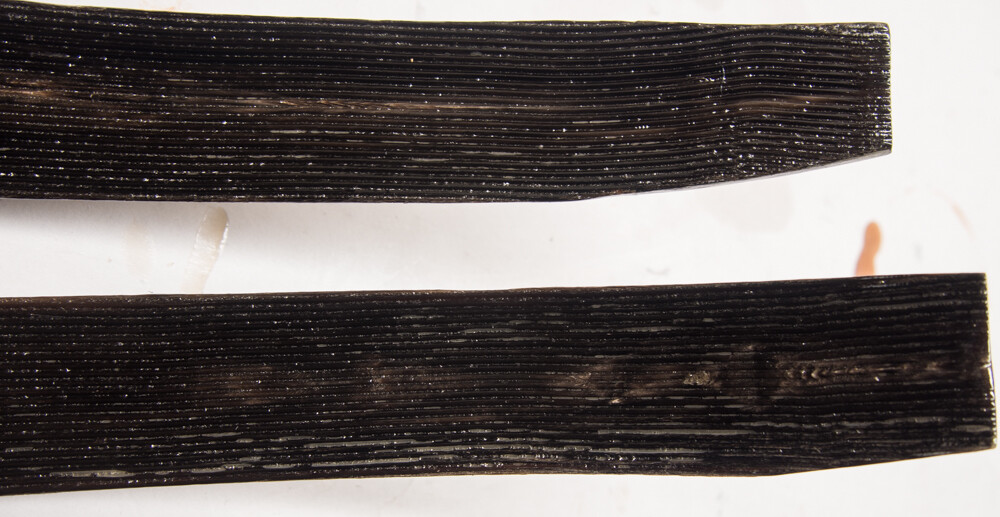
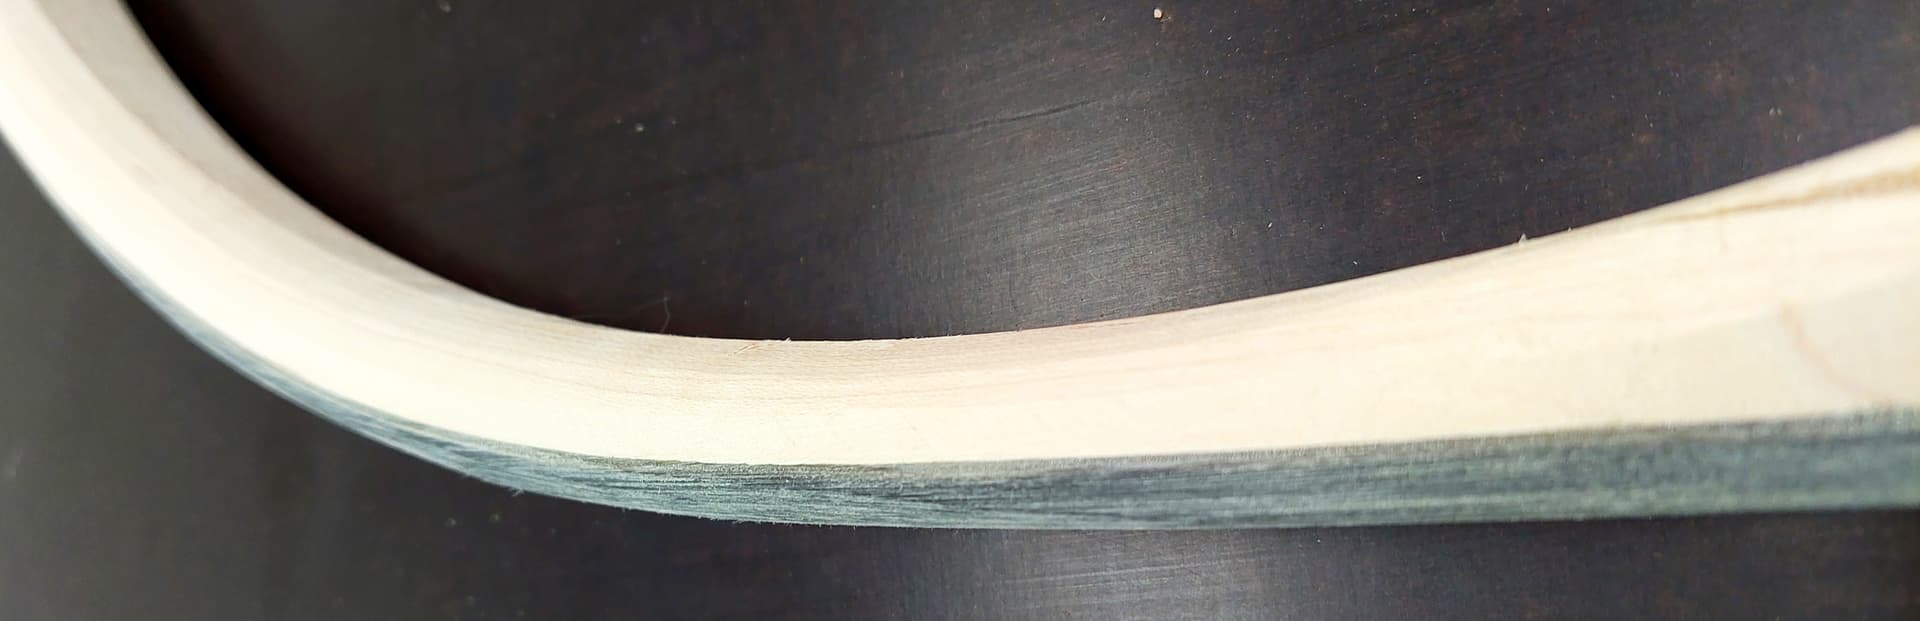
Grooving the horns was quite easy task. I glued the horn to the grooving form and the grooving was made with a correctly shaped scraper plane blade (thanks @JNystrom!). It took about two hours to do the both horns.
Thank! But I don’t consider it as a good joint… It is good, when you can’t see light through the joint after dry fitting it.
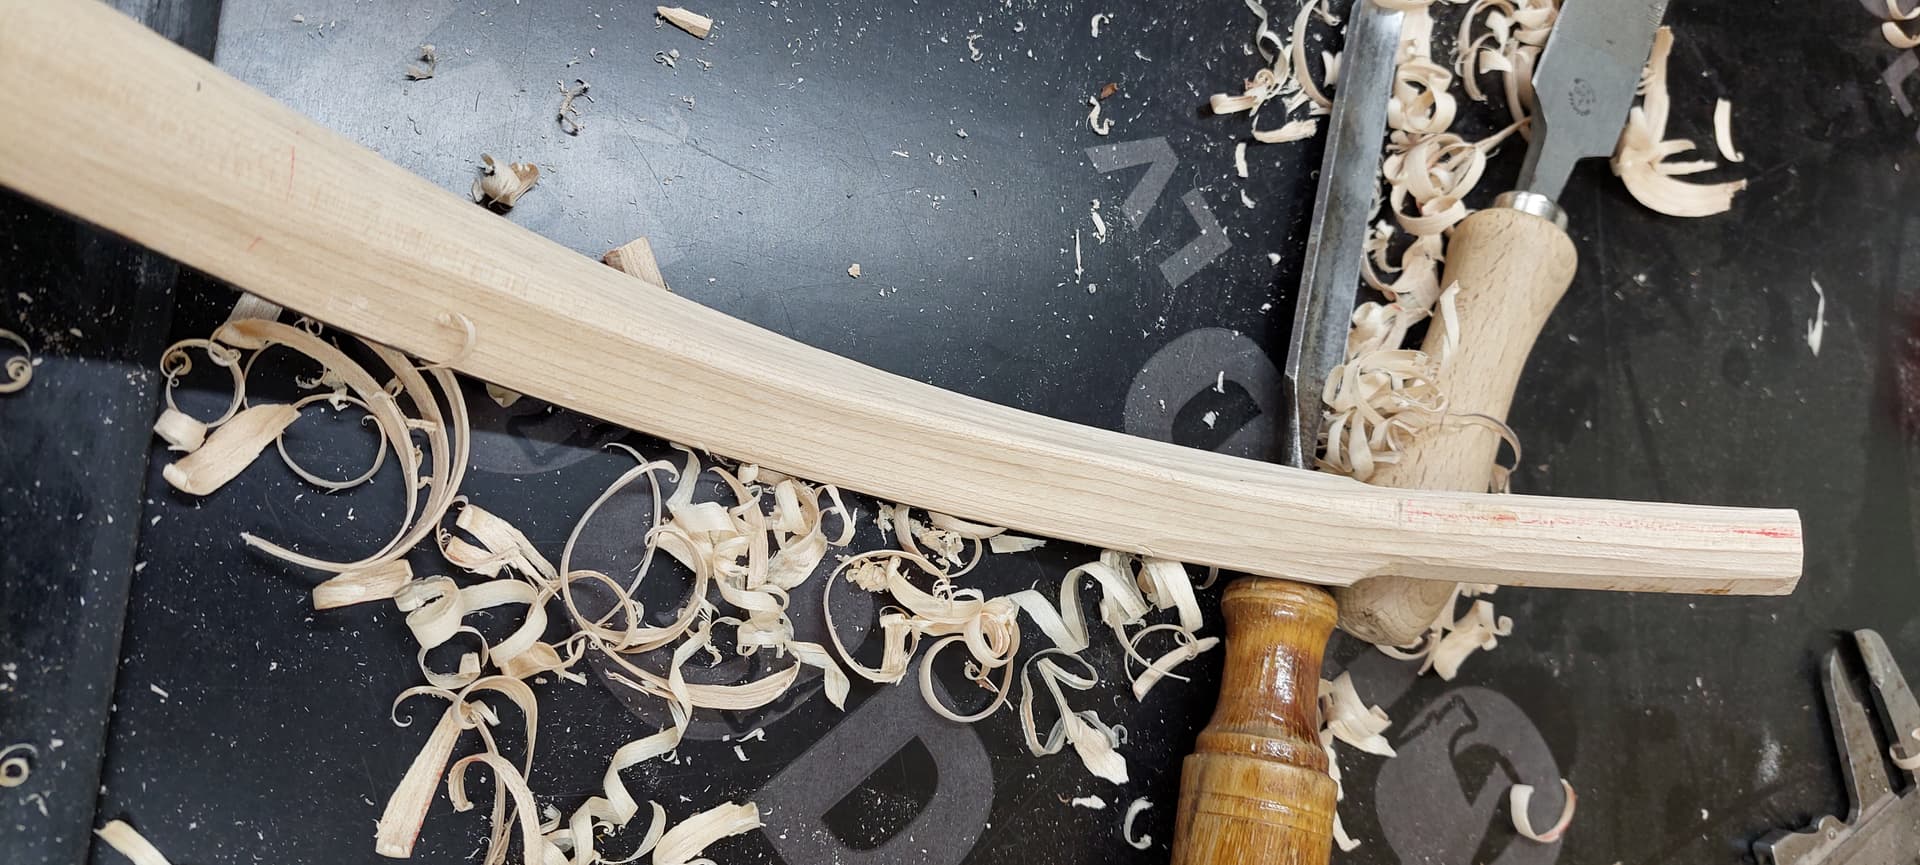
I made the handle piece first, with big belt sander. The I used the handle piece as a templete for V-joints. Coarse cut with a bandsaw, then fine tuning with sharp chisel.
An acquaintance of mine temporarily glues the untapered handle on top of the next two sections of limb and then cuts the V notch in both pieces together. Then, when he unglues the bits and re-assembles the handle and limb pieces he has perfect matches between the pointy bits and the V bits!
Yes, it works but you have to still get the limbs and handle aligned with each other. I drawed all the lines pieces aligned but after cutting the joint, they were not anymore aligned… So, joints needed some fine tuning and thus it is not perfect.
Yep, i have also shifted to sawing and fine sanding handle piece to exact measures. After this i cut the limb pieces. Sometimes fine tuning with rasp/knife is needed. But mostly not. I didn’t like the way Beaumont Vance does it, as Ken describes. Maybe i did some detail wrong.
Btw, all v-joints i have seen in original bows are very sloppy. Not great effort was paid. Which can still be seen with how korean bowyers do the joinery, most often leaving a long saw kerf in the bottom of the limb v-joint.
So if you want to make a authentic bow…
Good to know that the Ancients weren’t perfect. There seems to almost a “cult” of how perfect their woodworking and bowery were compared to us Moderns with high-tech saws and other power tools.
I’ve not had any problems with Beau Vance’s technique. I’m about ready to assemble and saw a five-piece core for a Tang era Infantry Flatbow which I’m building and I’ll see if I can get some decent photos of Vance’s technique… It has taken some time to acquire appropriate pieces of mulberry for the core – mulberry isn’t a common wood in the U.S.
A little setback… Here is situation after about 20 layers of glue. As you can see, a lot of tiny micro bubbles, and some glue layer liftoff from horn (especially in the lower horn, grey areas). I washed off all the glue layers and started again, being more careful now.
Dry your horns on their sides to stop the bubbles. Also warm them before applying glue. Use 5% solution glue.
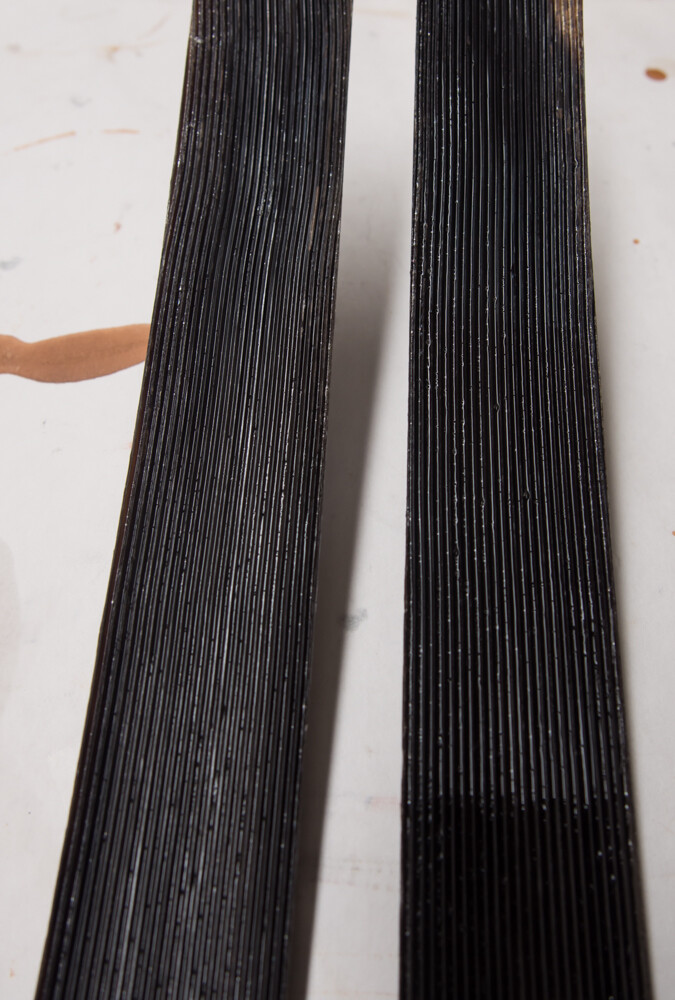
Your grooves appear to wave about a bit? It is important to get them straight. Do you know about the technique using a scribing straight groove and then a scraper with a removable foot to follow the first groove?
The micro bubbles appears immediately after the brush stroke. And when I used about 10–15 % solution, so after about 20 layers. I refined my brushing technique, so now they are not a really problem.
I warmed the horns in oven before the first five or so glue layers and used 3–5 % solution. Should I warm the horns later also, before thicker glue layers?
Yes, the grooves are a bit wavy but after discussing with @JNystrom small undulation is not really a problem. These are not supposed to be matching grooves.
Once again! After about 20 layers, no microbubbles but grey areas, so adhesion of the glue layer to the horn was bad. Not totally but about 5 % of the area. I washed the surfaces and will start making the new glue layer soon again.
Third time and now it seems that I will succeed, althought not sure yet. Now I used almost controlled environment, plastic box with sea salt water for gelling the first ten layers of glue. So more humid environment and thus more time for the glue to gel. Not perfect result yet but better than previous.